
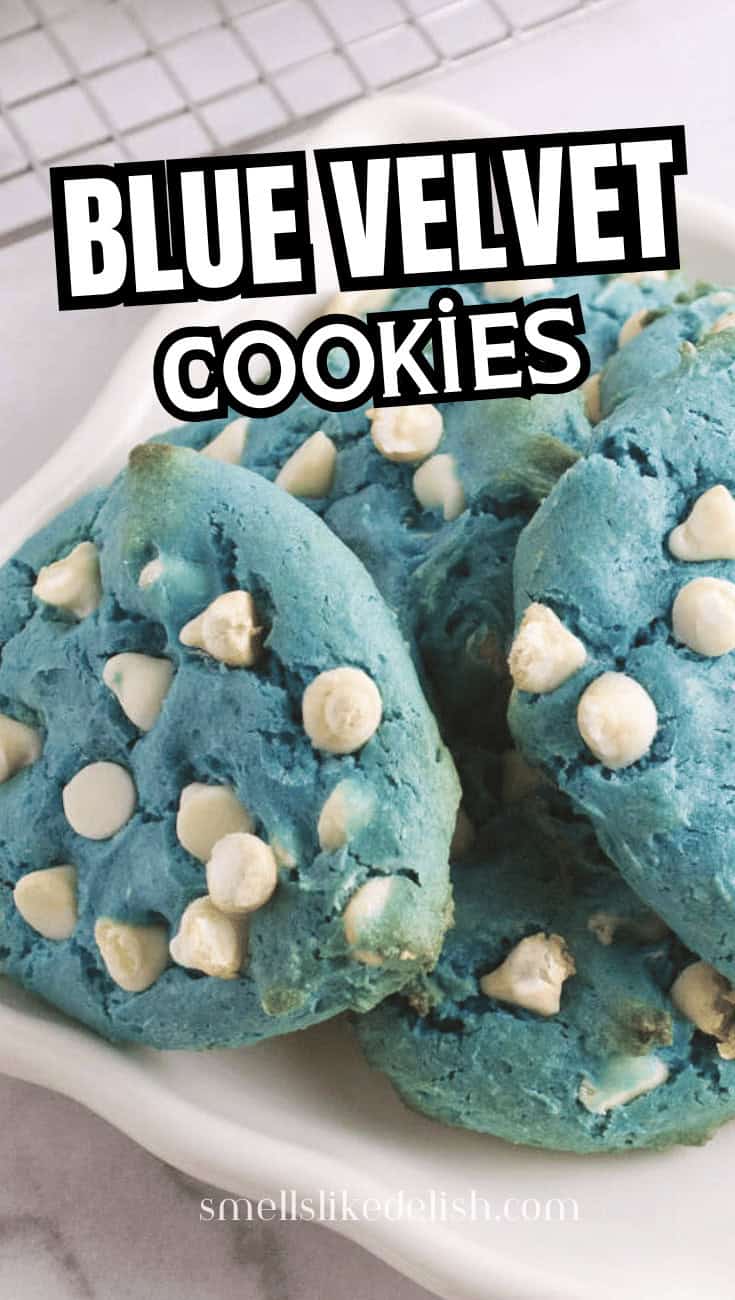
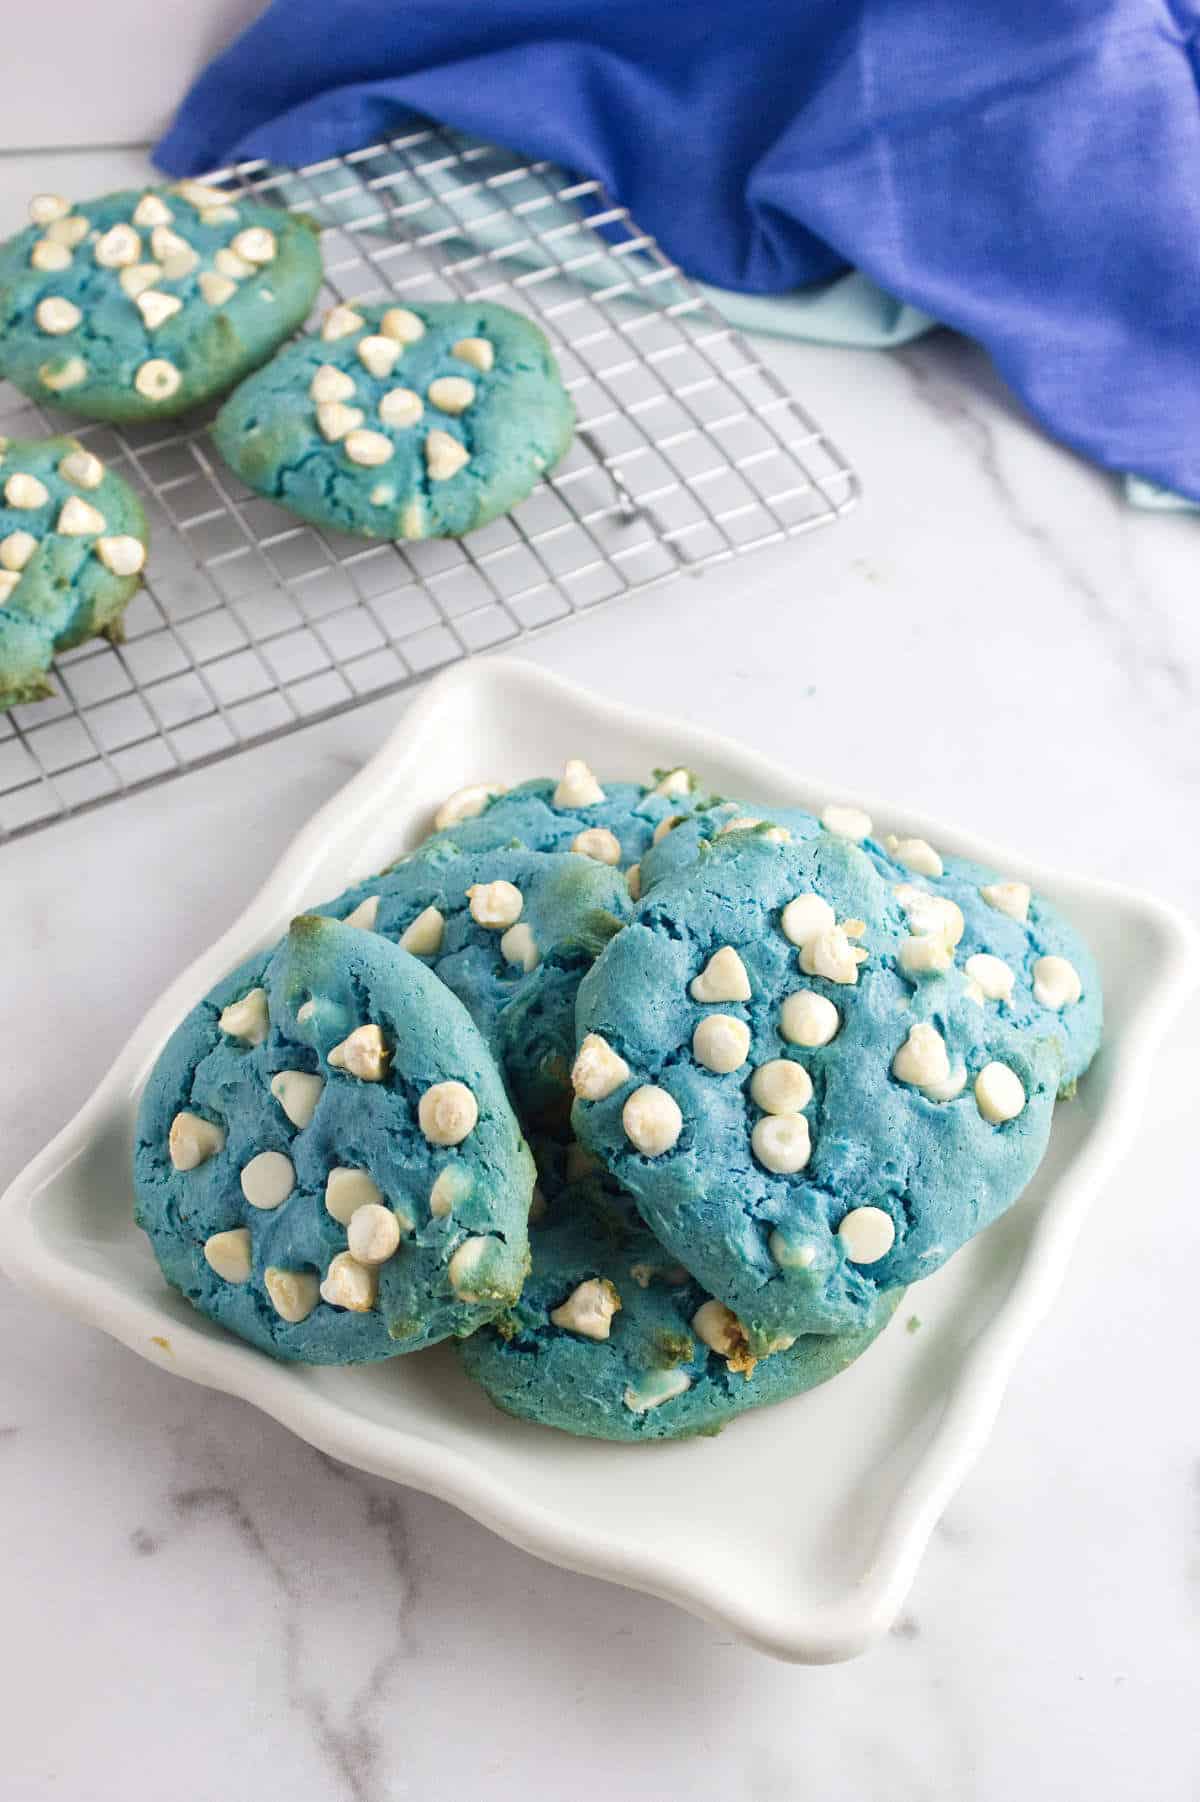
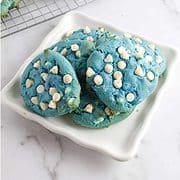
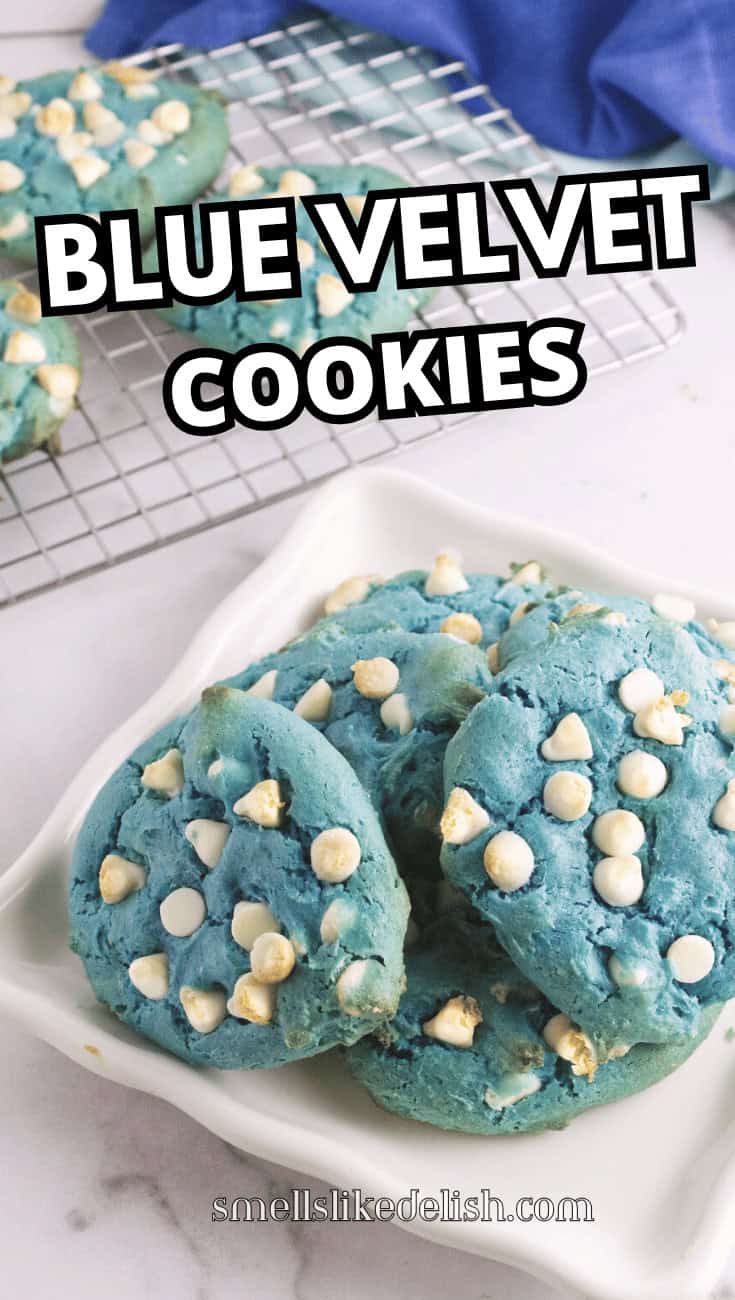
These Blue Velvet Cake Mix Cookies are soft, chewy, and loaded with sweet white chocolate chips. Their baby blue color makes them an easy showstopper for baby gender reveals, birthday parties, and other celebrations.

Why You'll Love This Blue Velvet Cookies Recipe
This simple cookie recipe is a wonderful way to create a festive treat. It uses a white cake mix for convenience. These soft, chewy cookies are also ideal for Hanukkah celebrations, adding a special touch to your holiday table.
- Visually Stunning: The vibrant blue hue makes these cookies truly eye-catching and a fun addition to any dessert spread.
- Unique Flavor Profile: They offer a delightful and subtle twist on traditional red velvet, with a hint of cocoa that's distinctively delicious.
- Soft and Chewy Texture: Each bite delivers a perfectly tender and satisfyingly chewy cookie, making them utterly enjoyable.

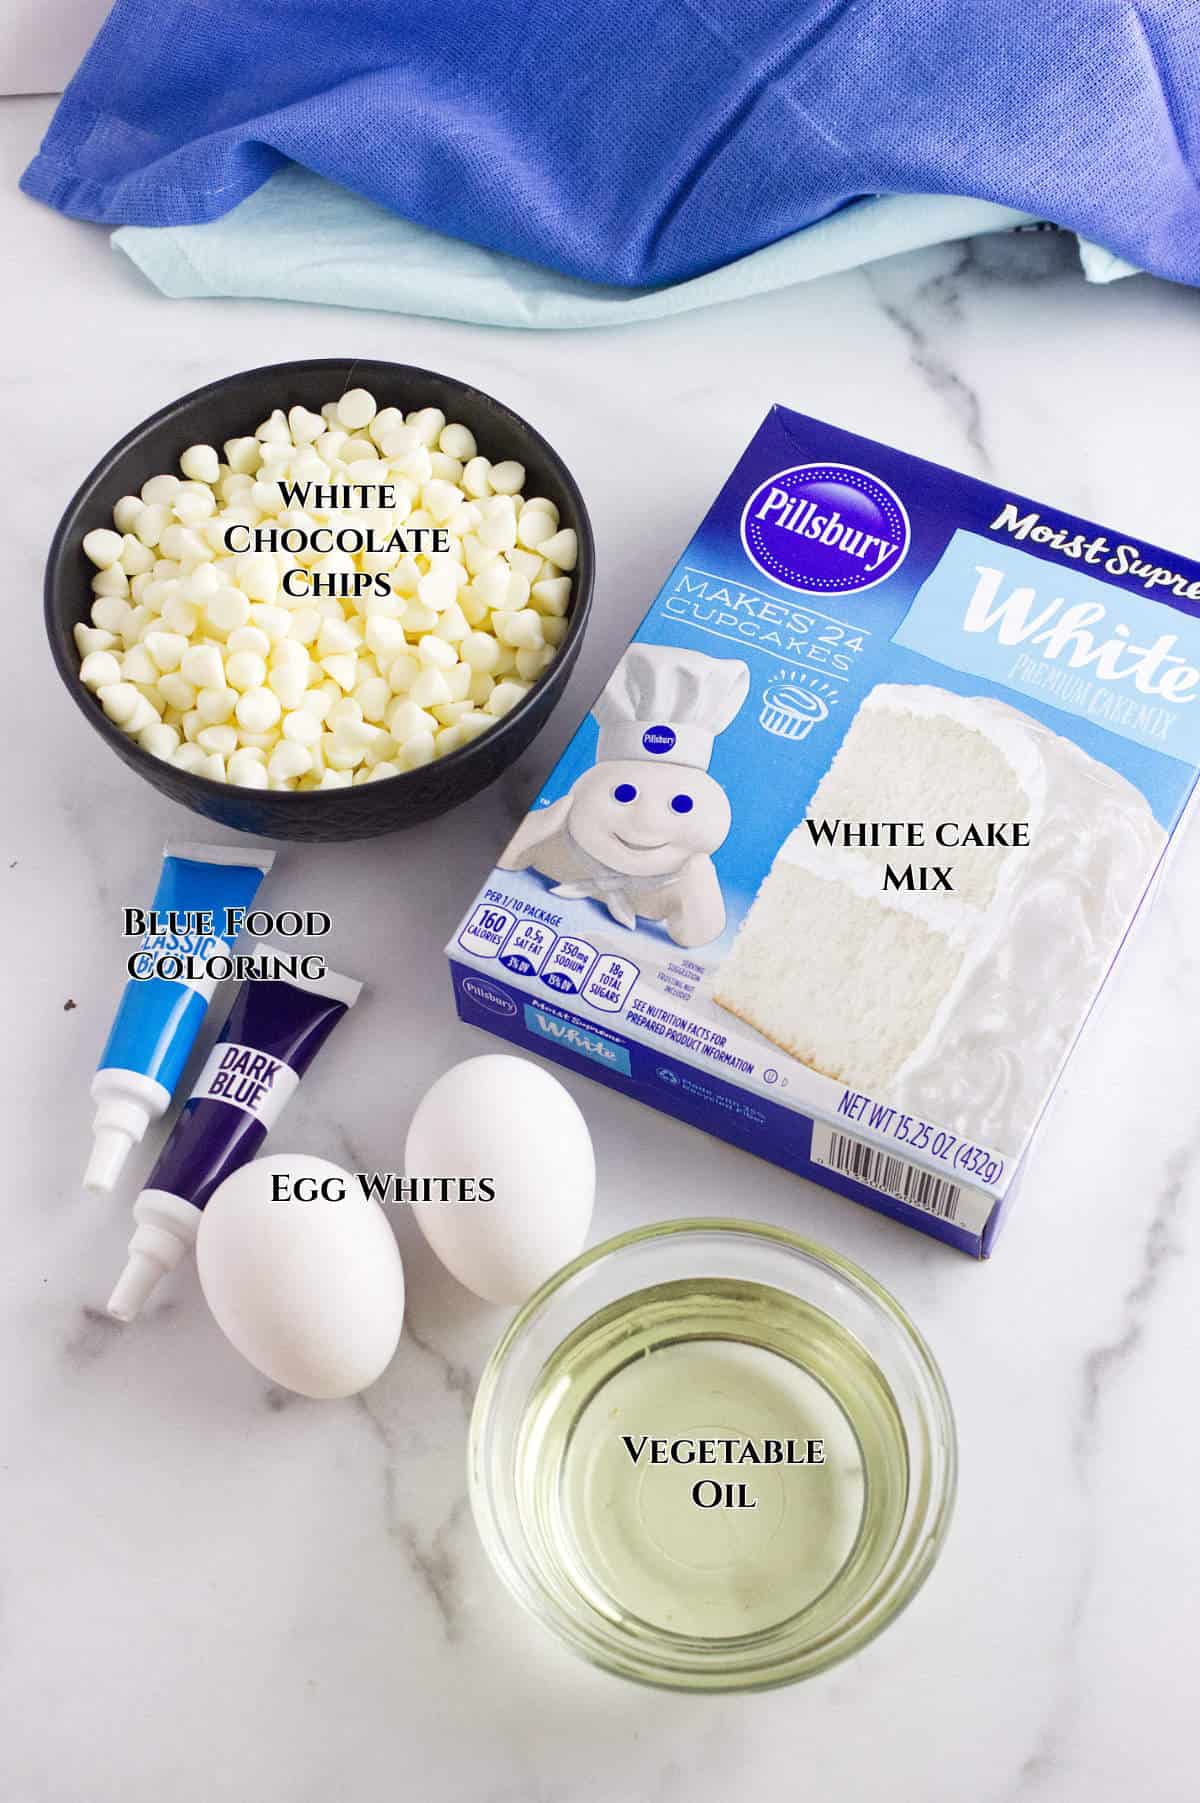
Ingredients Overview
These blue velvet cookies start with white cake mix for a soft texture and bright color. Eggs and vegetable oil make a quick cookie dough, dark blue gel food coloring gives them their bold blue velvet look, and white chocolate chips add creamy sweetness.
Full ingredient amounts and preparation instructions are in the printable recipe card at the bottom of this post.
How To Make Blue Velvet Cookies
For making cake mix blue velvet cookies, start with a white cake mix. Don't use a yellow mix, as the yellow tint will make the cookies a shade of teal or turquoise and not a true blue.
Pro Tip
If your egg yolks are very deep orange, use 4 egg whites instead of 2 whole eggs to help keep the blue cookie color brighter.
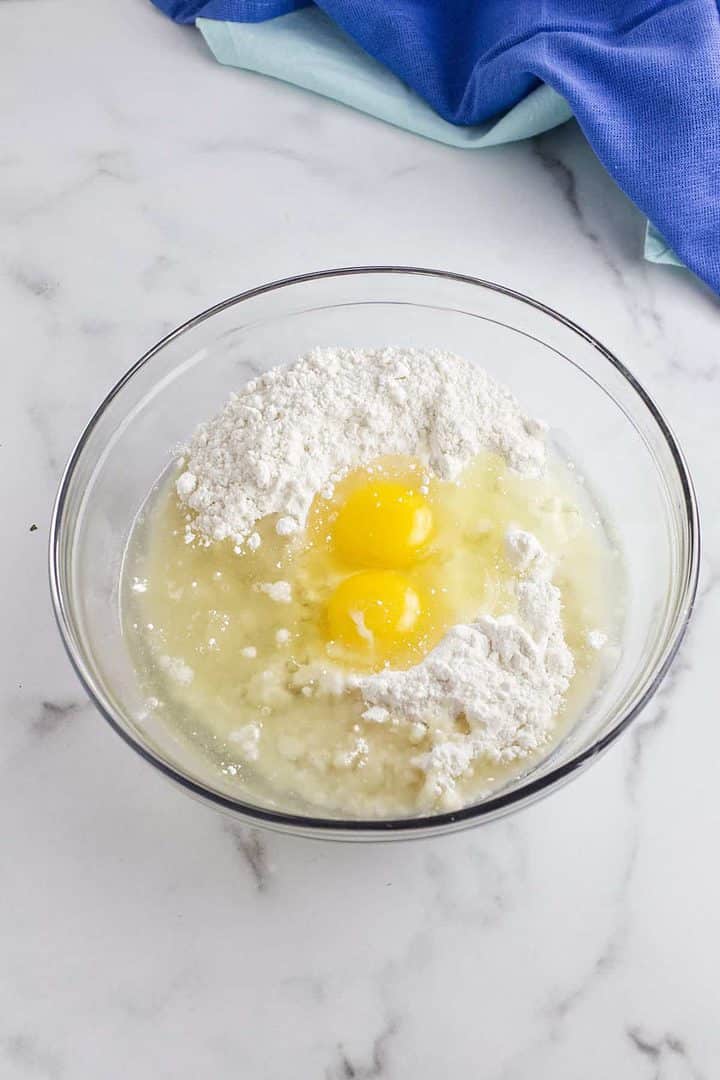
Step 1: Add the cake mix, vegetable oil, and eggs in a large bowl.
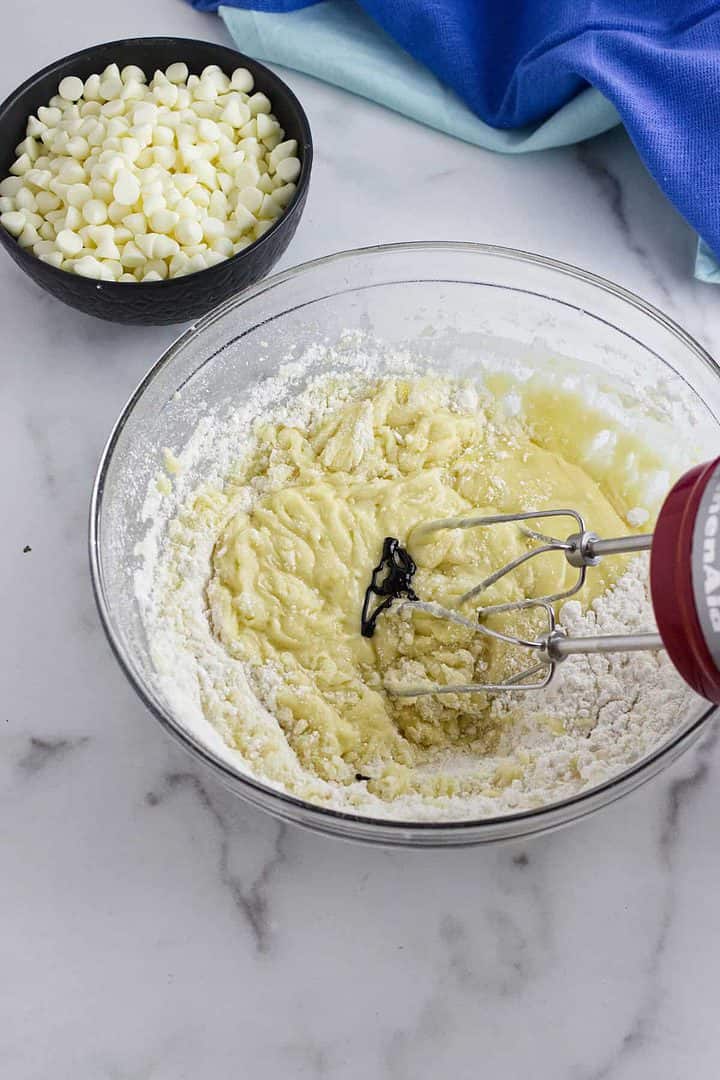
Step 2: Using a hand mixer, mix the cookie batter up. Add the Dark Blue gel colorant and mix in.
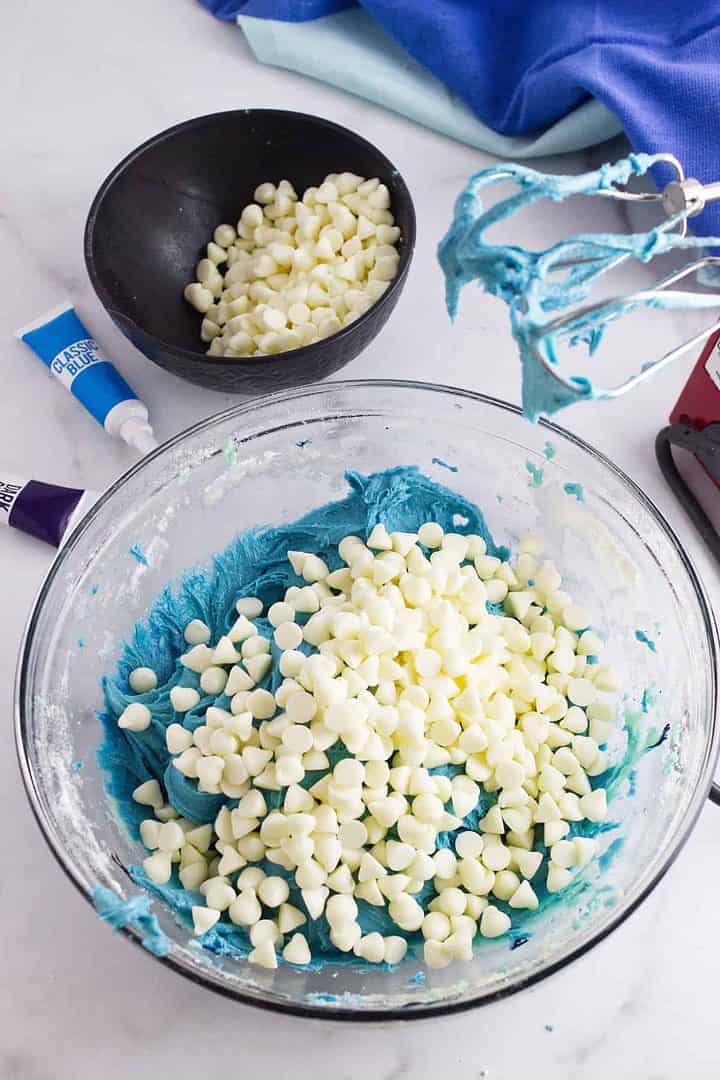
Step 3: Add the white chocolate chips, reserving some to top the half baked cookies later.
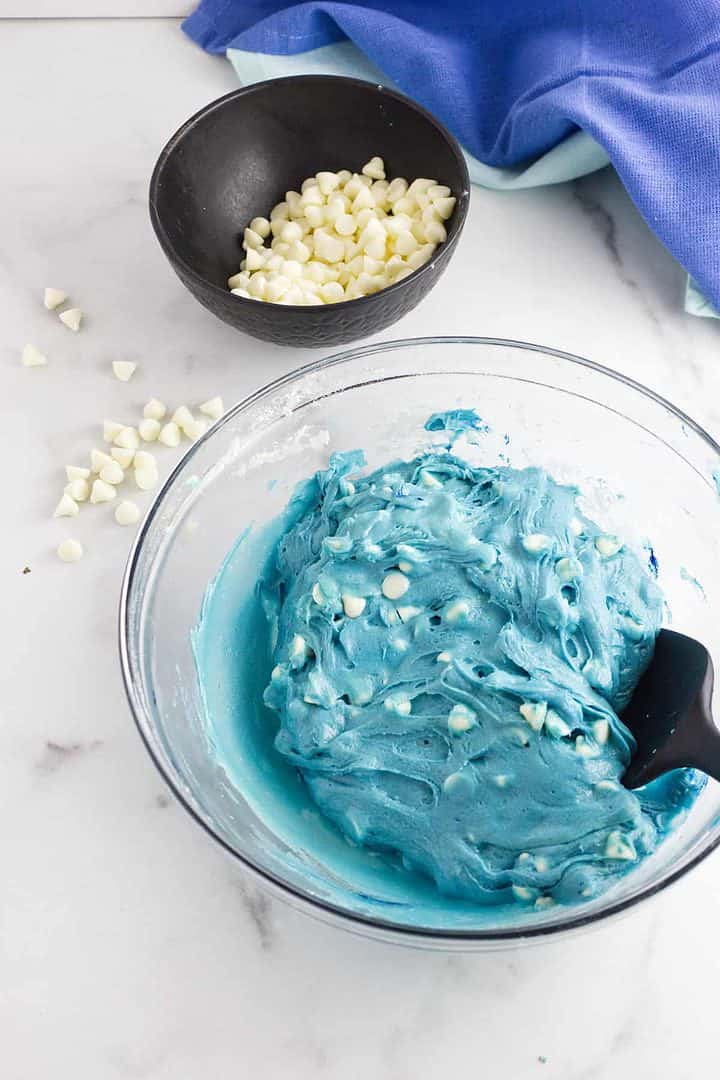
Step 4: Mix the chips in with a spatula to that they are evenly distributed. The dough will be sticky.
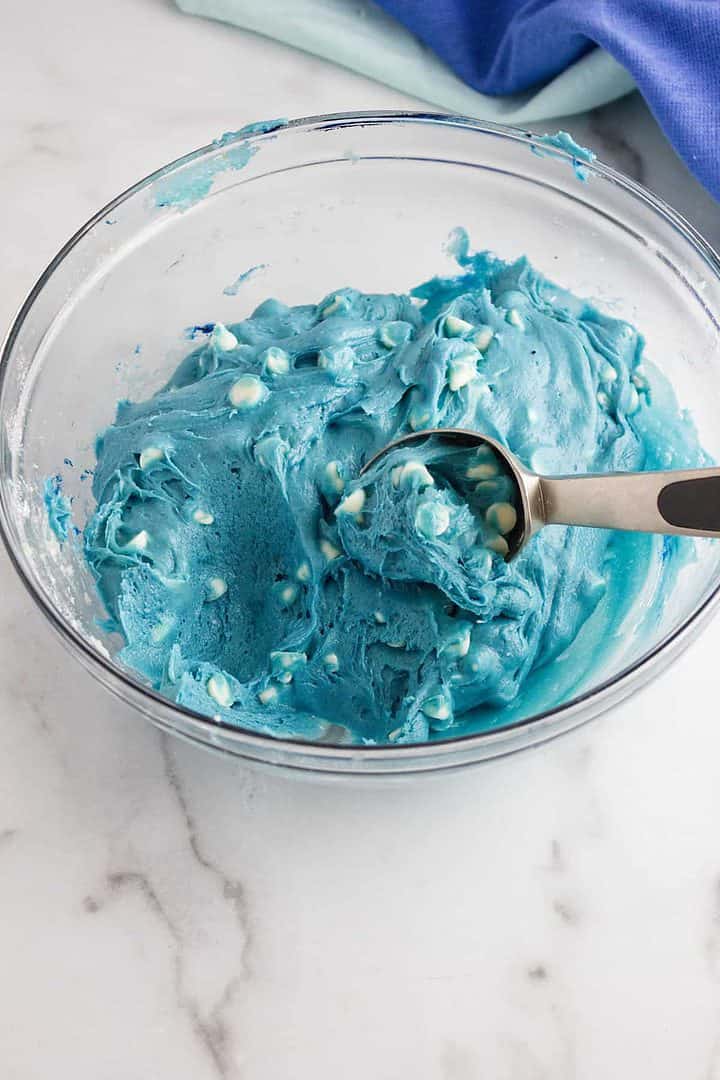
Step 5: Scoop out cookie dough in 2 tablespoon scoops directly onto the parchment paper covered cookie sheets.
Step 6: Bake the cookies for 6 minutes. Remove from oven and press on some white chocolate chips on the tops. Return to oven for 3 minutes.
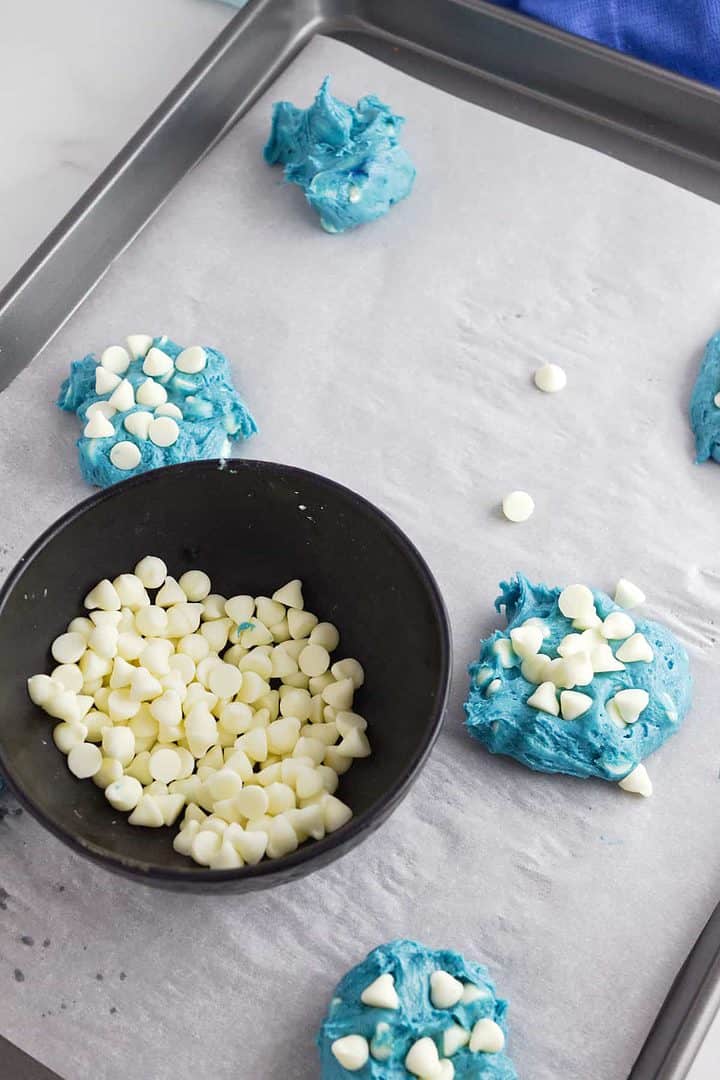

Step 7: White chocolate browns very easily. By adding the chips on top at that last few minutes of baking, it helps to minimize the browning.
Set the cookie tray to cool for 5 minutes, then transfer the cookies to the wire cooling rack.
Serving Suggestions
Serve these blue velvet cookies with cold milk, coffee, or hot chocolate for an easy dessert. Their bold blue color also makes them a fun addition to baby gender reveals, birthday parties, cookie trays, and school celebrations.
Substitutions and Variations
Here are a few easy ways to change up these blue velvet cookies without changing the basic cake mix cookie method.
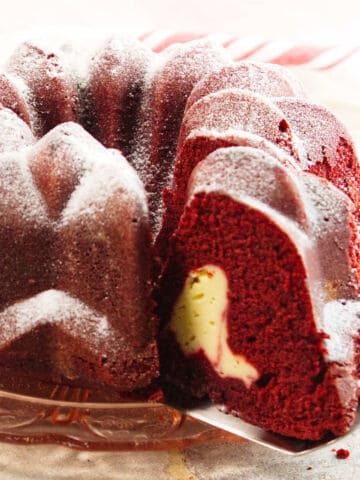
- Color Variation: Use the same recipe with red gel food coloring for red velvet-style cookies, or green gel food coloring for Christmas cookie trays.
- Chocolate Chip Swaps: White chocolate chips give the cookies their blue-and-white look, but milk chocolate, dark chocolate, or semi-sweet chocolate chips will also work.
- Flavor Add-Ins: Add ½ teaspoon almond extract for a soft bakery-style flavor, or ¼ teaspoon peppermint extract if you want a winter holiday version.
Tips for Success
Here are a few tips for making soft, bright blue velvet cookies:
- Don't Overmix: Mix the dough just until the cake mix is fully combined with the eggs and oil. Overmixing can make the cookies less tender.
- Use Gel Food Coloring: Gel food coloring gives the cookies a stronger blue color without adding extra liquid to the dough. Dark blue gel works best for this recipe.
- Check Your Egg Yolks: Very orange egg yolks can dull the blue color. If needed, use 4 egg whites instead of 2 whole eggs to help keep the cookies brighter.
- Scoop Evenly: Use a cookie scoop so the cookies bake at the same rate and stay a similar size.
- Don't Overbake: Bake just until the edges are set and the centers still look slightly soft. The cookies will continue to set as they cool.
Storage Options
These blue velvet cookies store well, making them easy to bake ahead for parties, cookie trays, or a Hanukkah dessert table.
- Room Temperature: Store cooled cookies in an airtight container at room temperature for up to 4 days. Add a slice of bread to the container to help keep the cookies soft.
- Freezer: Freeze the cooled cookies in a freezer-safe container or zip top freezer bag for up to 3 months. Separate layers with parchment paper so the white chocolate chips do not stick together.
- Thawing: Thaw frozen cookies at room temperature before serving. For the best texture, keep the container closed while they thaw so the cookies can reabsorb moisture.
Related Recipes
Frequently Asked Questions
Blue food coloring can turn green if the dough has too much yellow in it. Use a white cake mix, not yellow cake mix, and use dark blue gel food coloring for the best color. If your egg yolks are very orange, you can use 4 egg whites instead of 2 whole eggs to help keep the cookies brighter blue.
Gel food coloring works best because it gives the cookies a stronger blue color without adding extra liquid to the dough. Liquid food coloring can be used in a pinch, but the color may be lighter and less vibrant.
No, this dough is thick enough that the cookies do not usually need chilling. If the dough feels too soft or sticky, chill it for 20 to 30 minutes before scooping to make it easier to handle and help reduce spreading.
Hard cookies are usually caused by overbaking. Bake the cookies just until the edges are set and the centers still look slightly soft. They will continue to firm up on the baking sheet as they cool.
Dessert Recipes
Get The Recipe!
Blue Velvet Cookies
Equipment
- Large Rimmed Cookie sheet with cooling racks
- Hand Mixer
Ingredients
- 1 white cake mix must be white
- 2 large eggs
- ½ cup vegetable oil
- 1 teaspoon dark blue gel food colorant
- 2 cups white chocolate chip morsels Reserve ½ cup white chocolate chips for topping the cookies.
Instructions
- Heat the oven to 350° F. Line two cookie sheets with parchment paper and set aside.
- In a large mixing bowl, combine the white cake mix, eggs, and oil until well blended. Add ½ - 1 teaspoon of Dark Blue Gel Food Color and mix into the batter.1 white cake mix, 2 large eggs, ½ cup vegetable oil, 1 teaspoon dark blue gel food colorant
- Stir in the white chocolate chip morsels. Scoop out 2 tablespoon scoops onto the parchment covered cookie sheet, about 2" apart. The dough will be sticky. You should have 18 to 20 cookies.2 cups white chocolate chip morsels
- Bake for 6 minutes and take the cookie sheet out of the oven. Press on some extra white chocolate chips on the tops and then put the cookie sheet back in the oven for 3 more minutes, or until you start to see golden brown on the cookie edges and morsels.
- Remove and set to cool for 5 minutes before transferring cookies to a wire rack. Serve when cool.
Notes
- Don't Overmix: Mix the dough just until the ingredients are combined. Overmixing can lead to tougher cookies with a less tender crumb.
- Use Gel Food Coloring: For that striking blue color without watering down your dough, opt for gel food coloring instead of liquid dyes. Add it gradually until you reach your desired hue.
- Chill the Dough: If your dough feels too soft or sticky, chill it in the refrigerator for 20-30 minutes. This makes it easier to handle and helps prevent the cookies from spreading too much.
- Scoop Evenly: Use a cookie scoop to portion out the dough. This ensures all your cookies are roughly the same size, promoting even baking.
- Don't Overbake: These cookies are meant to be soft and cake-like. Bake them just until the edges are set and the centers look slightly soft. They'll continue to set as they cool.
Nutrition
Pin It For Later ⤵


Leave a Reply