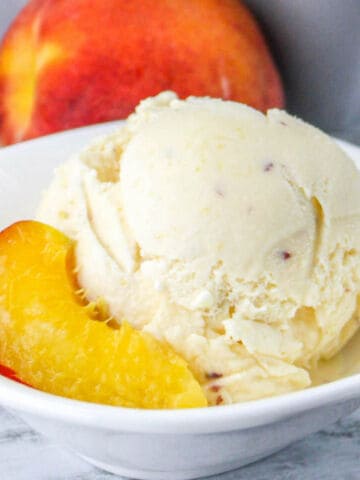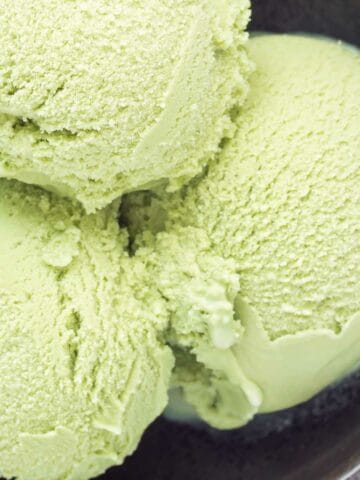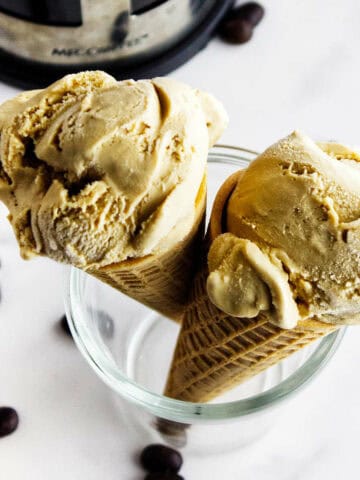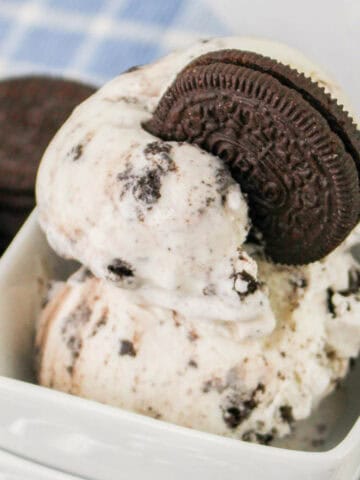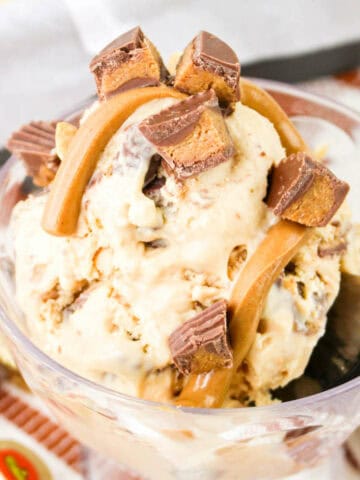
Ice cream recipes include churned and no-churn frozen desserts made with a variety of flavors and ingredients. This category covers classic ice cream, fruit-based options, and simple frozen treats.
This collection includes:
- Classic churned ice cream flavors
- No-churn and simple frozen desserts
- Fruit-based and seasonal ice cream recipes
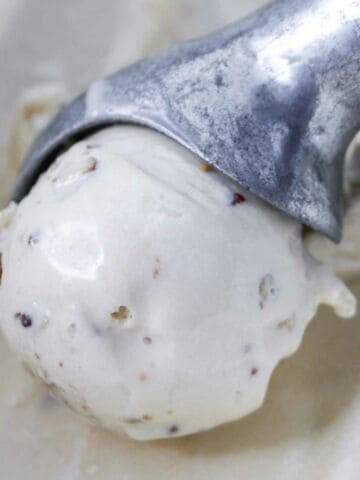
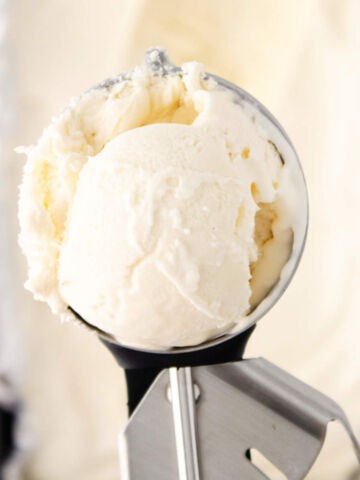
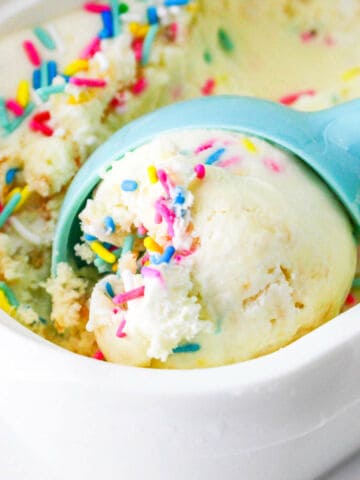
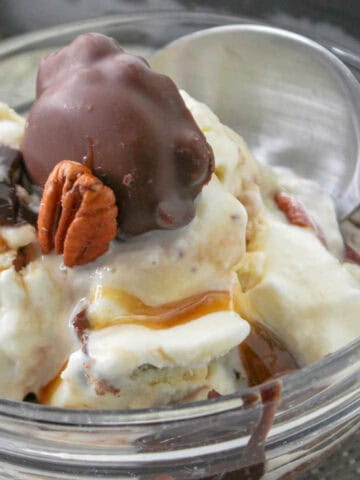
Homemade Ice Cream and Frozen Treats
This section features ice cream recipes, including classic flavors and simple frozen treats.