Sushi rice made in a rice cooker is simple once you know how it comes together. The key is not just cooking the rice, but how you handle it after it is done. This method shows you how to make perfect sushi rice.
These instructions are written for a common 6-cup rice cooker with a simple Cook and Warm cycle, but they also work in more advanced models using the standard white rice setting.
How This Sushi Rice Recipe Works
This method keeps the rice-to-water ratio simple so the grains cook evenly and stay tender instead of gummy. The rice cooker handles the heat and timing automatically, so you can focus on the rest of the meal while the rice cooks.
- Reliable rice-to-water ratio: Using the correct rice-to-water ratio produces tender grains that separate easily when fluffed.
- Hands-off cooking: The rice cooker controls the temperature and cooking cycle so you do not need to monitor the pot.
- Consistent texture: Rinsing the rice removes excess starch so the cooked rice stays light and separate.
- Family-size batch: Two cups of uncooked rice produces enough for several servings and works well for most 6-cup rice cookers.
Ingredients Overview
You only need a few basic ingredients to make sushi rice in a rice cooker, but each one plays a role in the final texture and flavor. Use Japanese short-grain rice or rice labeled sushi rice for the right sticky, tender texture. Regular long-grain rice will not give you the same finish.
Full ingredient amounts and preparation instructions are in the printable recipe card at the bottom of this post.
- Sushi rice: Look for Japanese short-grain rice or a package labeled sushi rice.
- Water: The amount matters, so measure carefully.
- Rice vinegar: This gives sushi rice its signature tang.
- Sugar: Balances the vinegar and rounds out the seasoning.
- Salt: Brings the seasoning into balance.

Rice Cooker Sushi Rice Ratio
Sushi rice is a type of short-grain rice, so it behaves differently than long-grain varieties like jasmine or basmati. If you've used short-grain rice before, the ratios and texture will feel familiar, but sushi rice is finished with seasoning and handled differently after cooking.
When using standard measuring cups, a reliable rice cooker ratio for short-grain sushi rice is 1 cup rice to 1 ¼ cups water. For this recipe, 2 cups of rice and 2 ½ cups of water cook evenly in most 6-cup rice cookers. Sushi rice should be tender and slightly sticky, but not soft or mushy after seasoning.
- Use one measuring system: Do not mix rice cooker cups with standard cups.
- Adjust if needed: Slightly less water works better in some rice cookers.
For more details on rice cooker settings and ratios, see my rice cooker guide.
How To Make Sushi Rice In A Rice Cooker
This process shows how to go from raw rice to properly seasoned sushi rice. Pay attention to the transfer and cooling steps, since that is what gives sushi rice its texture.
Follow the step-by-step visual guide below for the full process.

- Measure 2 cups short-grain sushi rice using a standard measuring cup.
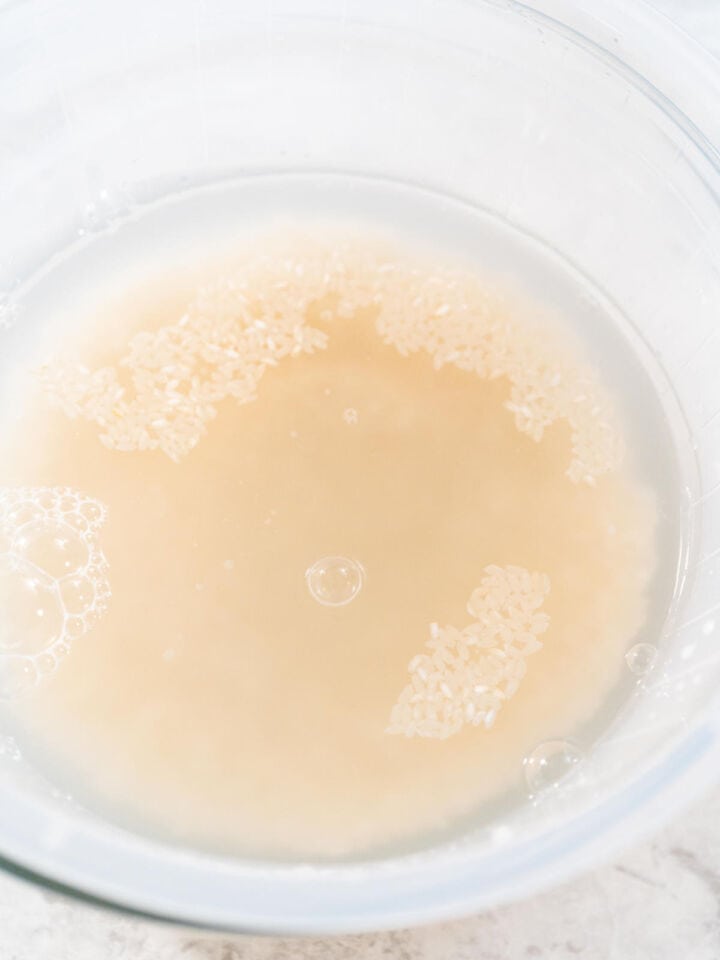
- Place the rice in a fine mesh strainer and rinse under cold water, gently swishing, until the water runs mostly clear.
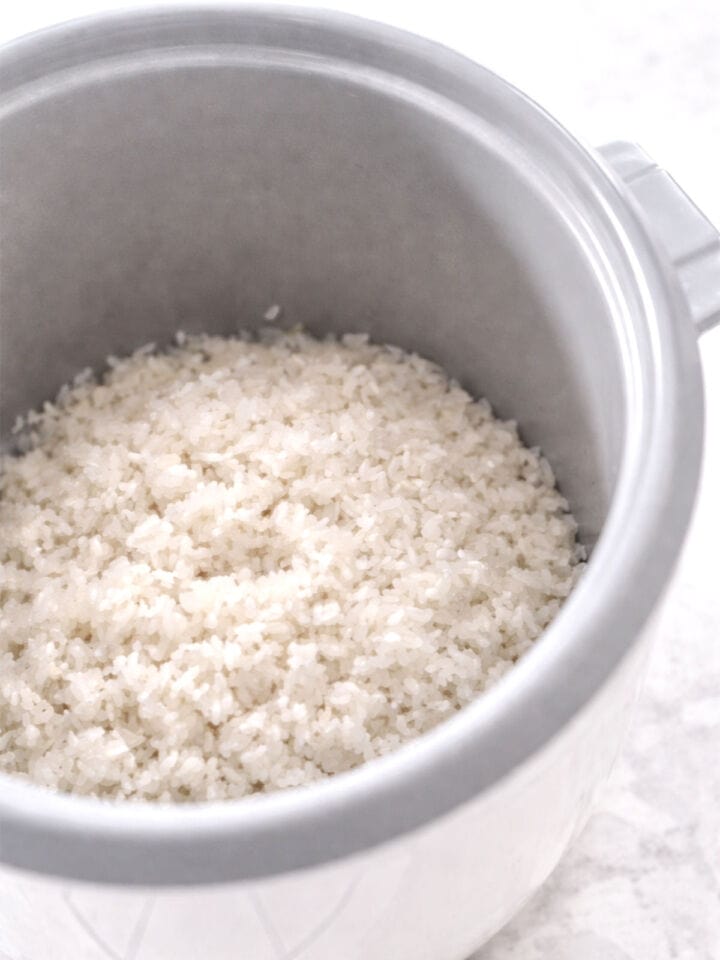
- Add the rinsed rice to the inner pot of the rice cooker.
Pro Tip - Why You Rinse Rice
Rinsing rice until the water runs mostly clear removes excess surface starch. This helps the grains stay tender and distinct instead of turning heavy or gummy during cooking.
- Add 2 ½ cups water and level the rice so it cooks evenly.
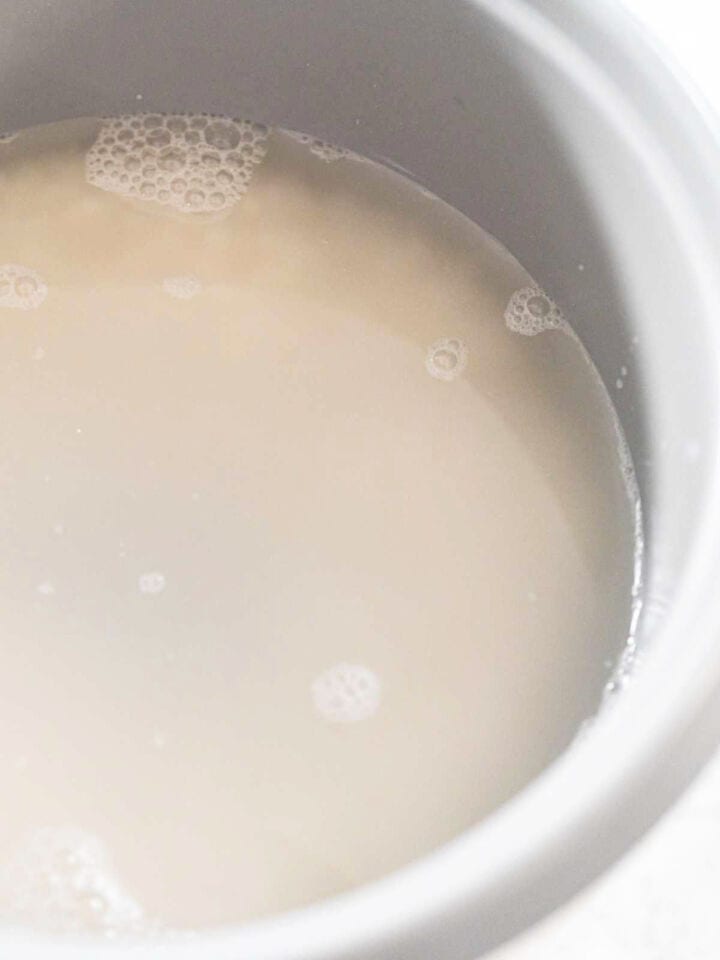
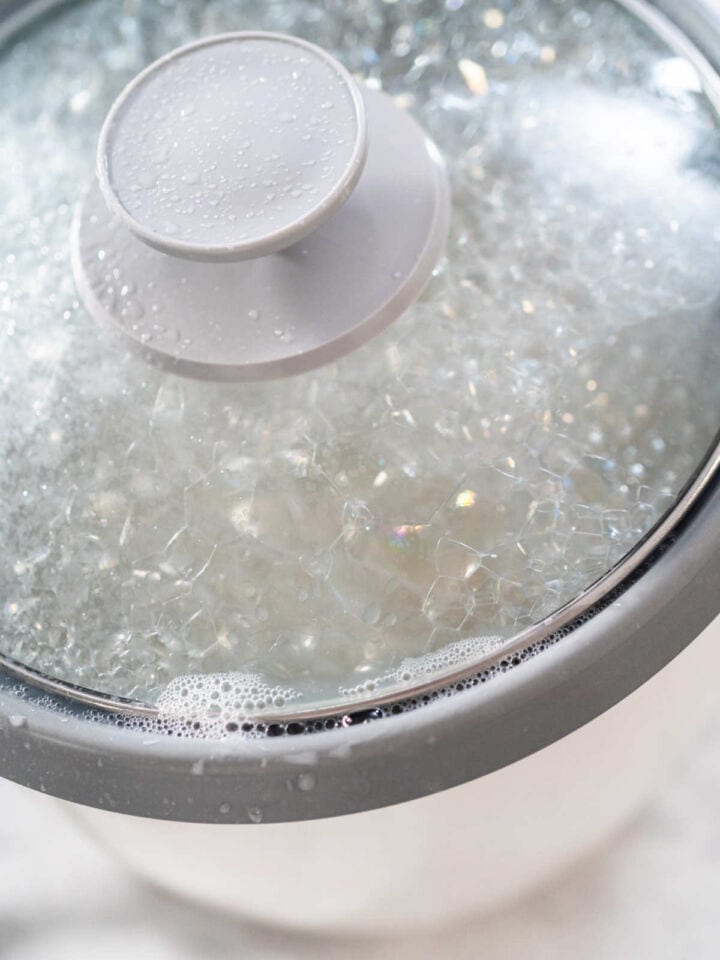
- Cook using the standard White Rice setting.
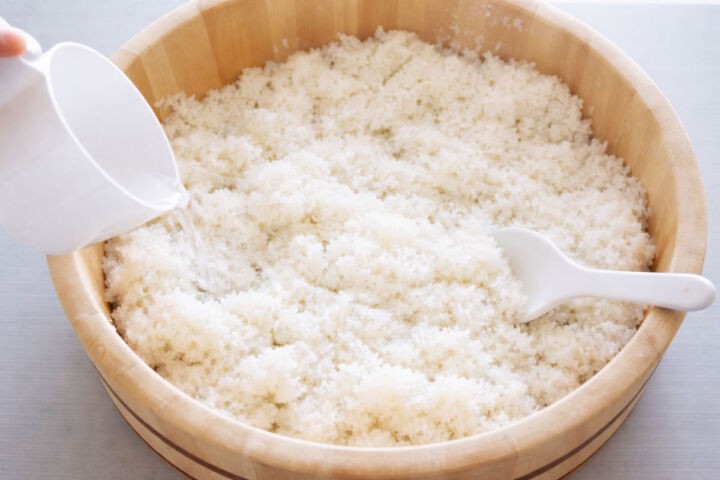
- Combine rice vinegar, sugar, and salt in a small bowl and warm just enough to dissolve the sugar and salt.

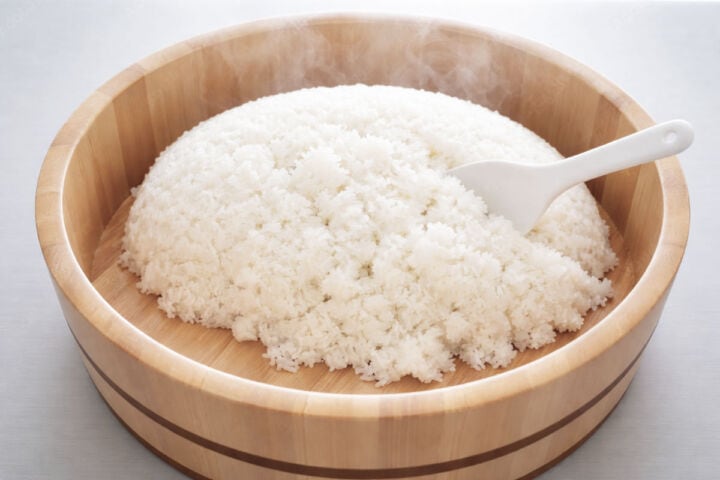
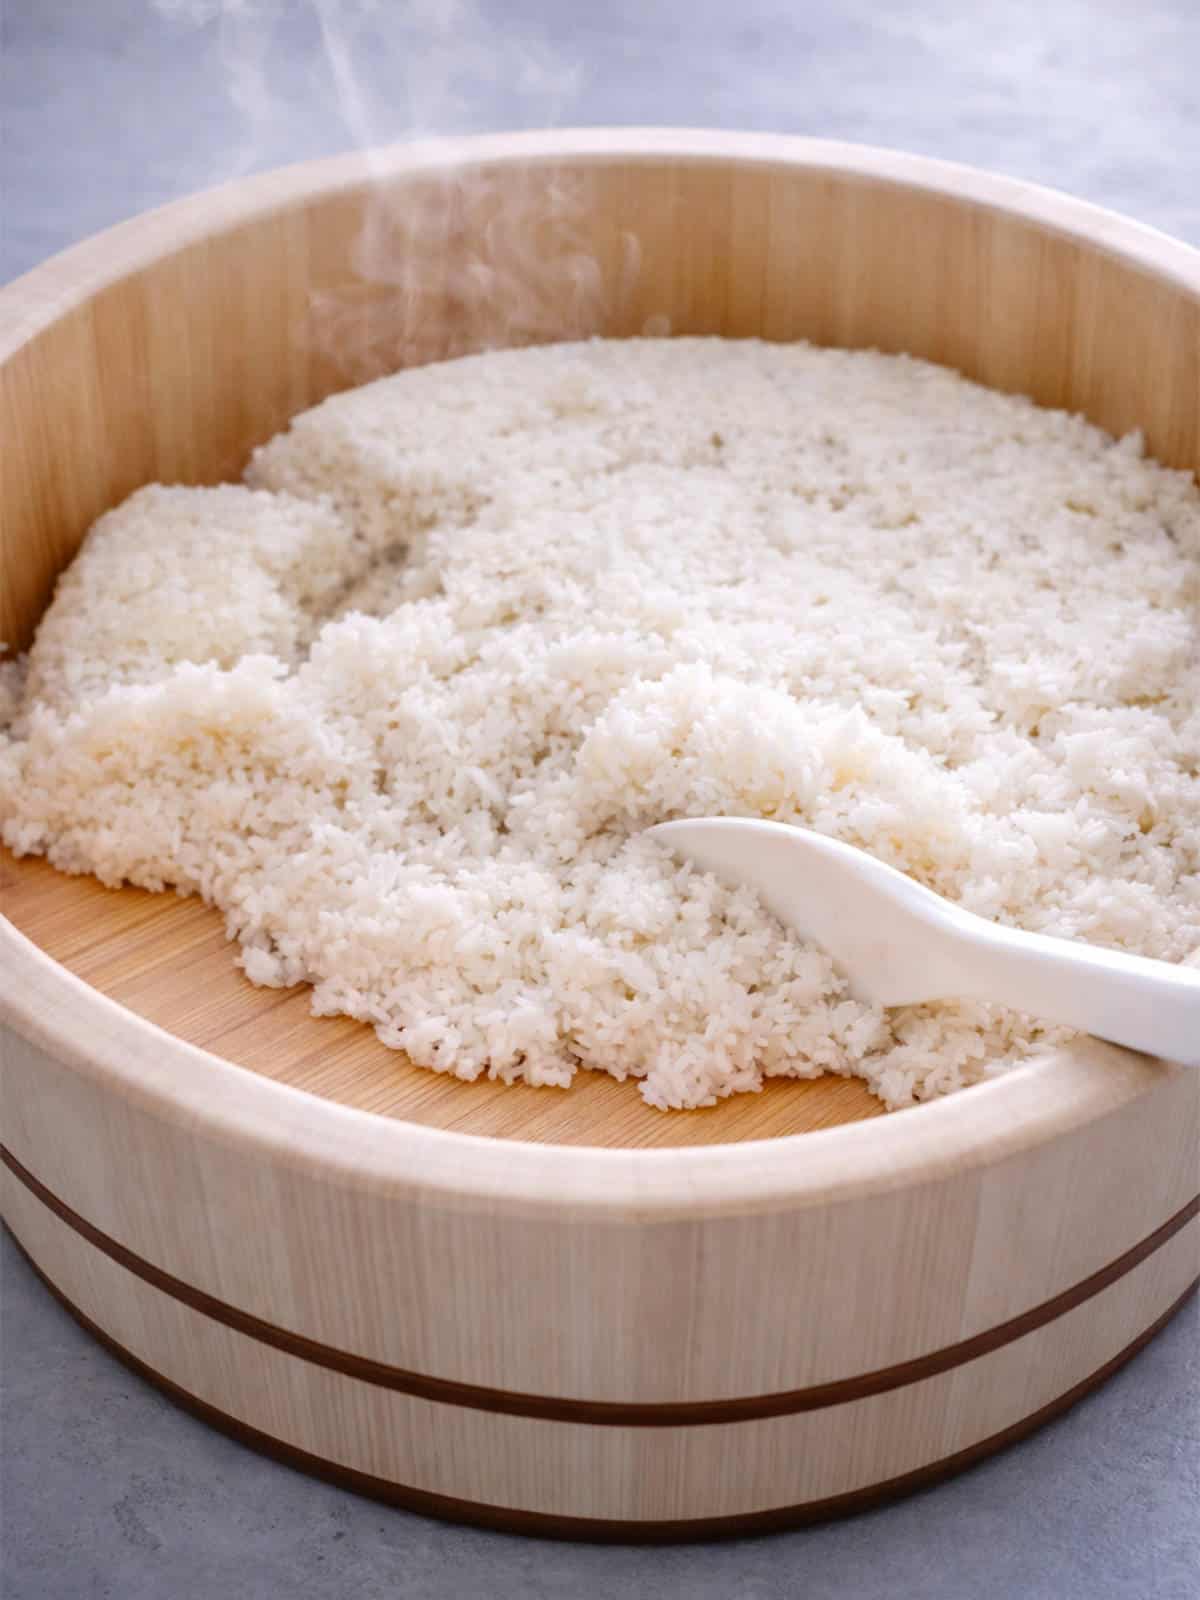
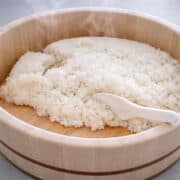
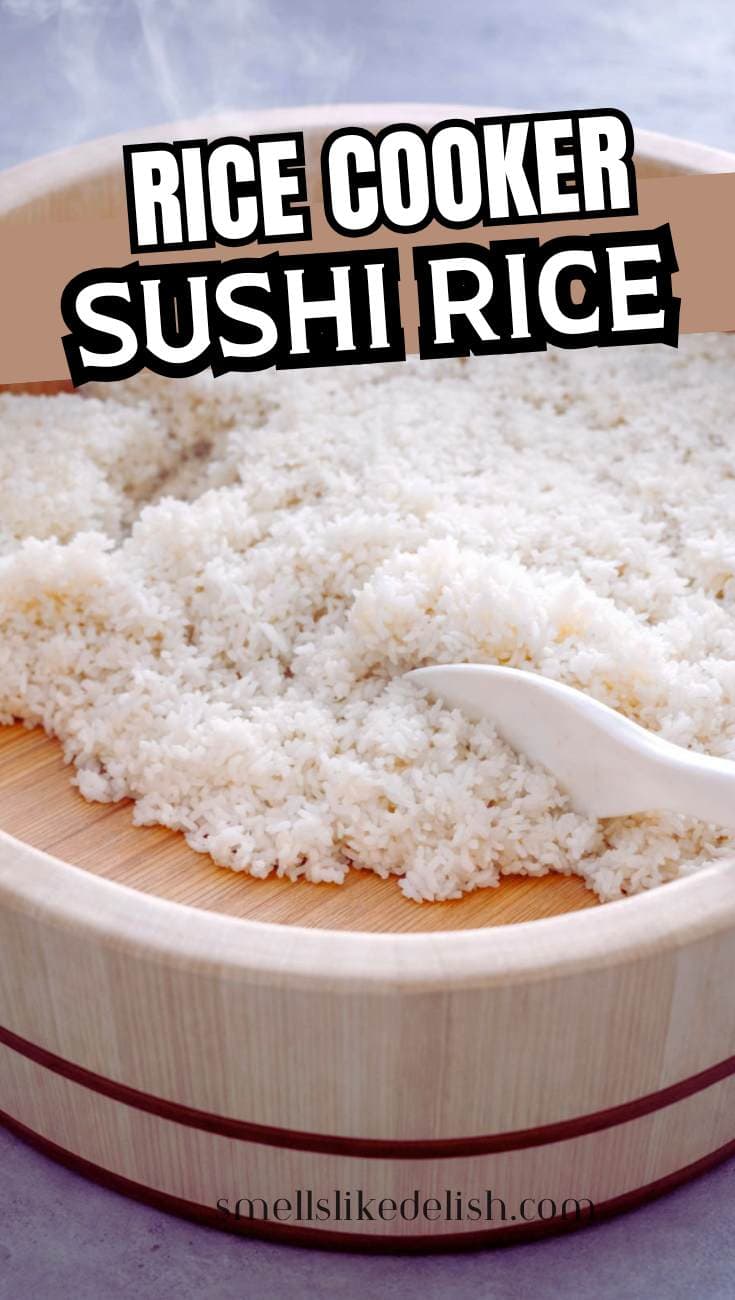
- Transfer the cooked rice to a wide, shallow bowl or baking dish.
- Drizzle the seasoning evenly over the warm rice, not all in one spot.
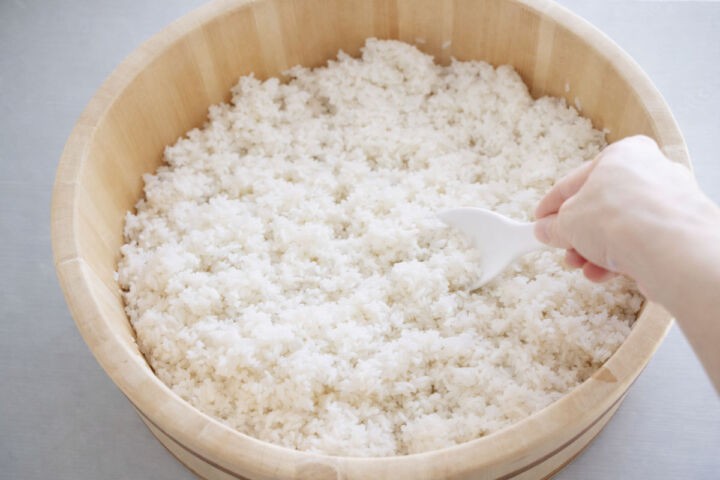
- Gently fold and slice through the rice with a paddle or spatula. Do not stir in circles.
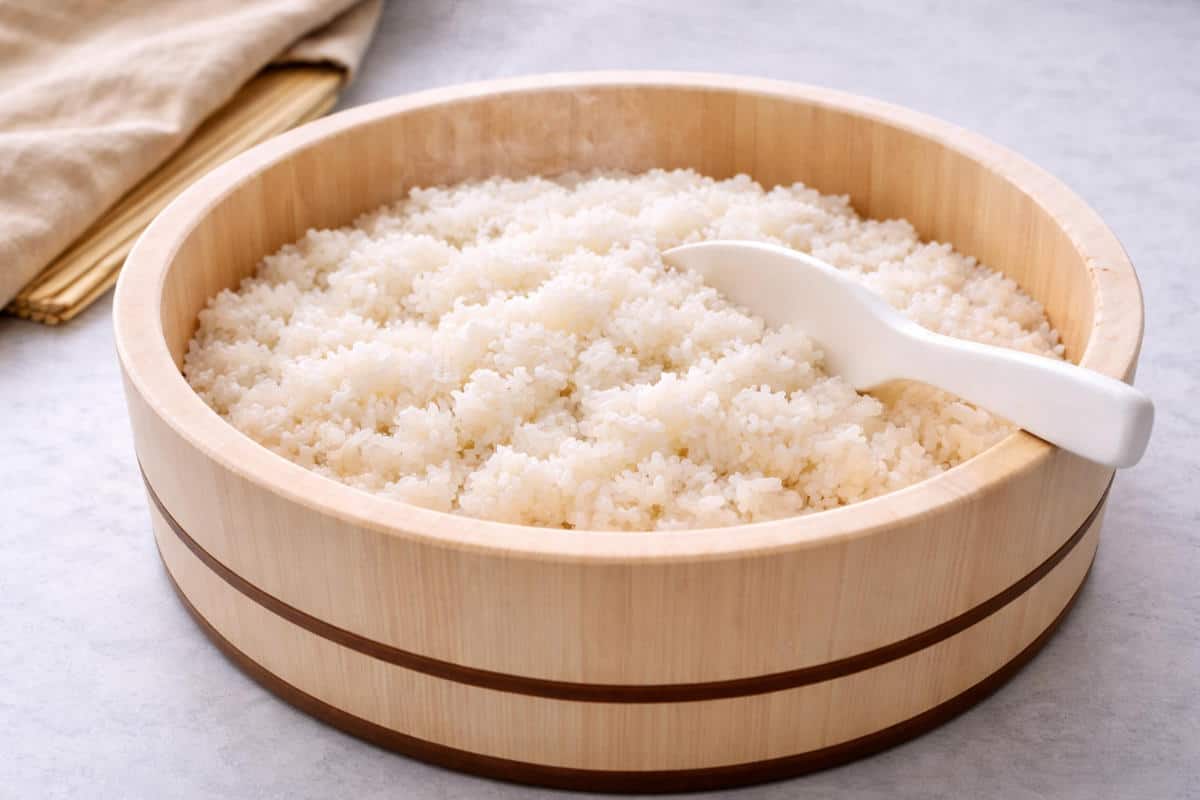
- Continue folding as the rice cools slightly until the grains look glossy and hold together.

Pro Tip - Spread The Rice Out To Cool
Do not mix the seasoning into rice that is still packed in the rice cooker. Transferring it to a wide bowl, or a wooden sushi rice tub (hangiri) if you have one, helps the seasoning distribute evenly and keeps the grains from turning dense or wet. A wide, shallow salad bowl works just as well.
Why Cooling Sushi Rice Matters
Cooling the rice after seasoning is what gives sushi rice its classic texture. Warm rice absorbs the seasoning, but it needs a little airflow to firm up slightly and develop that glossy finish.
- Keeps the grains distinct: Sticky enough to hold together without turning heavy or pasty.
- Improves the texture: The surface becomes light and glossy instead of wet.
- Easier to work with: Slightly cooled rice shapes better for rolls, bowls, or hand rolls.
Common Mistakes To Avoid
These are the most common issues that can affect the texture and consistency of sushi rice.
- Skipping the rinse: Leaves excess starch on the rice, which can make it heavy and gummy.
- Using too much water: The rice becomes too soft and can turn mushy once the seasoning is added.
- Seasoning in the rice cooker bowl: The rice is harder to spread out, so the seasoning does not distribute evenly.
- Overmixing: Breaks the grains and makes the texture dense instead of light and glossy.
- Using long-grain rice: Long-grain rice will not give you the same sticky, tender texture needed for sushi rice.
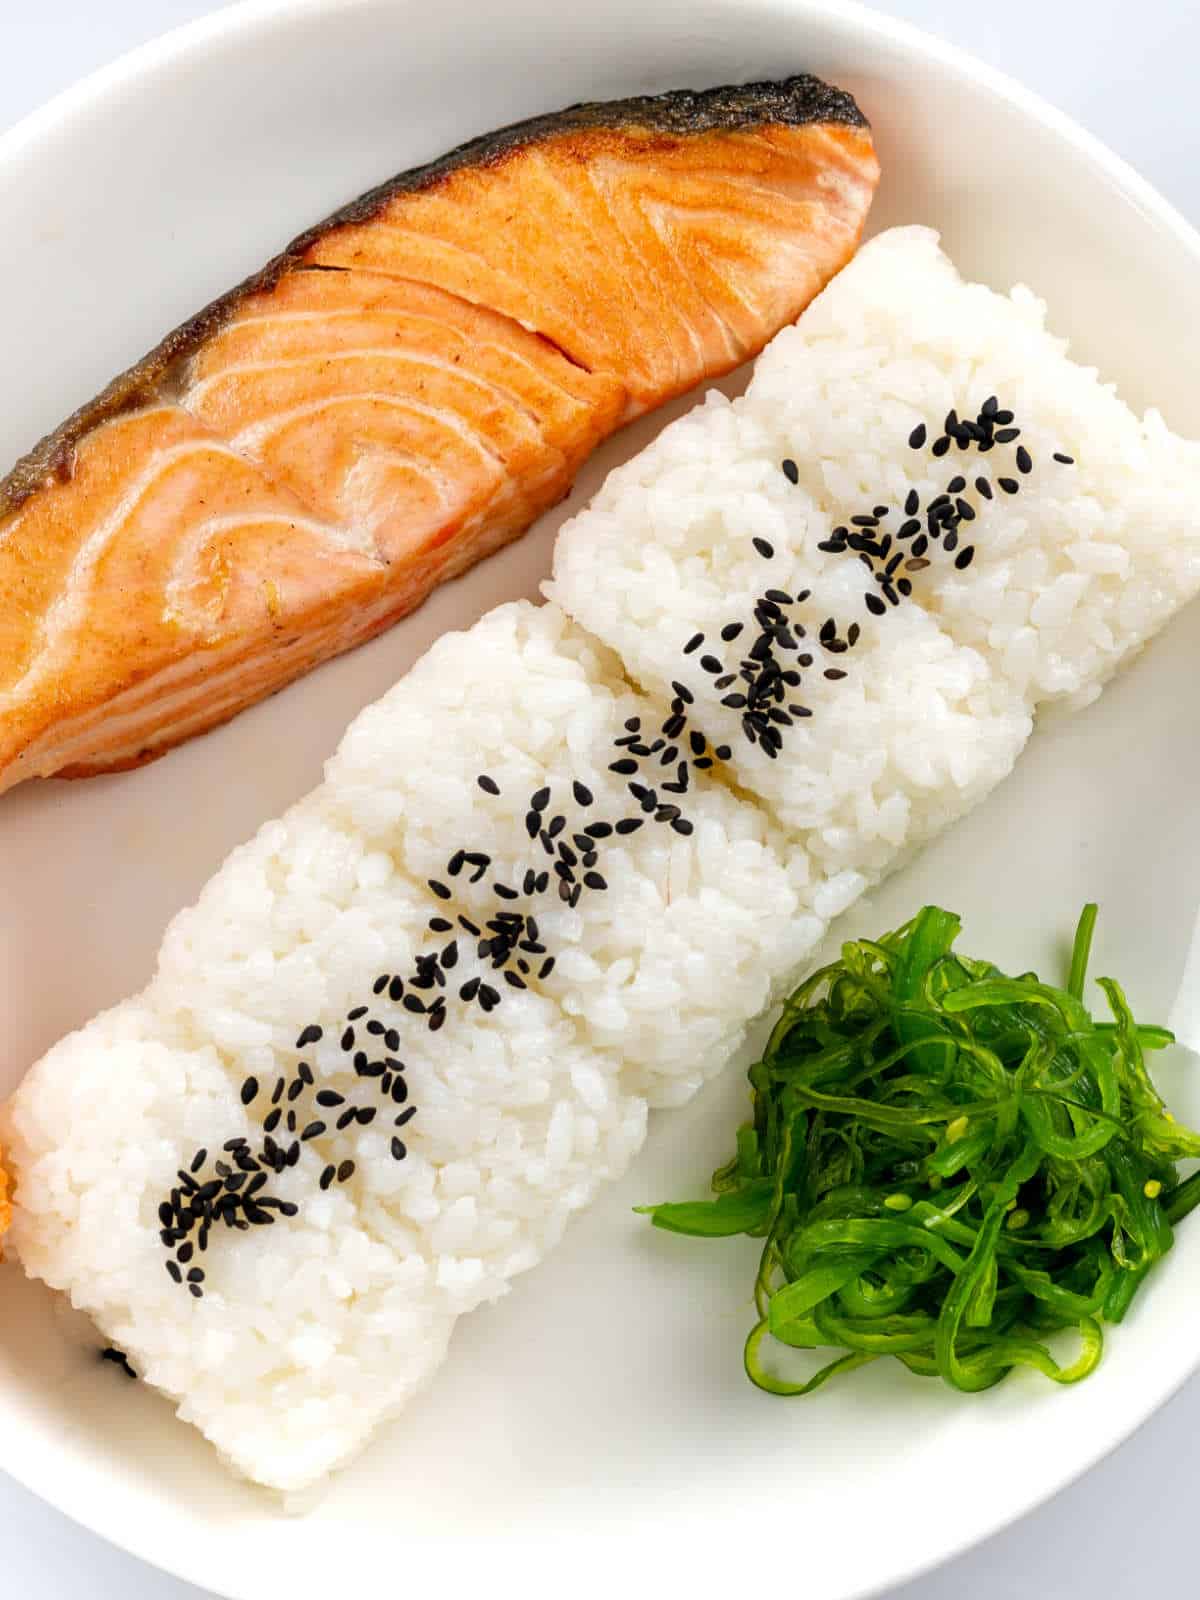
How To Use Sushi Rice
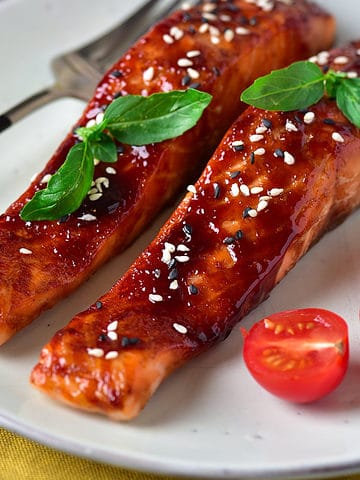
Once your sushi rice is finished, you can use it for more than just rolls. It works well in a variety of simple sushi-style meals at home. It's the perfect side to teriyaki salmon or chicken karaage.
- Sushi rolls: Use it for maki, California rolls, or simple vegetable rolls.
- Hand rolls: A beginner-friendly option that does not require precise rolling.
- Sushi bowls: Top with salmon, crab, cucumber, avocado, or spicy mayo.
- Onigiri: Shape into rice balls once the rice is cool enough to handle.
Storage Options
Sushi rice is best used fresh, but here is how to handle it if you need to hold or store it.
- Best the day it is made: The texture is at its peak when fresh.
- Short room temperature hold: Keep covered with a damp towel if using within a few hours.
- Refrigerate leftovers: Store in an airtight container for up to 1 day. The rice will firm up in the fridge.
- Warm gently if needed: Use a short burst in the microwave with a damp cover to soften slightly.
Related Recipes
- Japanese Yum Yum Sauce
- Teppanyaki Sauce
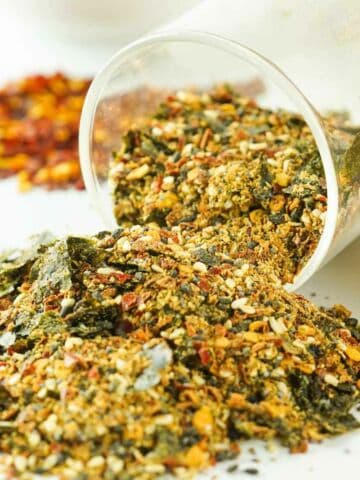
- Japanese 7 Spice (Shichimi Togarashi)
- Orange Teriyaki Sauce
- Korean Kimbap
Frequently Asked Questions
Soaking sushi rice for 20 to 30 minutes after rinsing can help the grains cook a little more evenly, but it is not required when using a rice cooker. Most rice cookers handle the cooking well without a soaking step.
This usually comes from too much water, not rinsing the rice well, or overmixing after cooking.
Yes, but you need to use the same cup for both the rice and the water. Do not mix a rice cooker cup with a standard measuring cup or the ratio will be off.
Sushi rice is best used the same day, but you can keep it covered at room temperature for a few hours if needed.
Japanese Recipes

Get The Recipe!
Rice Cooker Sushi Rice
Equipment
- Rice Cooker
- wide shallow bowl 9 x 13-inch baking dish
Ingredients
- 2 cups sushi rice (short-grain white rice)
- 2½ cups water
- 4 tablespoons rice vinegar (unseasoned)
- 2 tablespoons granulated sugar
- 1 teaspoon salt
Instructions
- Rinse thoroughly: Place sushi rice in a fine mesh strainer and rinse under cold water, gently swishing, until the water runs mostly clear. Use standard measuring cups and keep the same measurement for both rice and water.
- Add to rice cooker: Transfer the rinsed rice to the rice cooker and add the water. Level the rice so it cooks evenly.2 cups sushi rice, 2½ cups water
- Cook the rice: Cook using the standard white rice setting on your rice cooker.
- Prepare the seasoning: While the rice cooks, combine the rice vinegar, sugar, and salt in a small saucepan. Warm just enough to dissolve, then let cool slightly.4 tablespoons rice vinegar, 2 tablespoons granulated sugar, 1 teaspoon salt
- Transfer the rice: Once cooking is complete, transfer the rice to a wide, shallow bowl or dish.
- Season and fold: Drizzle the vinegar mixture evenly over the warm rice. Using a rice paddle, gently fold and slice through the rice to distribute the seasoning. Do not stir in circles.
- Cool the rice: Continue folding while the rice cools slightly until the grains look glossy and hold together.
- Use or serve: Use immediately for sushi rolls, bowls, or rice balls.
Video
Notes
- Skipping the rinse: Leaves excess starch on the rice, which can make it heavy and gummy.
- Using too much water: The rice becomes too soft and can turn mushy once the seasoning is added.
- Seasoning in the rice cooker bowl: The rice is harder to spread out, so the seasoning does not distribute evenly.
- Overmixing: Breaks the grains and makes the texture dense instead of light and glossy.
- Using long-grain rice: Will not give you the same sticky, tender texture needed for sushi rice.
Nutrition
Pin It For Later ⤵
Kelly Bloom says
Delicious, I'm making this again!