

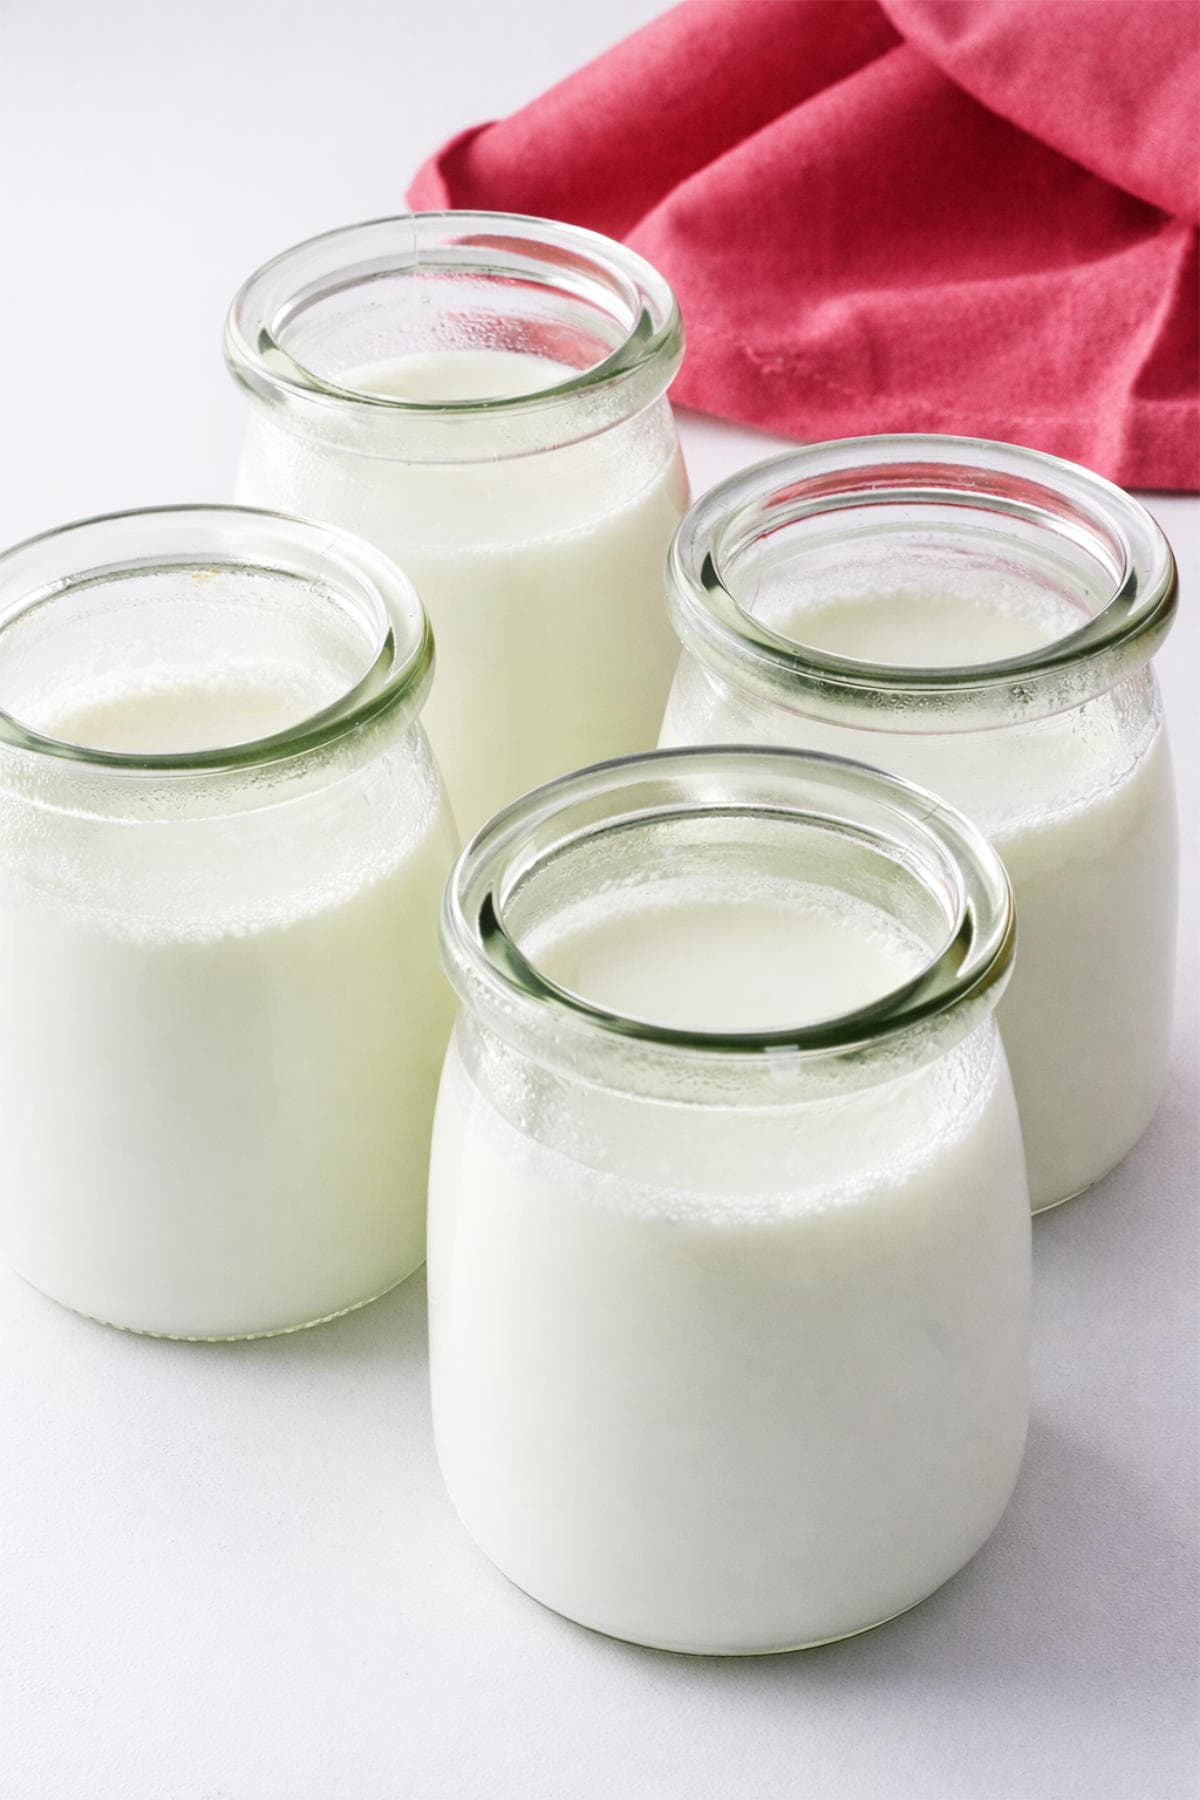
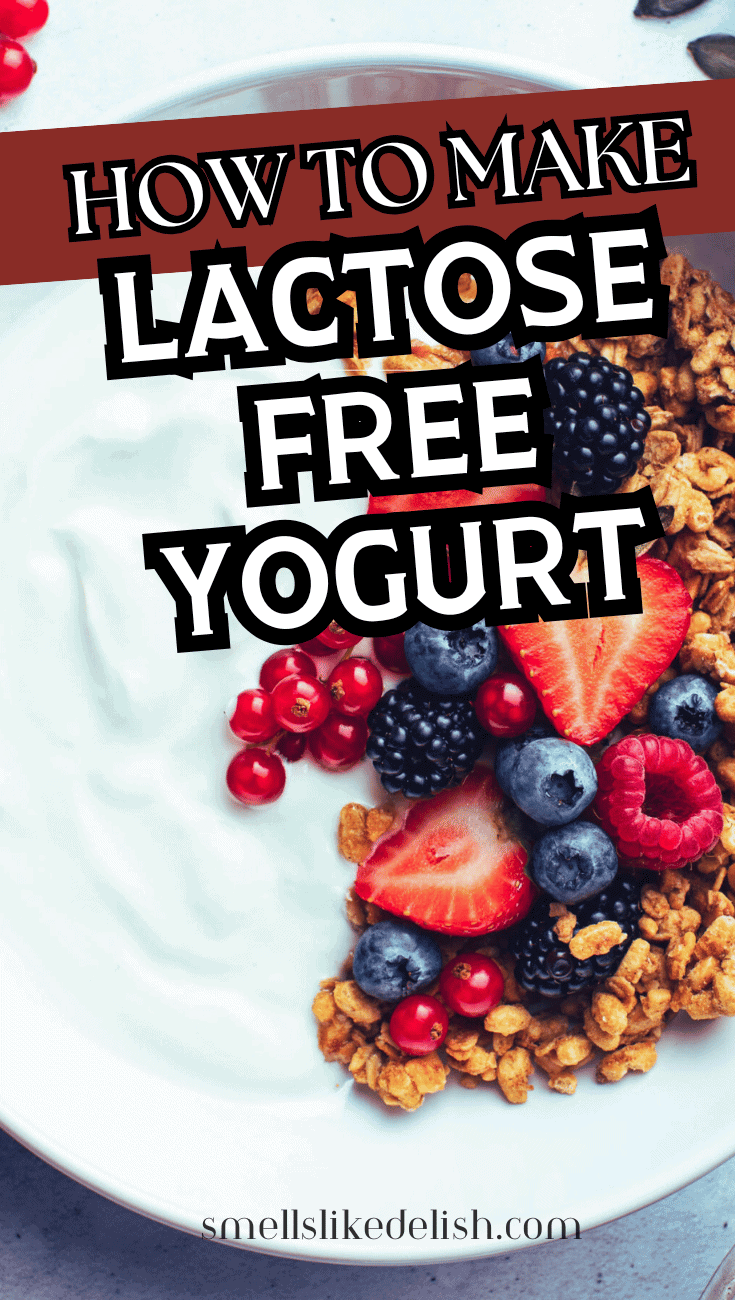
Learning how to make lactose free yogurt at home is easier than it sounds. With lactose free milk and a yogurt starter culture, you can make smooth, creamy homemade yogurt for breakfast parfaits, smoothies, sauces, and more.
This method uses an electric yogurt maker for the most reliable results. If you do not have one, you can also incubate yogurt in an Instant Pot, slow cooker, or an oven with a proof setting.
Jump to:
- Can You Make Yogurt With Lactose Free Milk?
- Why This Lactose Free Yogurt Recipe Works
- Ingredients Overview
- Choose A Starter Culture
- How To Make Lactose-Free Yogurt
- Easy Yogurt Maker Method
- Other Ways to Incubate Yogurt
- Ways to Use Homemade Yogurt
- Substitutions and Variations
- Tips for Success
- Storage Options
- Related Recipes
- Frequently Asked Questions
- Easy Breakfast Recipes
- Get The Recipe!
Can You Make Yogurt With Lactose Free Milk?
Yes. Lactose free milk works just as well as regular milk for making homemade yogurt. Even ultra-pasteurized lactose free milk can be cultured successfully.
Lactose free milk already contains the lactase enzyme, which breaks lactose into simpler sugars that are easier to digest. When the milk is fermented with yogurt starter cultures, the bacteria thicken the milk and create the familiar tangy flavor of yogurt.
This means you can make yogurt with common brands of lactose free milk such as Lactaid, Fairlife, or store-brand generics.
The key to success is maintaining the correct incubation temperature, usually around 110°F, while the cultures ferment the milk.
Why This Lactose Free Yogurt Recipe Works
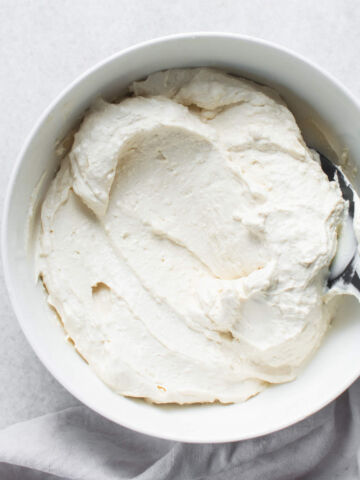
This simple method produces smooth, creamy yogurt using lactose free milk and a starter culture.
- Only two ingredients: Lactose free milk and a starter culture are all you need.
- Easy to digest: A practical homemade option for people who prefer lactose free dairy
- Reliable method: A yogurt maker keeps the temperature steady, which makes this easier for beginners.
- Useful in recipes: Perfect for parfaits, smoothies, dips, marinades, and sauces.
Ingredients Overview
Homemade lactose free yogurt requires only two ingredients.
- Lactose free milk: Any brand works well. Ultra-pasteurized lactose free milk only needs to be warmed to 110°F before culturing.
- Starter culture: Either a dehydrated yogurt culture or a few tablespoons of plain yogurt with live active cultures.
Full ingredient amounts and preparation instructions are in the printable recipe card at the bottom of this post.

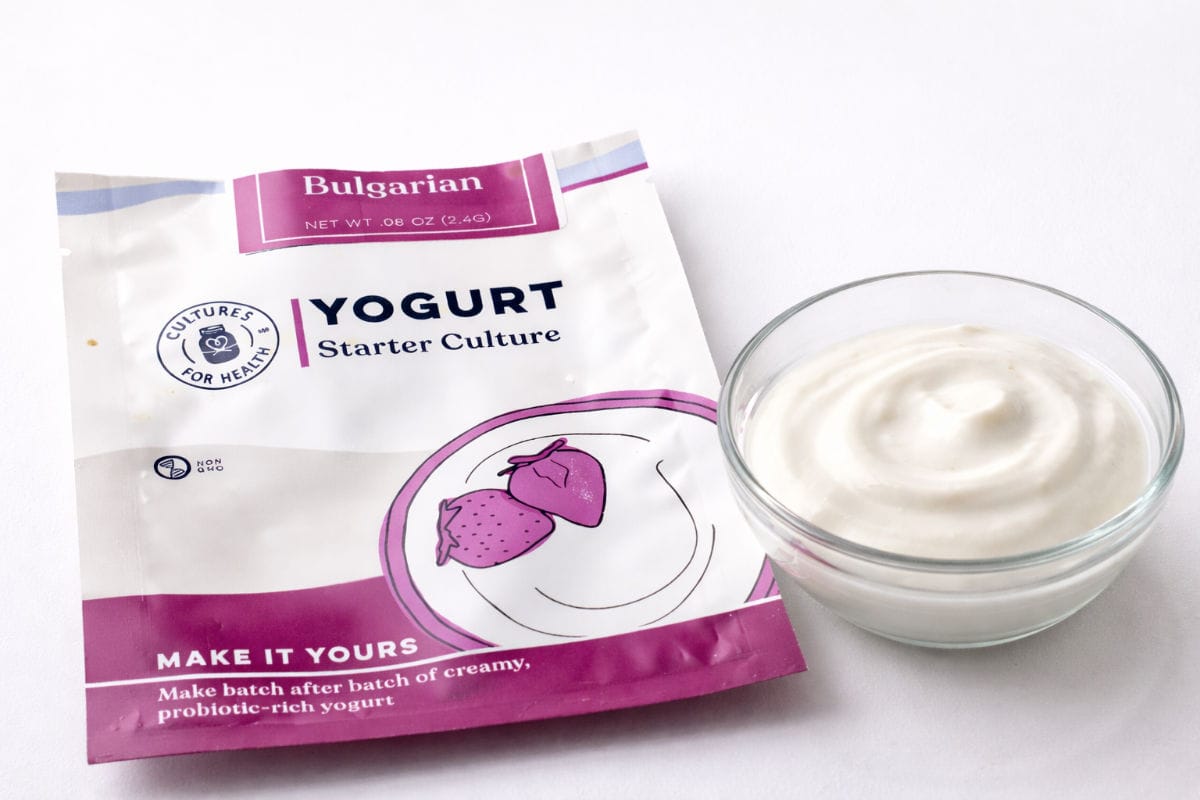
Choose A Starter Culture
You need live cultures to make yogurt. You can use either plain live cultured yogurt or a dehydrated yogurt starter. After your first batch, save a few tablespoons of your homemade yogurt to start the next batch.
- Plain live yogurt: About 3 tablespoons of unsweetened yogurt such as Fage, Stonyfield, or another brand with live cultures.
- Dehydrated yogurt starter: Products like Cultures for Health Bulgarian or Greek yogurt cultures.
How To Make Lactose-Free Yogurt
The steps for preparing the milk are the same regardless of the incubation method.
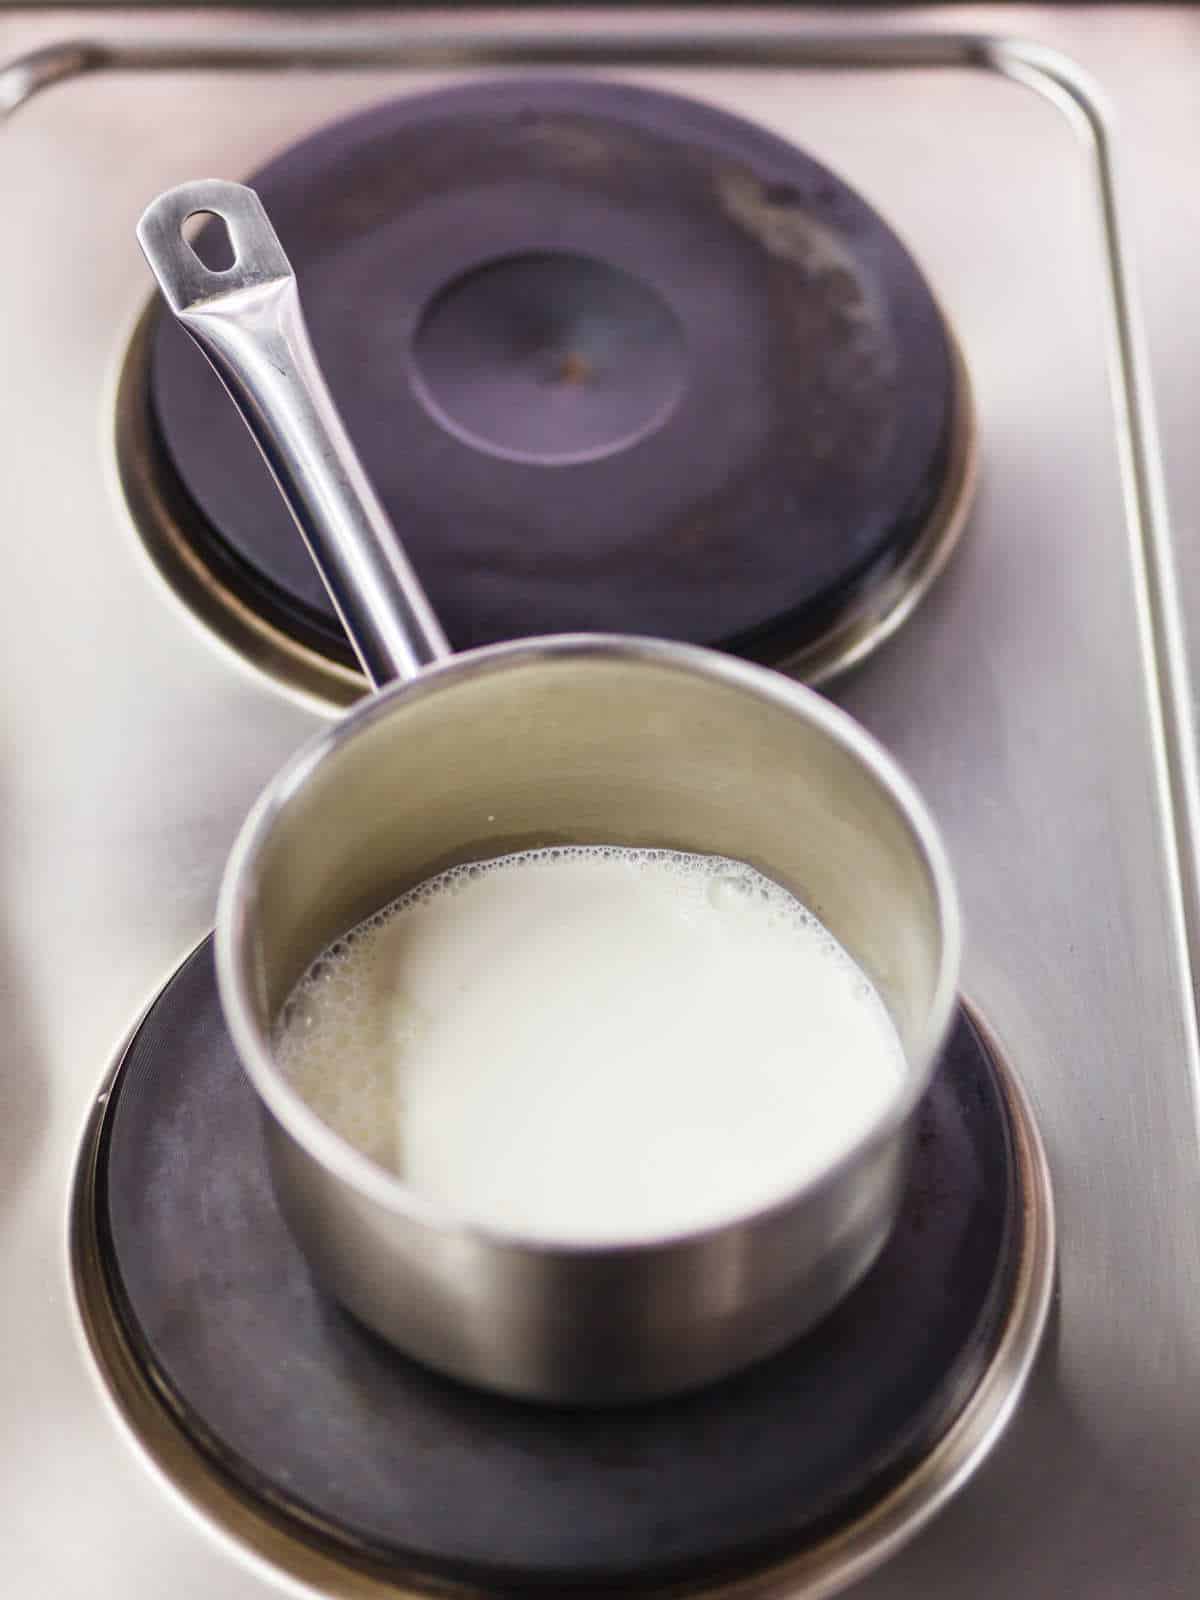
- Pour the lactose free milk into a saucepan and heat gently.
- Heat to 110°F if the milk is ultra-pasteurized. If using raw or regular pasteurized milk, heat to 160°F, then cool to 110°F.
- Mix the yogurt starter with a small amount of warm milk until smooth.
- Stir the starter mixture back into the pot of warm milk.
- Transfer the cultured milk to jars or a culturing container and incubate using one of the methods below.
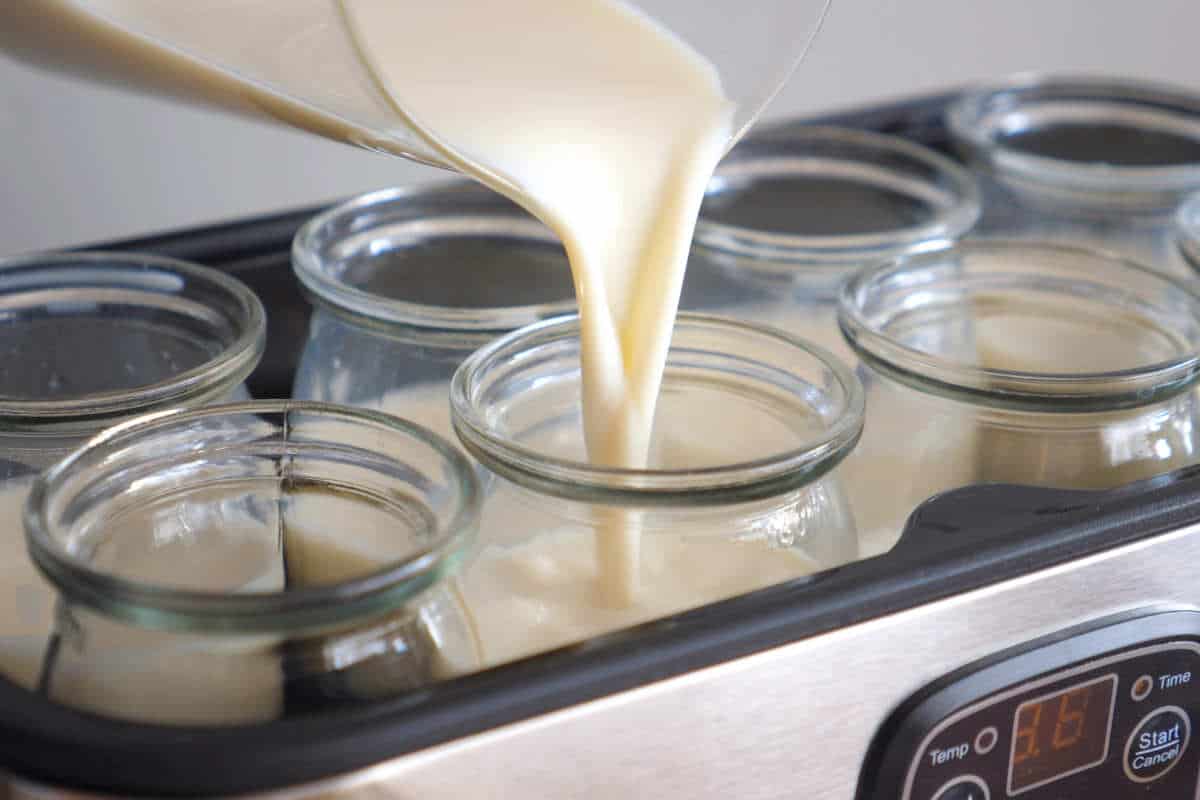
Easy Yogurt Maker Method
A yogurt maker is the easiest and most consistent way to make lactose free yogurt.
Fill the jars with the prepared cultured milk, place them in the yogurt maker, and incubate at about 110°F for 8-12 hours. After incubation, refrigerate the yogurt for at least 4 hours to allow it to fully set.
Other Ways to Incubate Yogurt
If you do not have a yogurt maker, you can also incubate yogurt using common kitchen appliances.
Instant Pot Method
Most Instant Pots include a yogurt program that maintains the correct temperature automatically. Incubate the jars or bowl of cultured milk for 8-12 hours, then chill before serving.
Slow Cooker Method
Place the jars on a rack inside the slow cooker and set it to the warm setting. Leave the lid slightly ajar and incubate for 8-12 hours.
Oven Proof Setting
Some ovens include a proof setting designed for bread dough. This temperature range (110-120°F) also works well for yogurt fermentation.
Avoid using the standard oven warm setting, which is usually too hot and can kill the cultures.
Ways to Use Homemade Yogurt
Homemade lactose free yogurt works in any recipe that calls for regular yogurt. You can use it for:
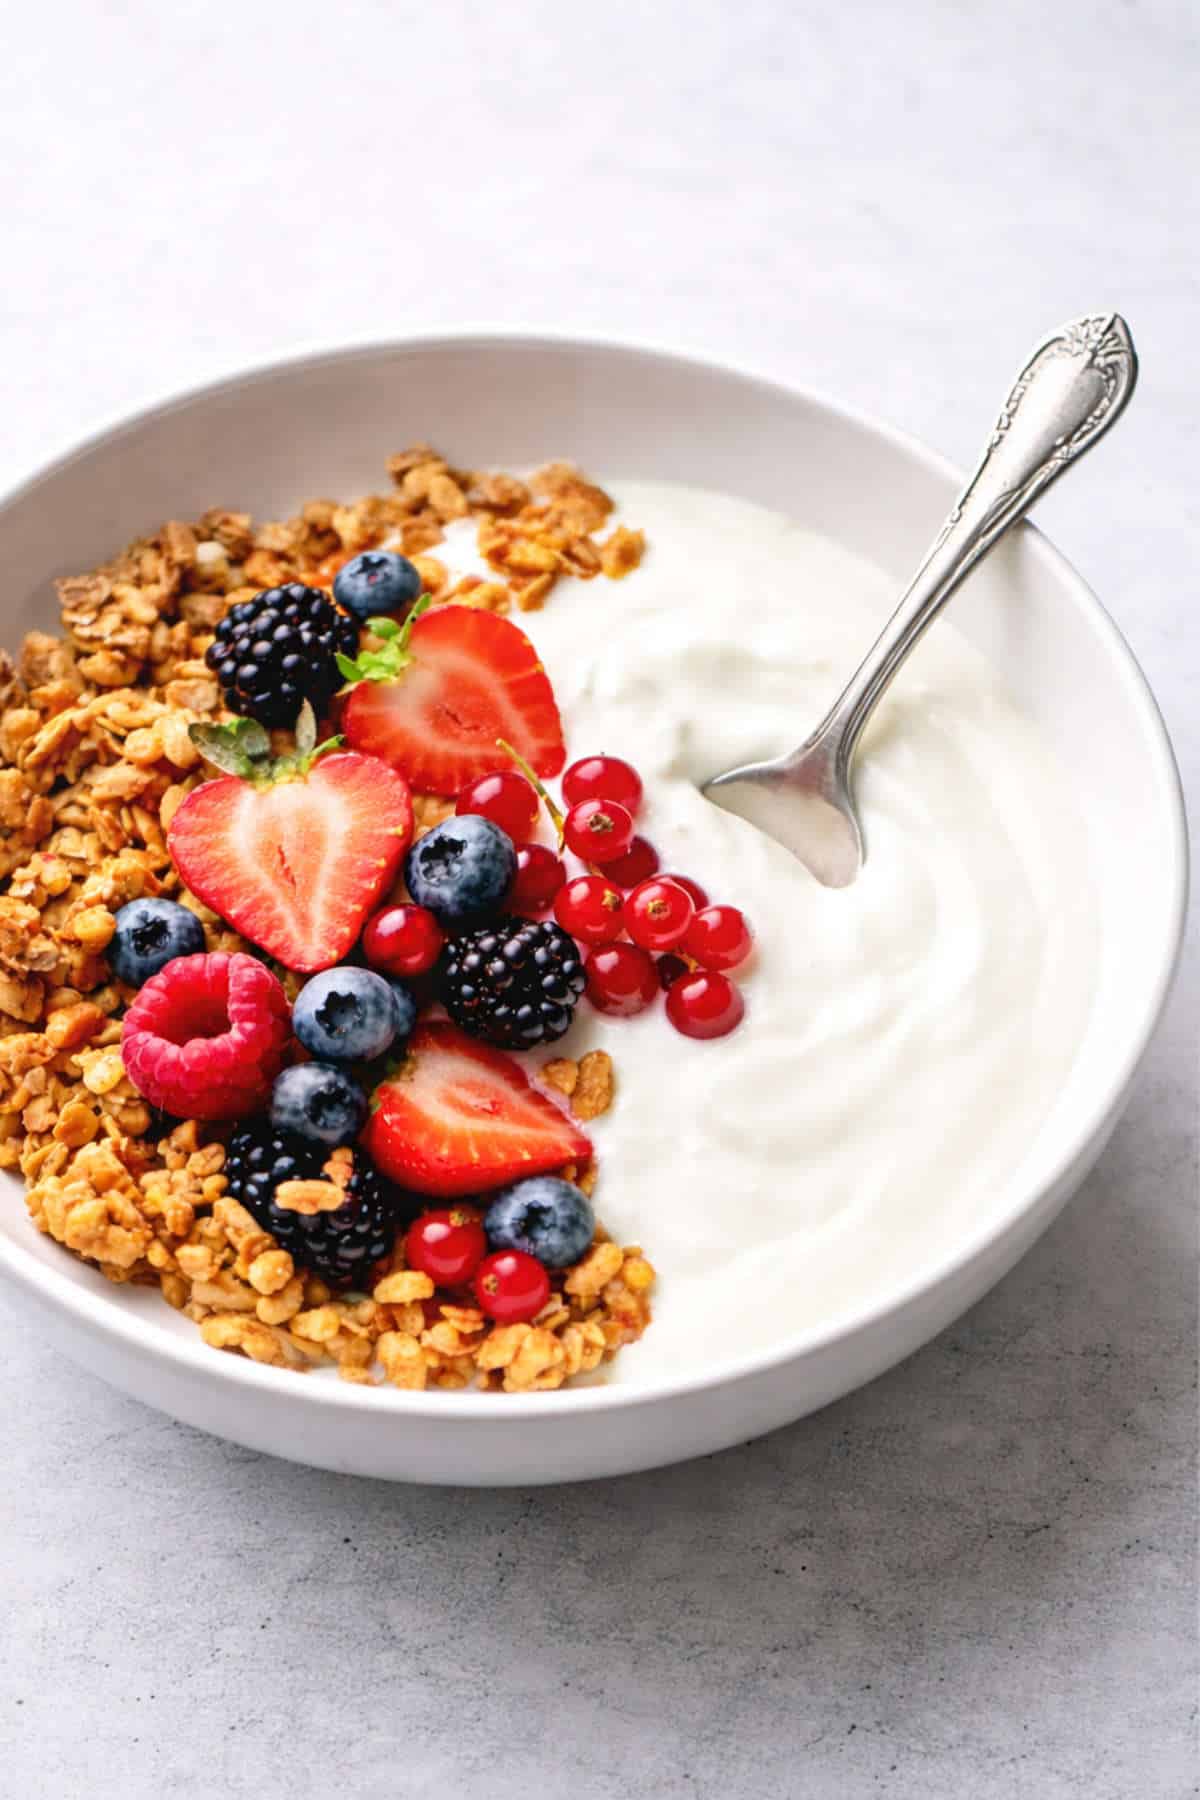
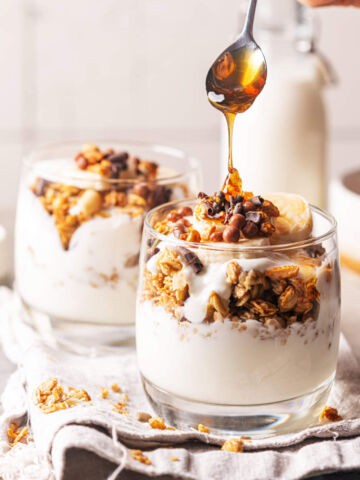
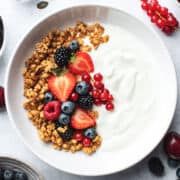
- Breakfast parfaits: With berries and granola.
- Smoothies: For creaminess and protein.
- Sauces and dips: Like tzatziki or raita.
- Marinades: For chicken or lamb.
- Curries and creamy dishes: Use lactose free yogurt as a substitute for plain yogurt, sour cream, heavy cream, or half & half in recipes like our Chicken Tikka Masala.
Substitutions and Variations
Some useful tips and substitutions when making this recipe:
- Milk fat level: Whole lactose free milk makes the creamiest yogurt. 1% or 2% milk works but produces a thinner yogurt.
- Greek style yogurt: Strain the finished yogurt through cheesecloth to remove whey and create a thicker Greek-style yogurt.
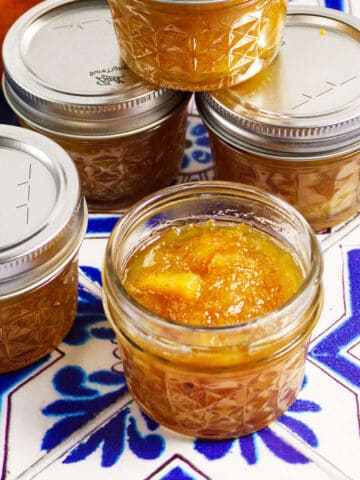
- Flavoring: Stir in honey, maple syrup, vanilla, or fruit puree after chilling.
Tips for Success
Here are a few tips for making this recipe:
- Use live cultures: Your starter must be plain and active.
- Watch the temperature: Too hot kills the culture. Too cool slows fermentation.
- Incubate longer for tangier yogurt: Eight hours is milder, twelve hours is tangier and firmer.
- Save starter for the next batch: A few tablespoons is enough.
Storage Options
Some recommended storage options for this recipe are:
- Store homemade yogurt in airtight containers in the refrigerator for 7-10 days.
- You can also freeze small portions to preserve starter for future batches.
Related Recipes
Frequently Asked Questions
Yes. Ultra-pasteurized lactose free milk can still be cultured into yogurt. Simply warm the milk to about 110°F, add the starter culture, and incubate as usual. The live cultures will ferment the milk and thicken it into yogurt just like regular milk.
Yes, the texture may be less thick, but it will absolutely ferment just as nicely as full fat milk.
Yes, measure some of your last batch of lactose free yogurt into ¼ cup containers and freeze it up to 6 months.
Yes, you can spread some out on a food dehydrator on the cooler setting. Spread it thin so it dries quickly. Gather up the dry shavings and grind, save in an airtight container for up to 8 weeks.
You'll need to start your first batch with at least 3 tablespoons of live, unflavored, unsweetened yogurt like plain Fage. 3 tablespoons to ¼ cup should be saved with every new batch of yogurt to use for your next batch.
Lactose-free is still a dairy (cow, goat, and sheep's milk) product. Dairy free means it's specially cultured soy, coconut, almond, or other plant based 'milk' product.
Yes, make lactose free yogurt using this recipe, then follow the straining technique in our Homemade Greek Yogurt Guide.
Easy Breakfast Recipes

Get The Recipe!
How To Make Homemade Lactose Free Yogurt
Equipment
- 3 qt Saucepan
- ThermoPro Thermometer
- 1 Yogurt Maker
Ingredients
- 64 oz whole lactose free milk (1 half gallon)
- 1 envelope yogurt starter cultures (or 3 tablespoons plain yogurt with live active cultures)
Instructions
- Wash and dry the jars or culturing container.
- Warm the milk to 110°F if using ultra-pasteurized milk. If using regular pasteurized milk, heat to 160°F, then cool to 110°F.64 oz whole lactose free milk (1 half gallon)
- In a small bowl, mix the starter with a few tablespoons of the warm milk until smooth.1 envelope yogurt starter cultures
- Whisk the starter mixture back into the warm milk.
- Pour the cultured milk into the jars of a yogurt maker.
- Incubate for 8 to 12 hours, depending on how mild or tangy you want the yogurt.
- Refrigerate for at least 4 hours before serving.
- Save 3 tablespoons of yogurt as starter for your next batch.
Notes
- Alternate incubation options: Instant Pot, slow cooker, or an oven with a proof setting.
- Milk choice: Whole lactose free milk makes thicker yogurt, but lower-fat lactose free milk also works.
- Starter: Use plain unsweetened yogurt with live cultures or a dehydrated yogurt starter.
- Incubation time: Longer incubation makes tangier, firmer yogurt.
- Save starter: Freeze small portions if needed so you always have some on hand.
Nutrition
Pin It For Later ⤵
Maryann says
If I want to use a smaller amount of milk, how do I determine what I need to do to adjust the measurements? I already have some Fairlife milk opened and it feels like a descent amount and I hate to buy a brand new carton as I am the only one that drinks it. And I do already have Faje lactose free Greek yogurt. I have a 6 qt Duo Crisp Imstant pot. I’m very anxious to make this yogurt in my instant pot.
Kelly Bloom says
Maryann, Go down to the recipe card at the bottom of the post. There where it says "Servings 8" hover your mouse cursor over the number 8. You'll see a slide recipe resizer. If you want to make 2, 4, or 6 servings instead of 8, the recipe will automatically adjust the amounts to use. Hope that helps!
Mike says
if I use regular yogurt as the starter but lactose free milk for the rest will it still end up being mostly lactose free?
Kelly Bloom says
Yes, it will! The 2 - 3 tablespoons of regular yogurt to start with Lactose free is not enough cause issues. Be sure to save and freeze some of the lactose free yogurt you make though, you can use it to start the next batch without having to use regular yogurt for a starter!
Annie says
The recipe says to use 3 Tbsp of yogurt on the recipe card, but 1/4 cup in other places. 1/4 cup is 4 Tbsp so which should I be adding?
Kelly Bloom says
I updated the post to read 3 tablespoons to 1/4 cup. With brand new Fage yogurt, I can use the 3 tablespoons, but sometimes after several batches of homemade yogurt, I will use 1/4 cup, as the yogurt may be not quite as thick.
Michael says
Straining the yoghurt with a cheesecloth/muslin is key to a thick Greek yogurt
Kelly Bloom says
Believe it or not, this yogurt is already so thick that there is very little whey to strain off. You are right though, typically with regular milk you will need to strain to thicken. And as always, if you want it even thicker you can of course strain.
Anna says
If the milk is ultra pasteurized, and it's only heated to 110⁰, does it need to cool further before mixing some with the starter yogurt? TIA!
I'm really excited to get to eat yogurt again!!! ?
Kelly Bloom says
No, simply mix a little of the 110⁰ F milk with the starter live culture yogurt or dehydrated yogurt starter (I love the Bulgarian yogurt starter sold by Cultures for Life, it's not tart). Mix it so that it is smooth, then add it to the main 110 cooled milk. Stir, then pour into containers and process.
My dad has such a sensitive stomach to lactose, using the Ultra Pasteurized Lactose Free milk has been a game changer for him.