

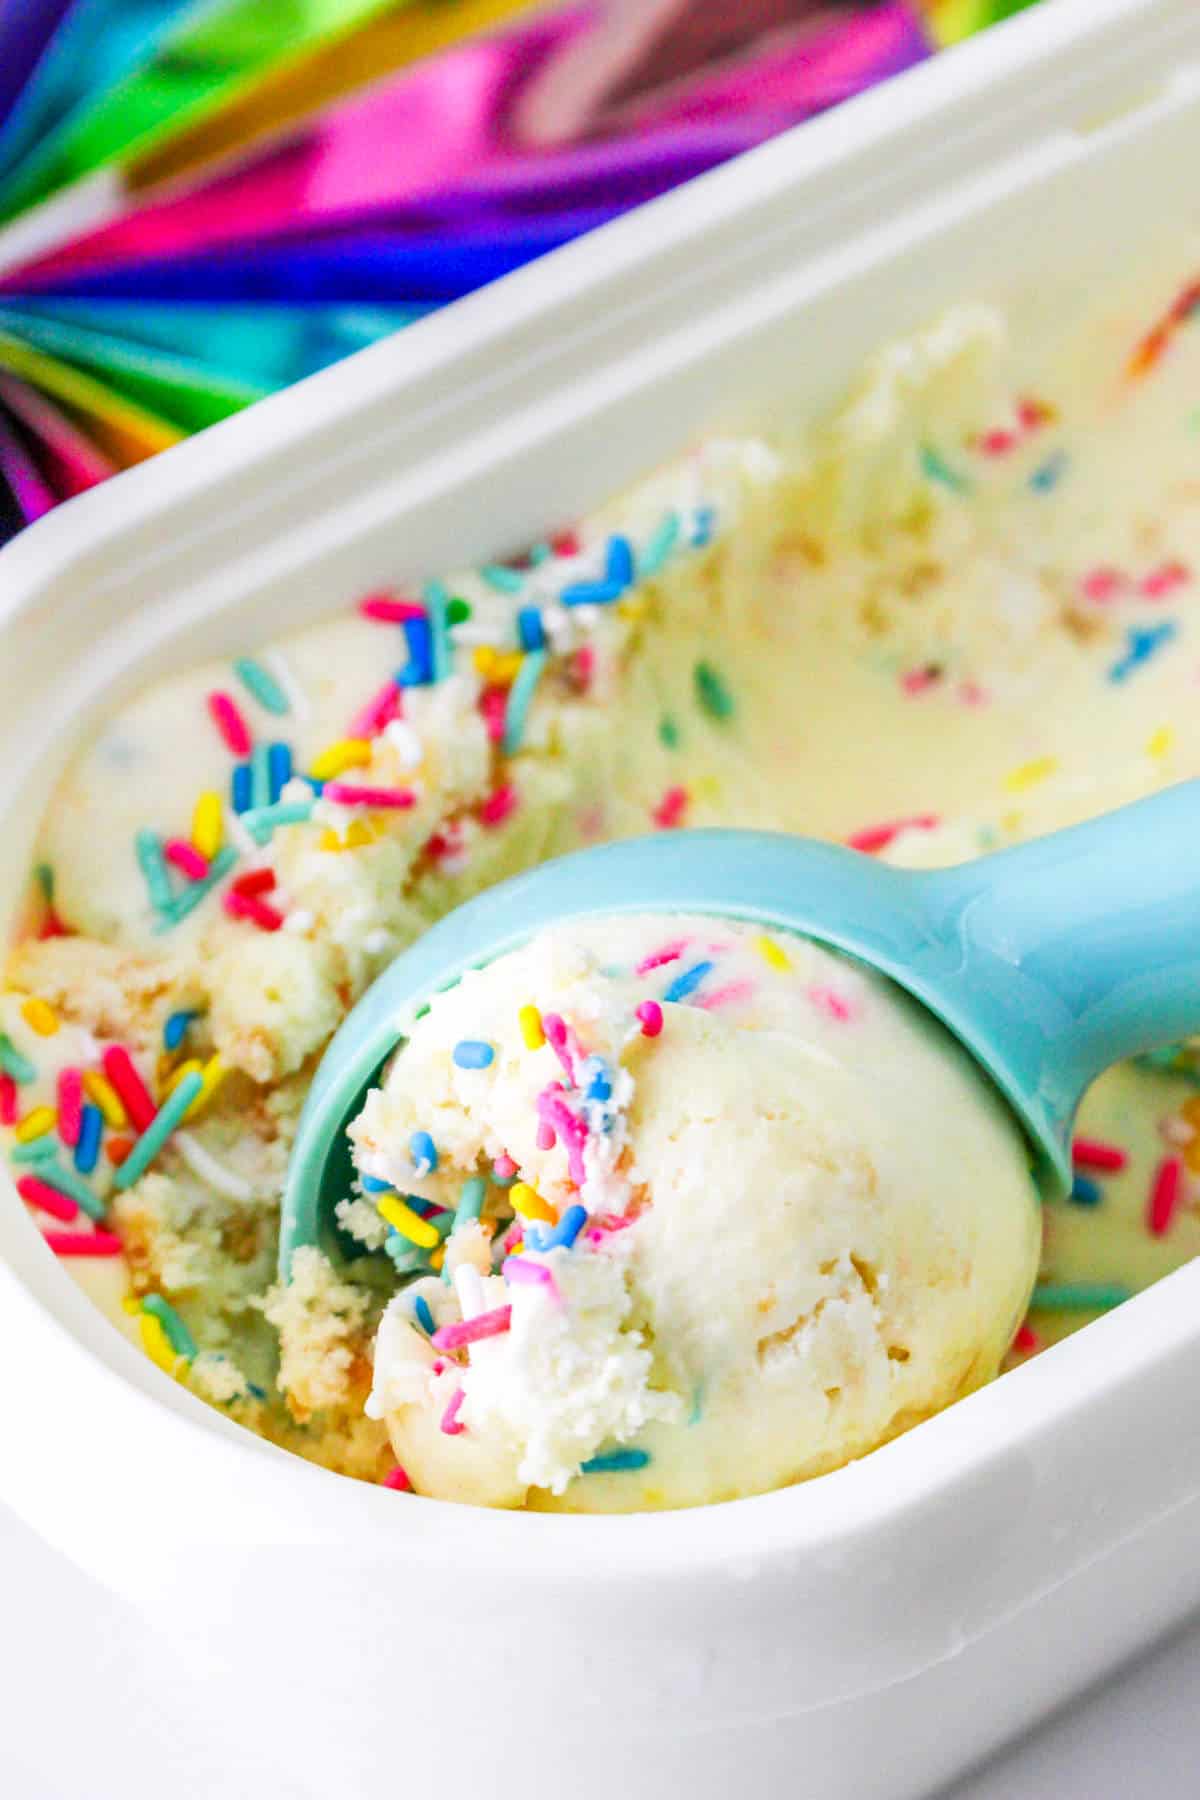
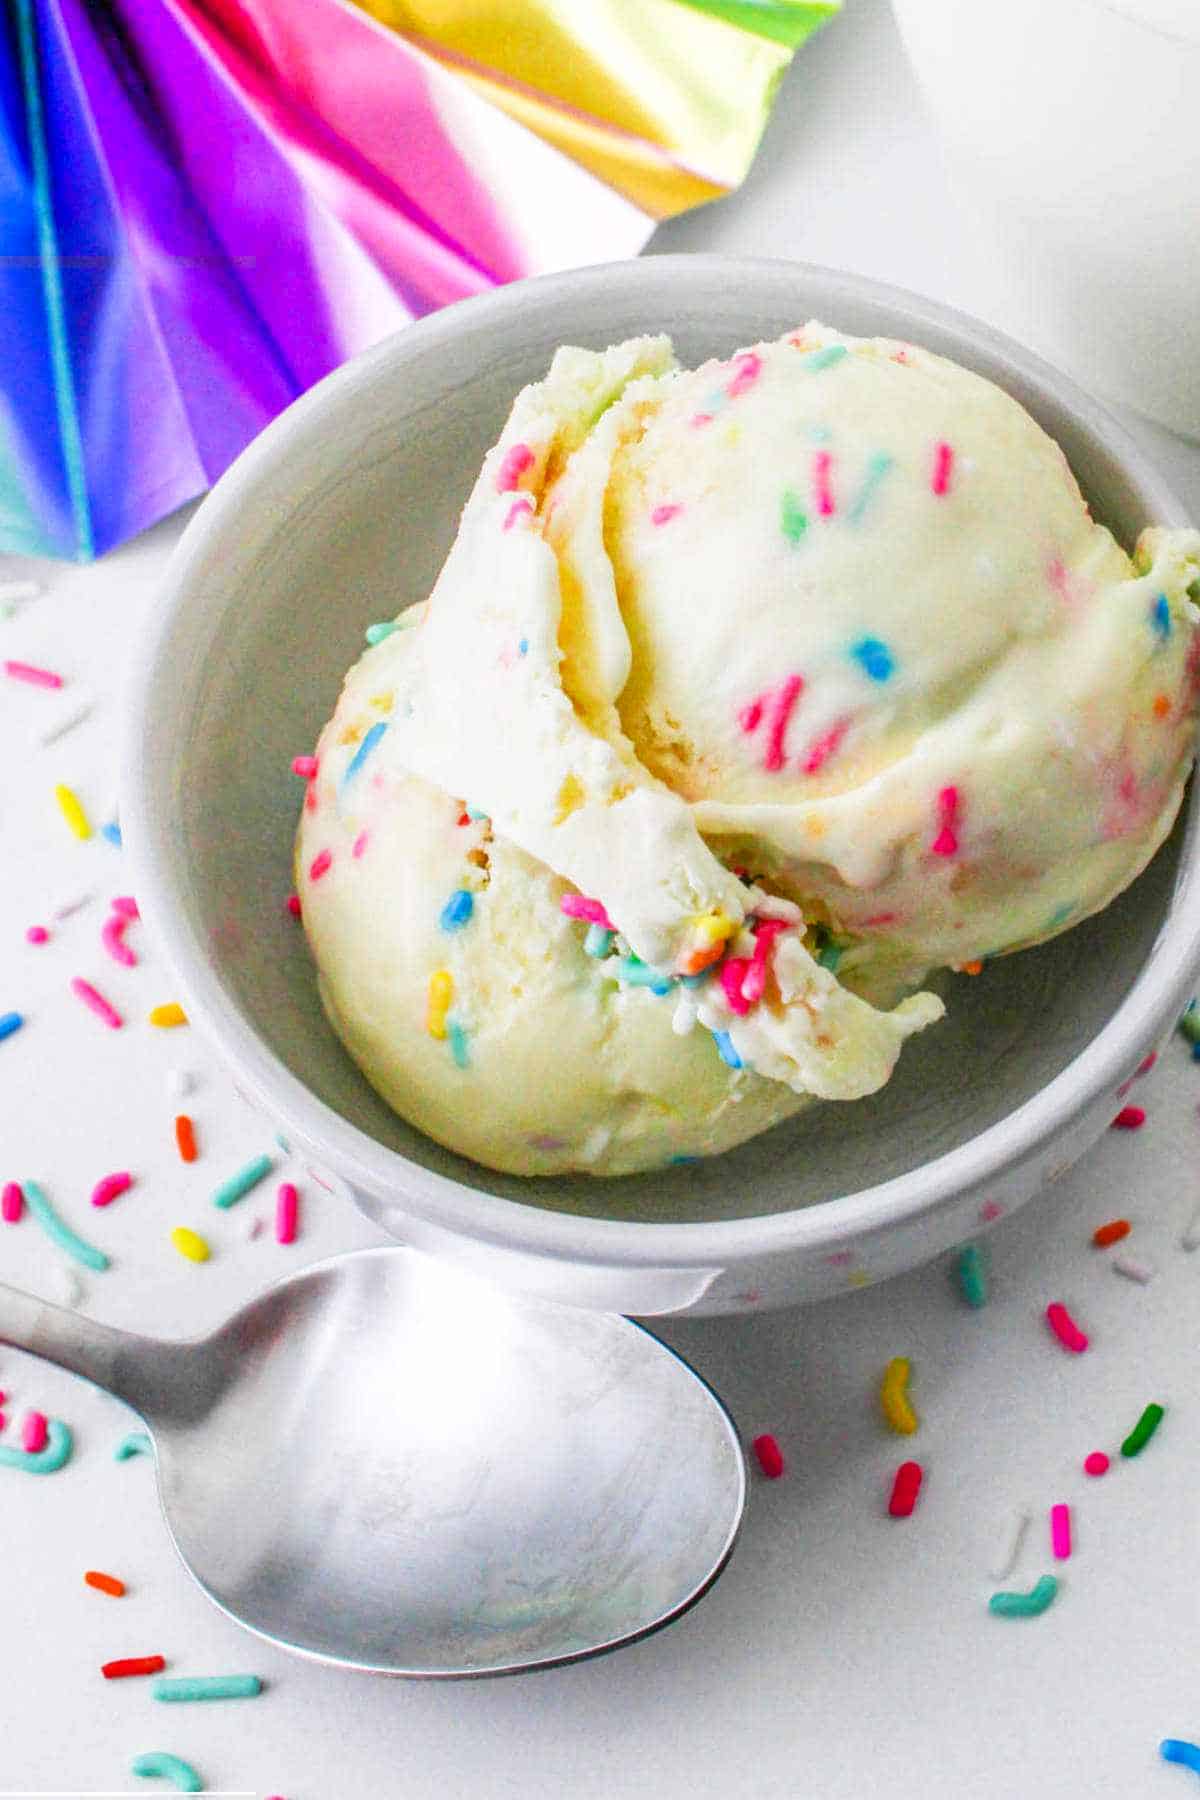
This Funfetti Ice Cream tastes like birthday cake in a scoop, with creamy vanilla ice cream, chunks of cake, and plenty of rainbow sprinkles. It's a fun, kid-friendly treat for parties, celebrations, or anytime you want something extra cheerful.
Why You'll Love This Cuisinart Funfetti Ice Cream Recipe
This creamy ice cream is a wonderful way to enjoy a festive dessert. Its vanilla cake-like flavor combined with colorful sprinkles makes every spoonful a celebration. Simple to make, this ice cream brings a playful twist to a classic treat.
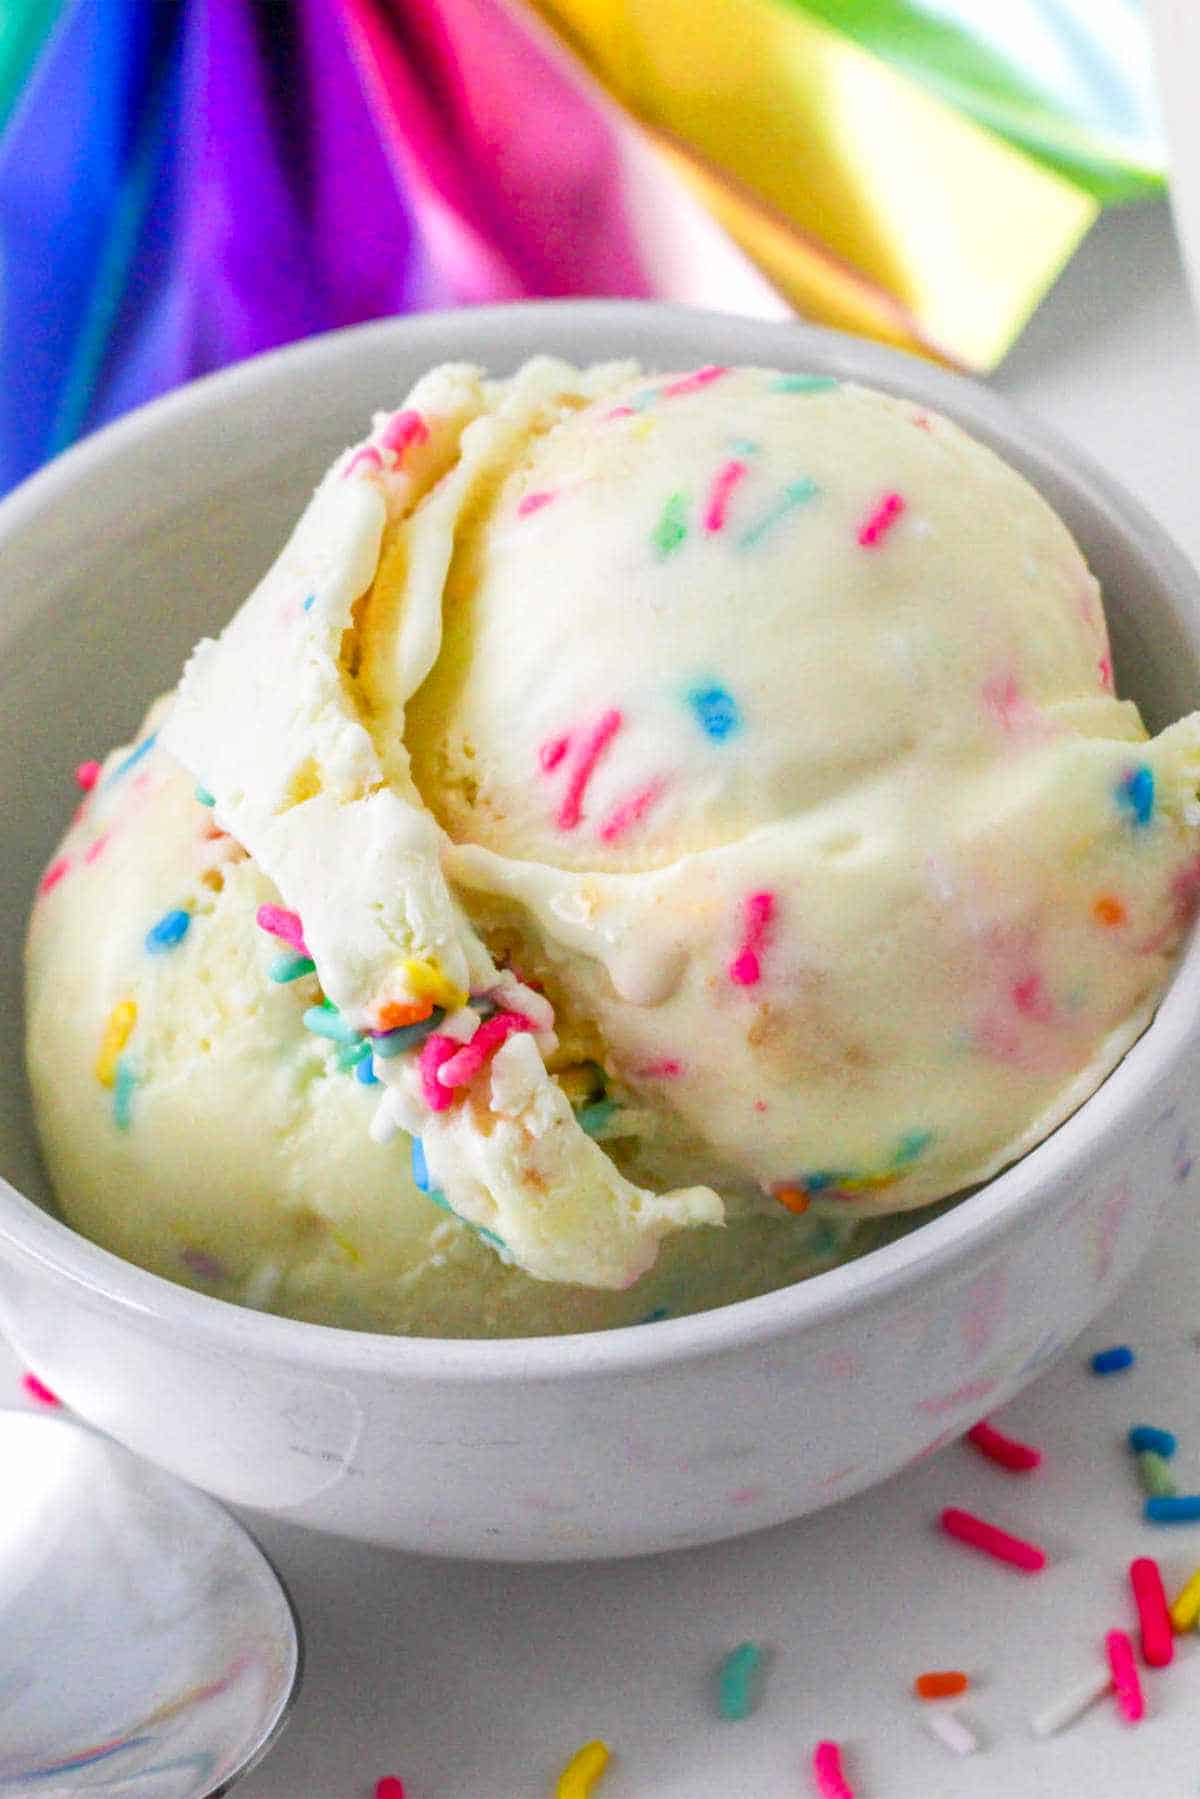
- Colorful & Fun: The rainbow sprinkles and colorful cake pieces make every scoop look like a party!
- Sweet Treat: It's a delicious, creamy dessert that tastes like a birthday cake in ice cream form.
- Playful Texture: The combination of smooth ice cream and soft cake bits offers an exciting texture kids enjoy.
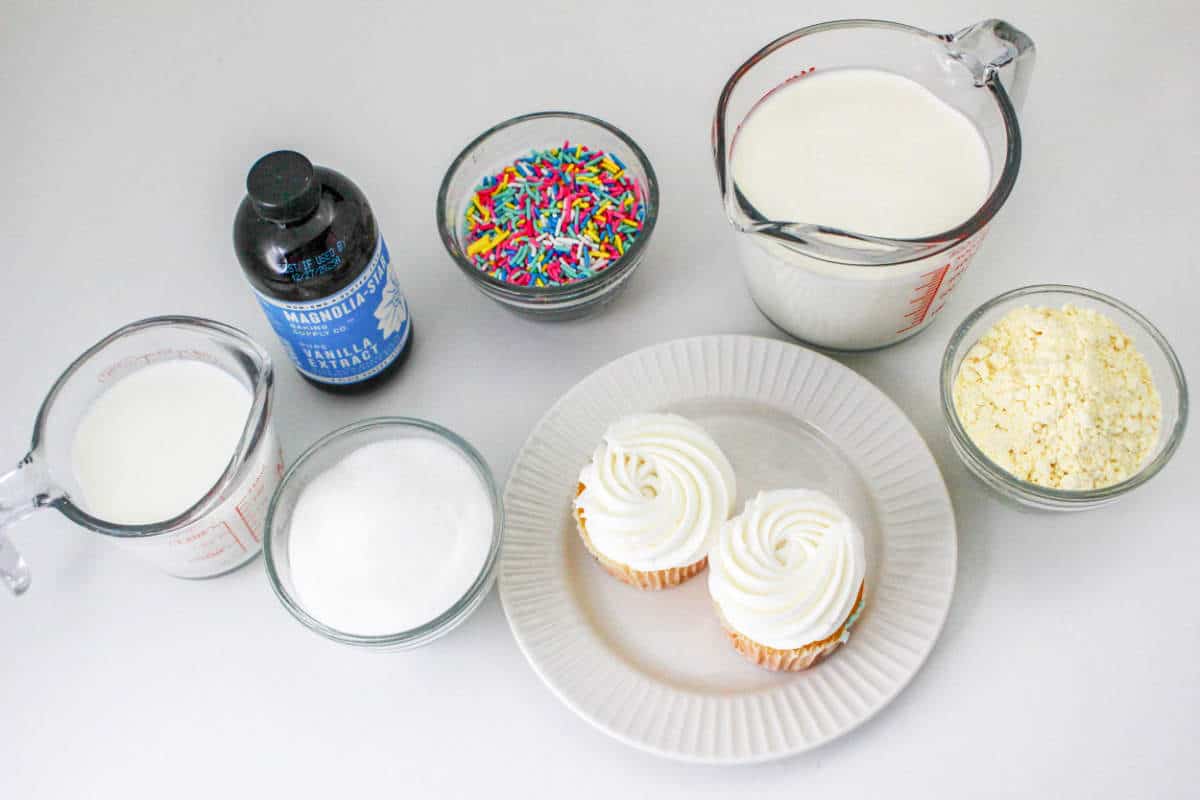
Ingredients Overview
To make this fun ice cream, you'll need a base of sugar, heavy cream, and milk. The signature flavor comes from yellow cake mix and rainbow sprinkles, with added texture from a frosted vanilla cupcake or piece of vanilla cake.
Full ingredient amounts and preparation instructions are in the printable recipe card at the bottom of this post.
How To Make Funfetti Ice Cream
If you don't want to make cupcakes for the cupcake portion of this recipe, buy a slice or two of single serve frosted vanilla cake at the bakery section of the grocery store.
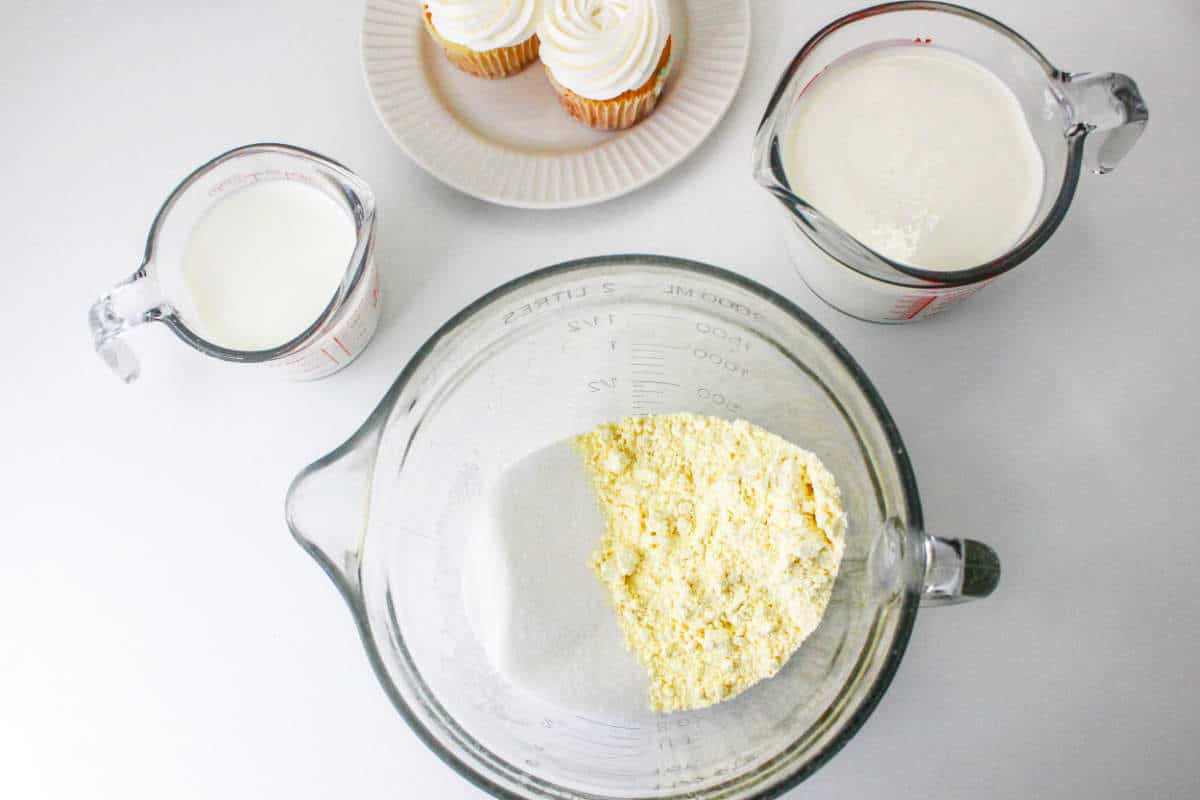
Step 1: Whisk together the sugar and yellow cake mix in a large mixing bowl.
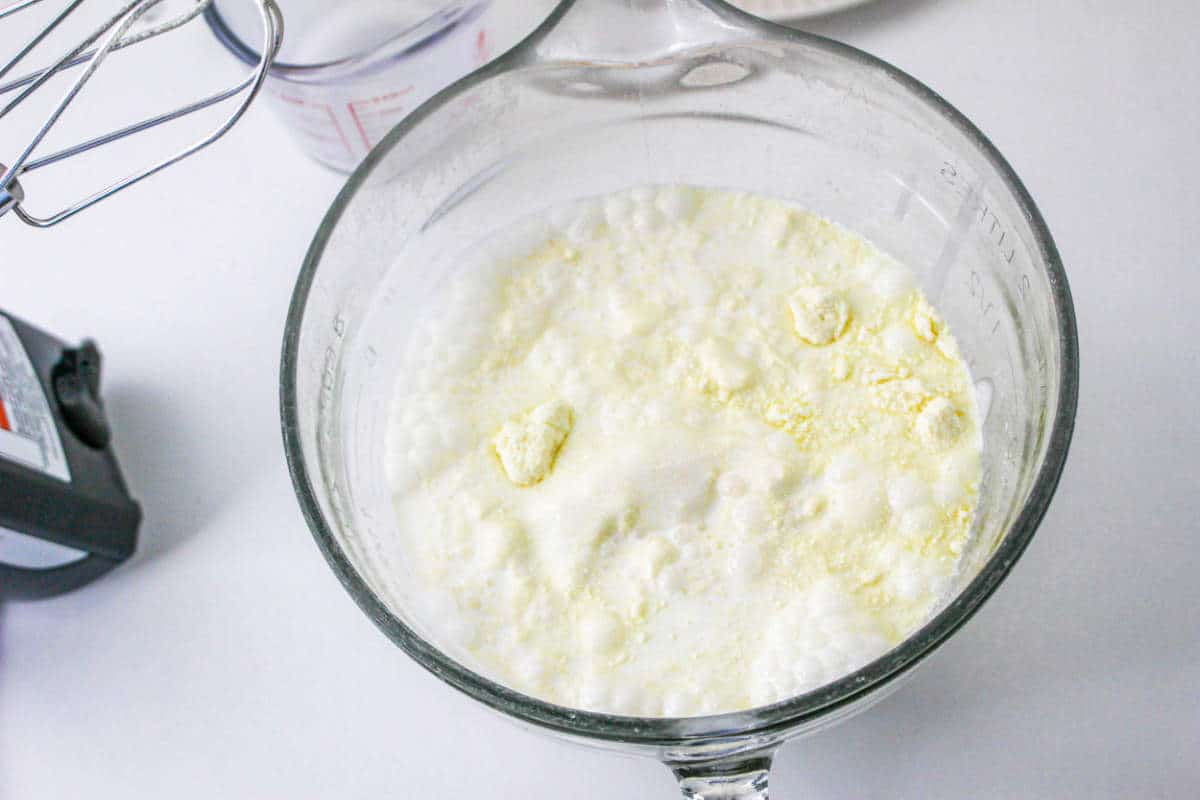
Step 2: Add the cream, milk, and vanilla extract, beating with an electric hand mixer until combined.
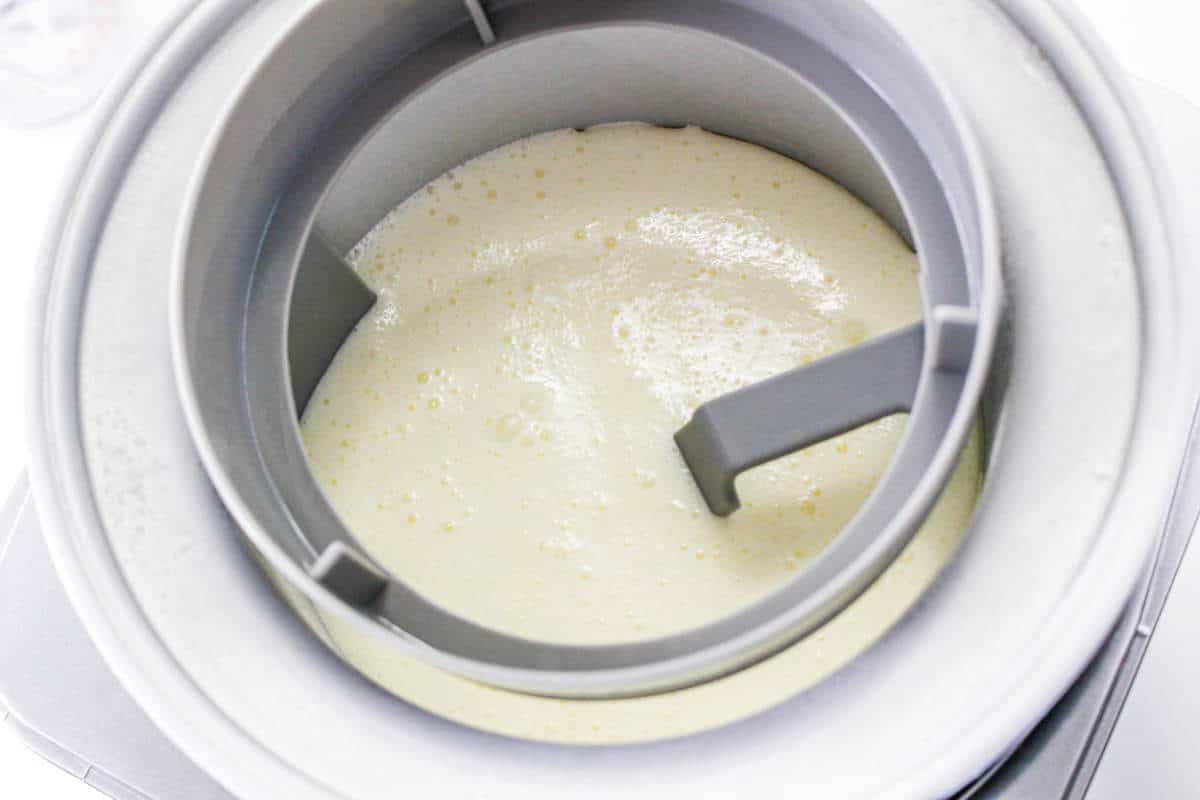
Step 3: Pour the birthday cake ice cream base into the ice cream maker freezer bowl and set program to "ice cream" mode, or follow the manufacturer's instructions for churning ice cream.
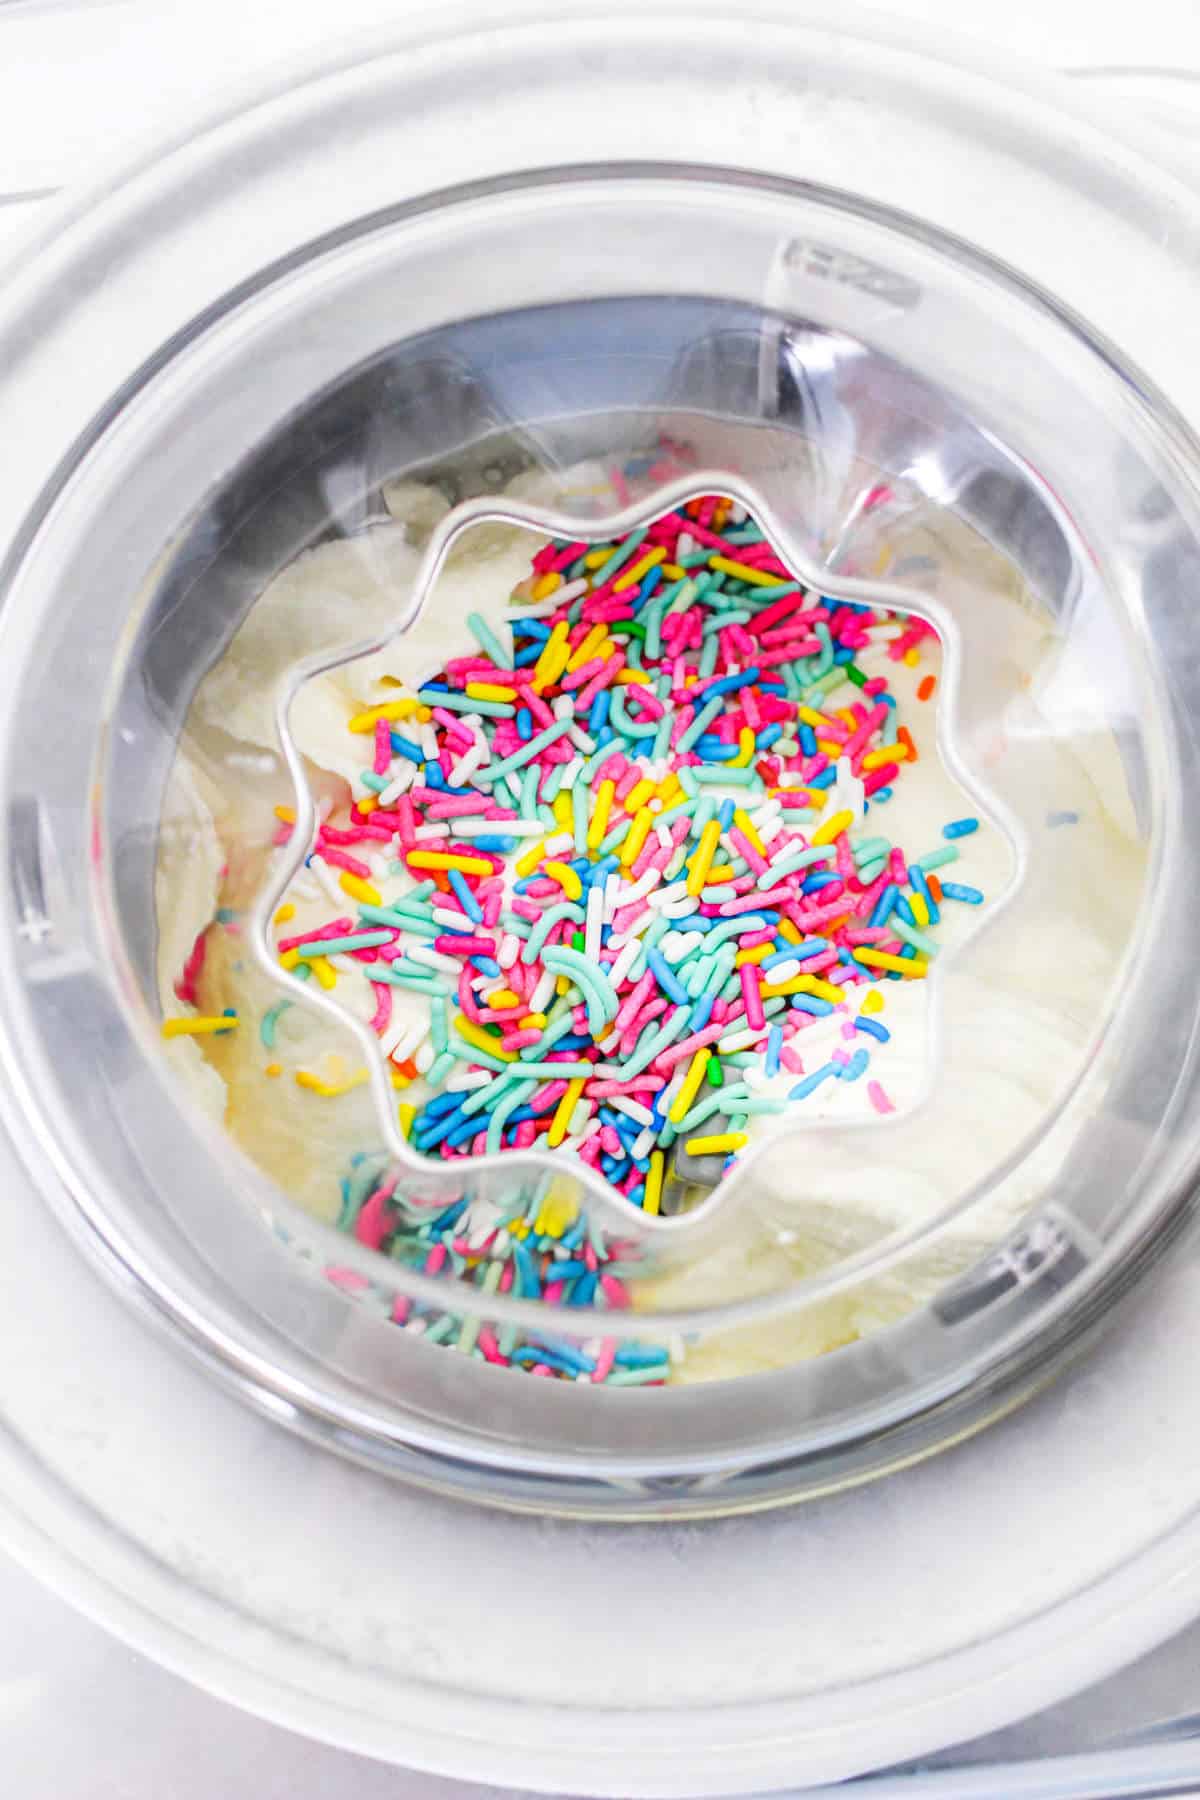
Step 4: Just before the churning cycle ends, add ¼ cup of rainbow sprinkles and let the last minute or two of the churn cycle complete.
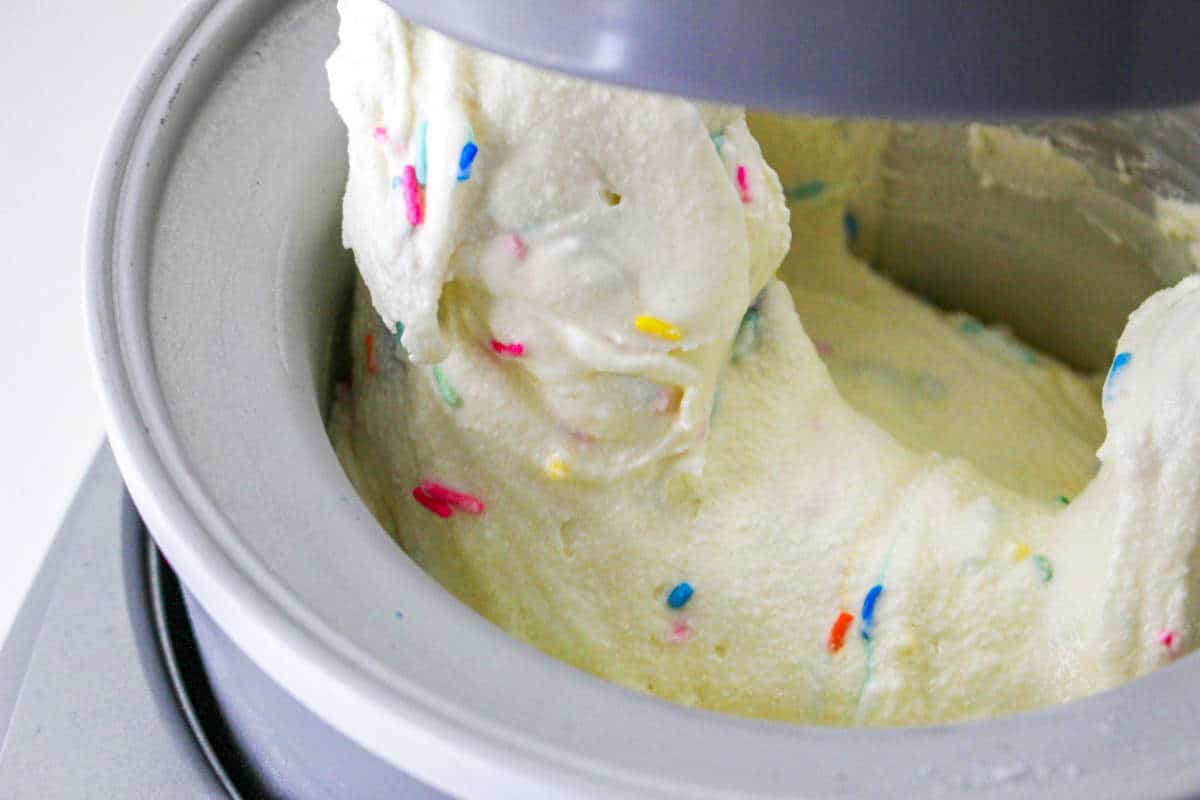
Step 5: Remove the dasher, scraping the ice cream back into the freezer bowl.
Step 6: Crumble the two frosted cupcakes up into small pieces.
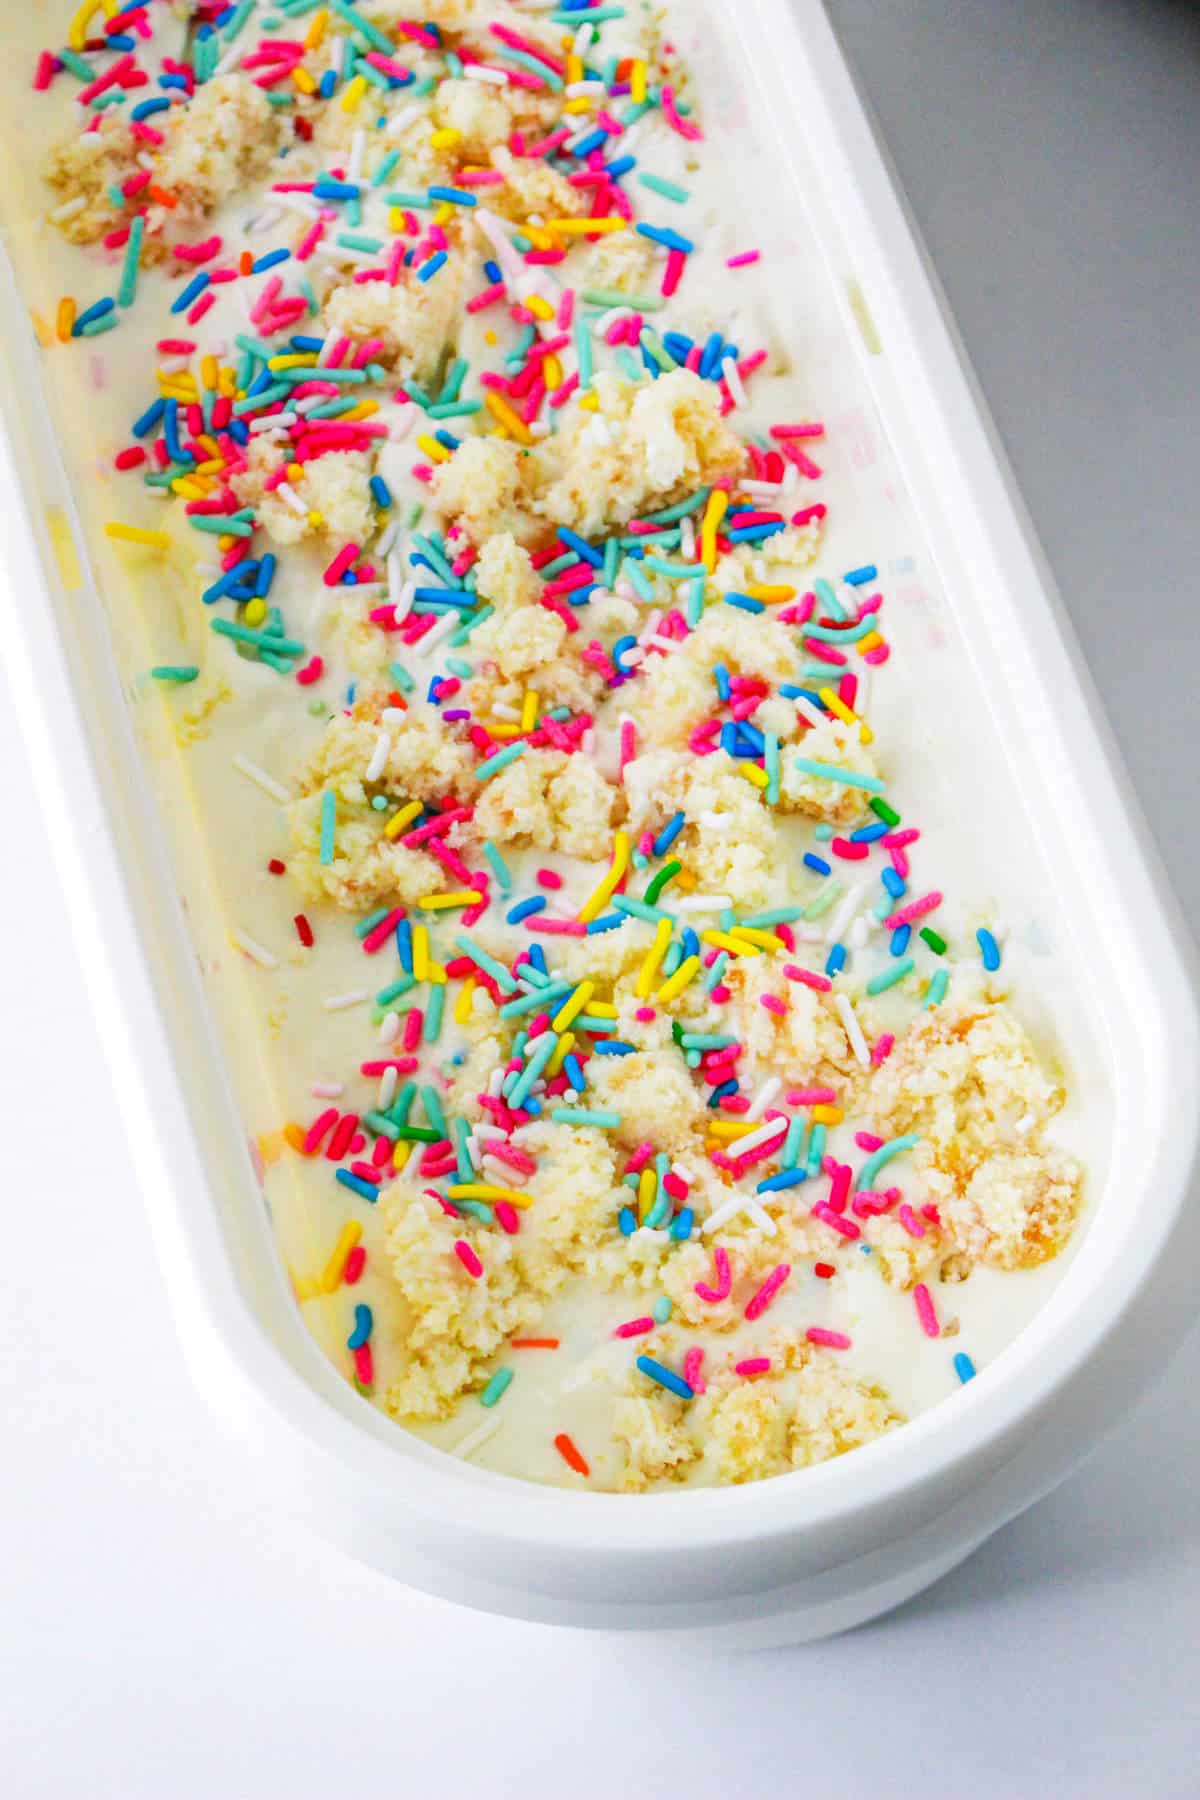
Step 7: Transfer half of the ice cream to an insulated ice cream storage container, or lined loaf pan, and distribute half the crumbled cupcakes mixture and 2 tablespoons of rainbow sprinkles on top of the ice cream.
Step 8: Repeat with the remaining half of the ice cream, crumbled cupcakes, and the last 2 tablespoons of rainbow sprinkles. Cover the insulated ice cream tub and set in your freezer for the 'hardening' stage, about 2 hours.
Serving Suggestions
Serve Funfetti Ice Cream in bowls or waffle cones with whipped cream, extra rainbow sprinkles, and a cherry on top. It's also perfect alongside birthday cake, cupcakes, or warm sugar cookies for an easy party dessert.
Substitutions and Variations
Here are a few delicious variations or substitutions when making this recipe.
- Cake Flavor Swap: Instead of yellow cake mix and vanilla cake, try a lemon cake mix with some lemon loaf cake.
- Sprinkle Styles: While rainbow sprinkles are classic, experiment with other sprinkle types like jimmies, nonpareils, or even themed sprinkles for holidays.
- Cookie or Brownie Crumble: For added texture, consider folding in crushed shortbread cookies, graham cracker crumbs, or crumbled brownies with cream cheese frosting instead of (or in addition to) the frosted cake pieces.
Tips for Success
Here are a few tips for making this recipe:
- Pre-Freeze Your Bowl: Make sure the Cuisinart freezer bowl is completely frozen, ideally for 24 hours. A well-chilled bowl is essential for proper churning.
- Chill Your Base: After mixing your ice cream base, chill it thoroughly in the refrigerator. A colder base churns faster and results in a smoother ice cream.
- Don't Over-Churn: Churn the ice cream until it reaches a soft-serve consistency. It will continue to firm up in the freezer. Over-churning can lead to an icy texture.
- Fold in Cake Gently: Add your crumbled cake in layers when transferring to a lined loaf pan. This helps maintain the integrity of the cake pieces. Don't dump them in the churning ice cream, as they will break up too much!
- Freeze for Firmness: After churning, transfer the ice cream to an airtight freezer-safe container and freeze for at least 4-6 hours to allow it to harden to a scoopable consistency.
Storage Options
Some recommended storage options for this recipe are:
- Freezer: Store the ice cream in an airtight, freezer-safe container. This helps prevent ice crystals and keeps it fresh for up to 2 weeks. For best results, press a piece of parchment paper or plastic wrap directly onto the surface of the ice cream before sealing the container.
- Prevent Freezer Burn: Ensure the container is well-sealed. This protects the ice cream from freezer burn, which can negatively impact its texture and flavor.
Related Recipes
Frequently Asked Questions
Yes, this specific recipe is designed for a Cuisinart ice cream maker to achieve the best creamy texture.
Some color bleeding from sprinkles is normal, especially if left in the base mixture for too long. Adding them towards the end of churning helps minimize this.
Yes, you can. After mixing the base, pour it into a freezer-safe container. Freeze for about 2-3 hours, then stir well, breaking up any ice crystals. Repeat stirring every 30-60 minutes until it reaches a firm consistency.
Summer Recipes


Get The Recipe!

Funfetti Ice Cream
Equipment
- Cuisinart Ice Cream Maker ICE70
- Cuisinart Ice Cream Maker ICE30
- Long Scoop Ice Cream Storage Tubs
- Ice Cream Storage Tubs, 1 quart
Ingredients
- ¾ cup sugar
- ⅔ cup yellow cake mix dry
- 2 cup heavy cream or Half & Half
- 2 cup whole milk
- 2 teaspoon vanilla extract
- ¼ cup rainbow sprinkles or any color, to mix into ice cream
- 2 vanilla frosted cupcakes or two pieces of frosted vanilla cake
- ¼ cup rainbow sprinkles for layering in the the tub
Instructions
- Whisk together the sugar and yellow cake mix in a large mixing bowl.¾ cup sugar, ⅔ cup yellow cake mix
- Add the cream, milk, and vanilla extract, beating with an electric hand mixer until combined.2 cup heavy cream, 2 cup whole milk, 2 teaspoon vanilla extract
- Pour the birthday cake ice cream base into the ice cream maker freezer bowl and set program to "ice cream" mode, or follow the manufacturer's instructions for churning ice cream.
- Just before the churning cycle ends, add ¼ cup of rainbow sprinkles and let the last minute or two of the churn cycle complete.¼ cup rainbow sprinkles
- Remove the dasher, scraping the ice cream back into the freezer bowl.
- Crumble the two frosted cupcakes up into small pieces.2 vanilla frosted cupcakes
- Transfer half of the ice cream to an insulated ice cream storage container, or lined loaf pan, and distribute half the crumbled cupcakes mixture and 2 tablespoons of rainbow sprinkles on top of the ice cream.¼ cup rainbow sprinkles
- Repeat with the remaining half of the ice cream, crumbled cupcakes, and the last 2 tablespoons of rainbow sprinkles.
- Cover the insulated ice cream tub and set in your freezer for the 'hardening' stage, about 2 hours. PRO TIP: You can of course enjoy your Funfetti ice cream while in this soft serve stage also, but it will take the hardening stage to make it firm enough to scoop into balls.
Notes
- Pre-Freeze Your Bowl: Make sure the Cuisinart freezer bowl is completely frozen, ideally for 24 hours. A well-chilled bowl is essential for proper churning.
- Chill Your Base: After mixing your ice cream base, chill it thoroughly in the refrigerator. A colder base churns faster and results in a smoother ice cream.
- Don't Over-Churn: Churn the ice cream until it reaches a soft-serve consistency. It will continue to firm up in the freezer. Over-churning can lead to an icy texture.
- Fold in Cake Gently: Add your crumbled cake in layers when transferring to a lined loaf pan. This helps maintain the integrity of the cake pieces. Don't dump them in the churning ice cream, as they will break up too much!
- Freeze for Firmness: After churning, transfer the ice cream to an airtight freezer-safe container and freeze for at least 4-6 hours to allow it to harden to a scoopable consistency.
Leave a Reply