

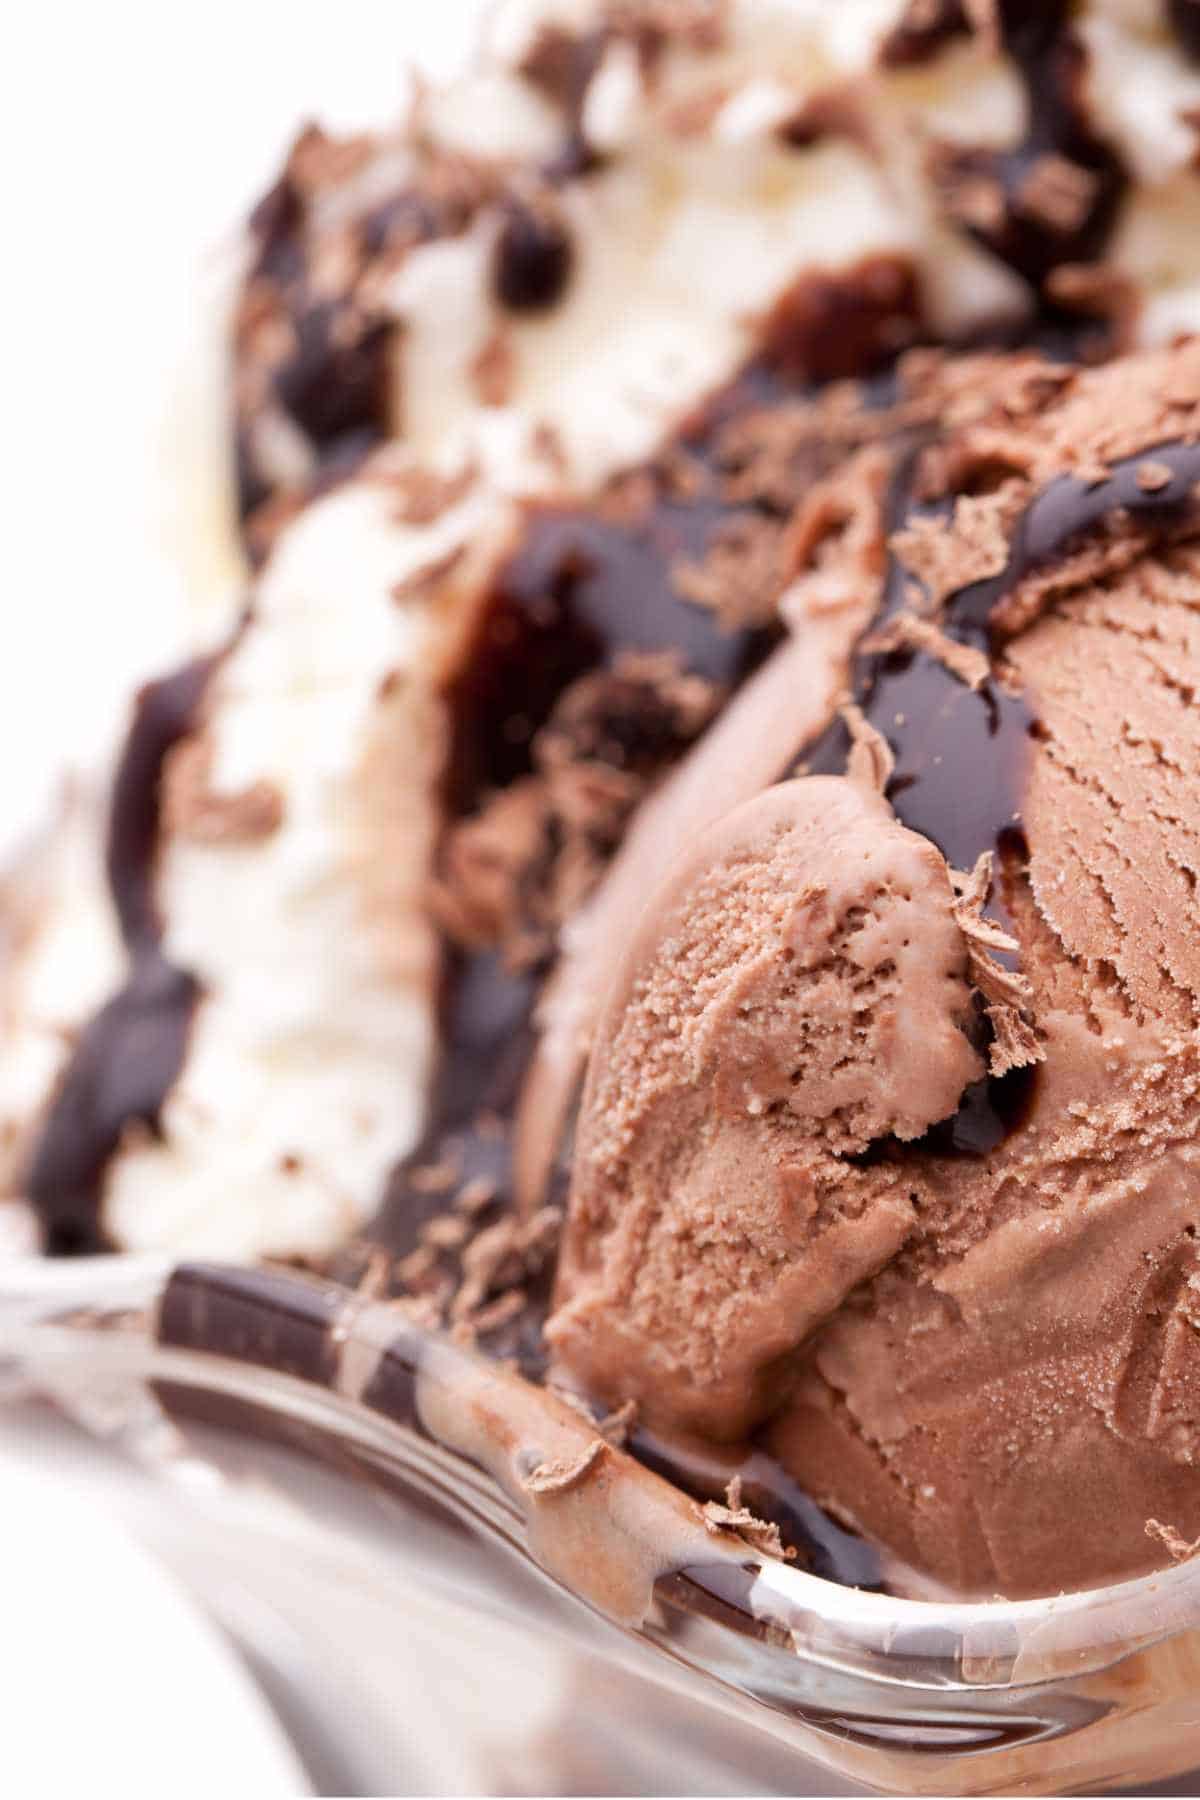
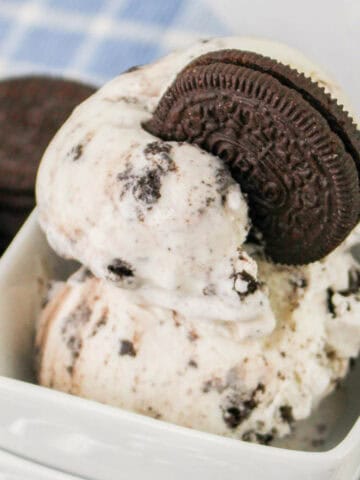
Our Chocolate Marshmallow Ice Cream is rich, creamy, and full of chocolate flavor with gooey marshmallow swirls. Each scoop combines smooth chocolate ice cream with sweet marshmallow cream, and it's even better with hot fudge sauce.
Why You'll Love This Chocolate Marshmallow Ice Cream Recipe
This Chocolate Marshmallow Ice Cream recipe is a wonderful treat for chocolate lovers. Its creamy texture and swirls of gooey marshmallow create a delightful contrast in every bite. Additionally, it's simple to prepare with your Cuisinart Ice Cream Maker.
- Rich Chocolate Flavor: This recipe provides a deep, satisfying chocolate taste that chocolate enthusiasts will enjoy.
- Gooey Marshmallow Swirls: The delightful ribbons of marshmallow throughout the ice cream add a sweet, chewy contrast.
- Creamy Texture: Churning in an ice cream maker ensures a smooth, luscious consistency that melts beautifully.
Ingredients Overview
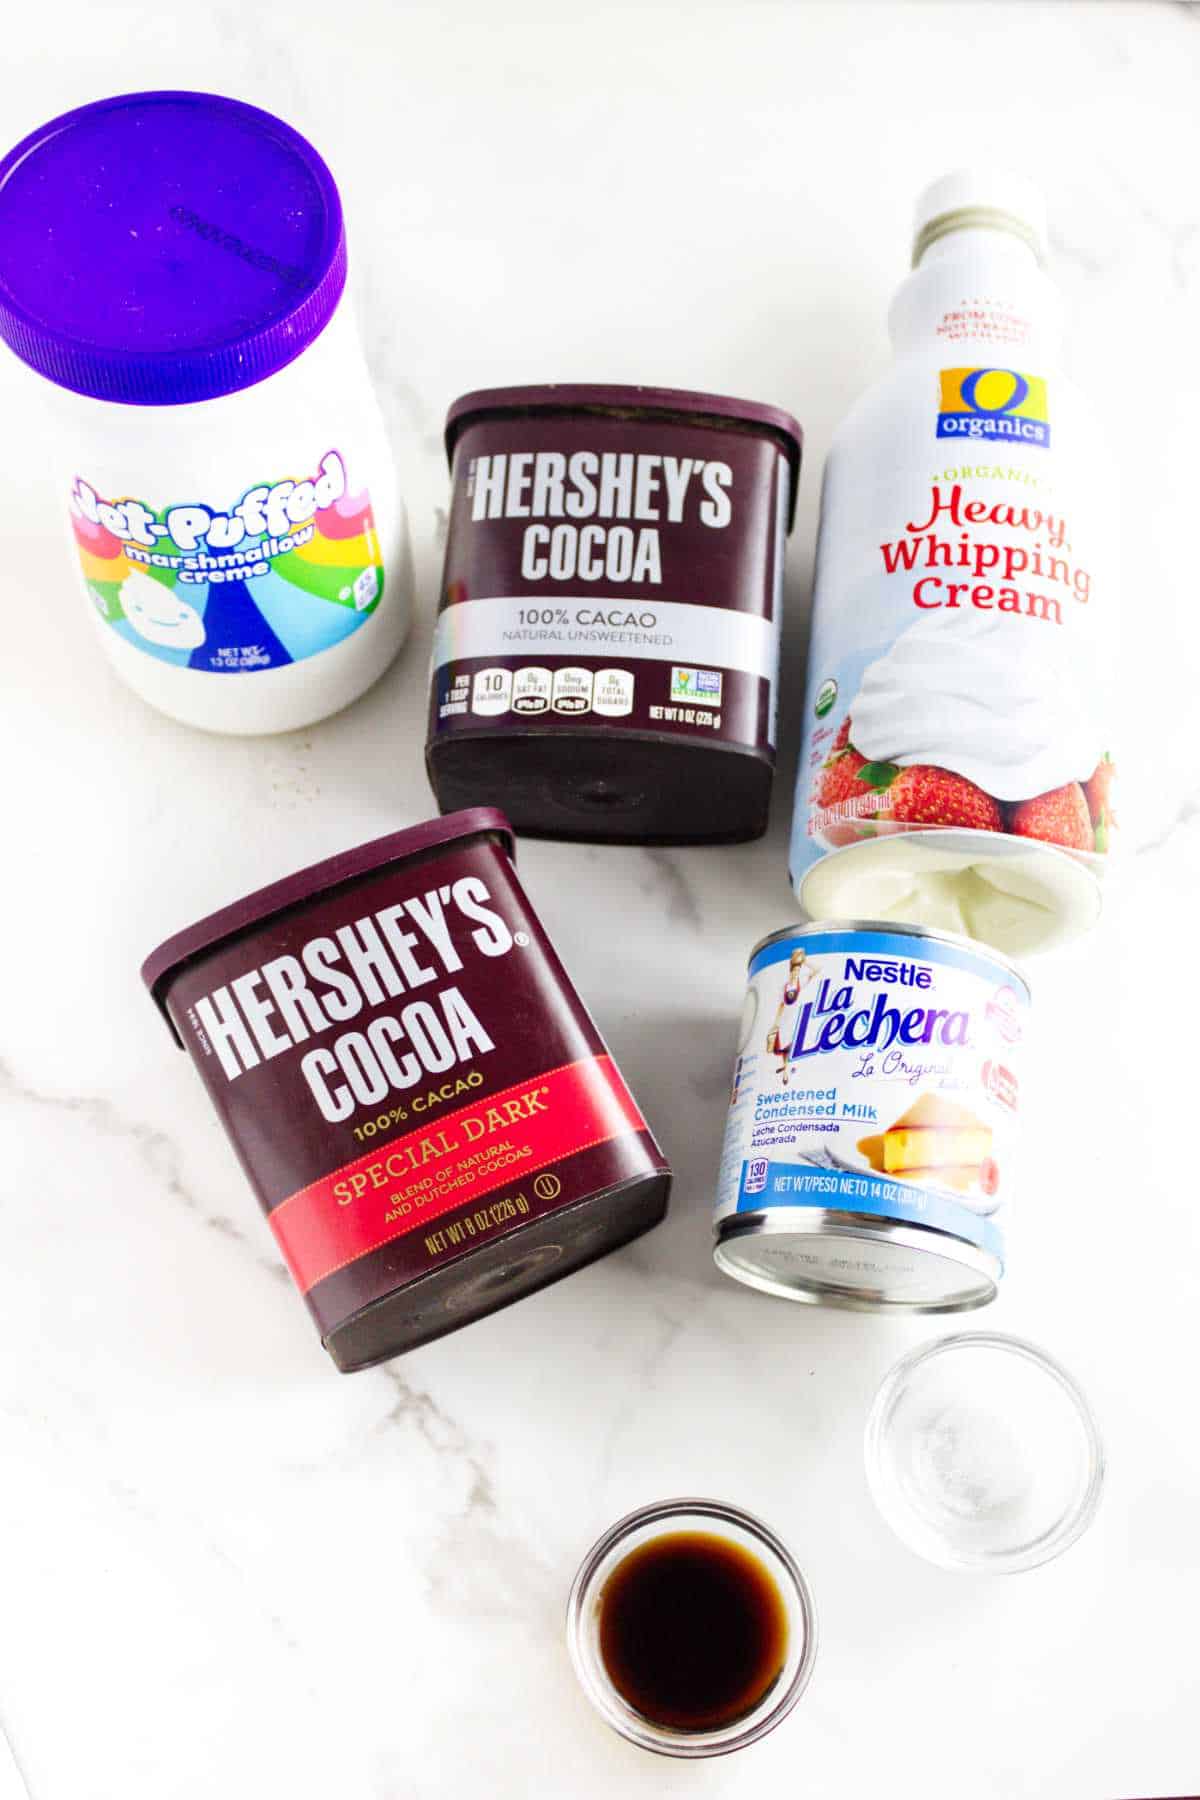
To make this decadent Chocolate Marshmallow Ice Cream, you'll need a rich base of heavy cream and sweetened condensed milk, cocoa powder, vanilla extract, and marshmallow fluff or mini marshmallows create those delightful, gooey swirls.
How To Make Chocolate Marshmallow Ice Cream
The night before making this ice cream, be sure to place your Cuisinart Ice Cream Maker freezer bowl in your freezer, so that it's frozen solid. This ensures your ice cream will churn quickly.

Step 1: Cocoa powder is lumpy, and also resists blending into cold liquids. To ensure you don't let bitter lumps of cocoa powder in your finished ice cream, be sure to sift it or run it though a mesh sieve first before adding to the cream.
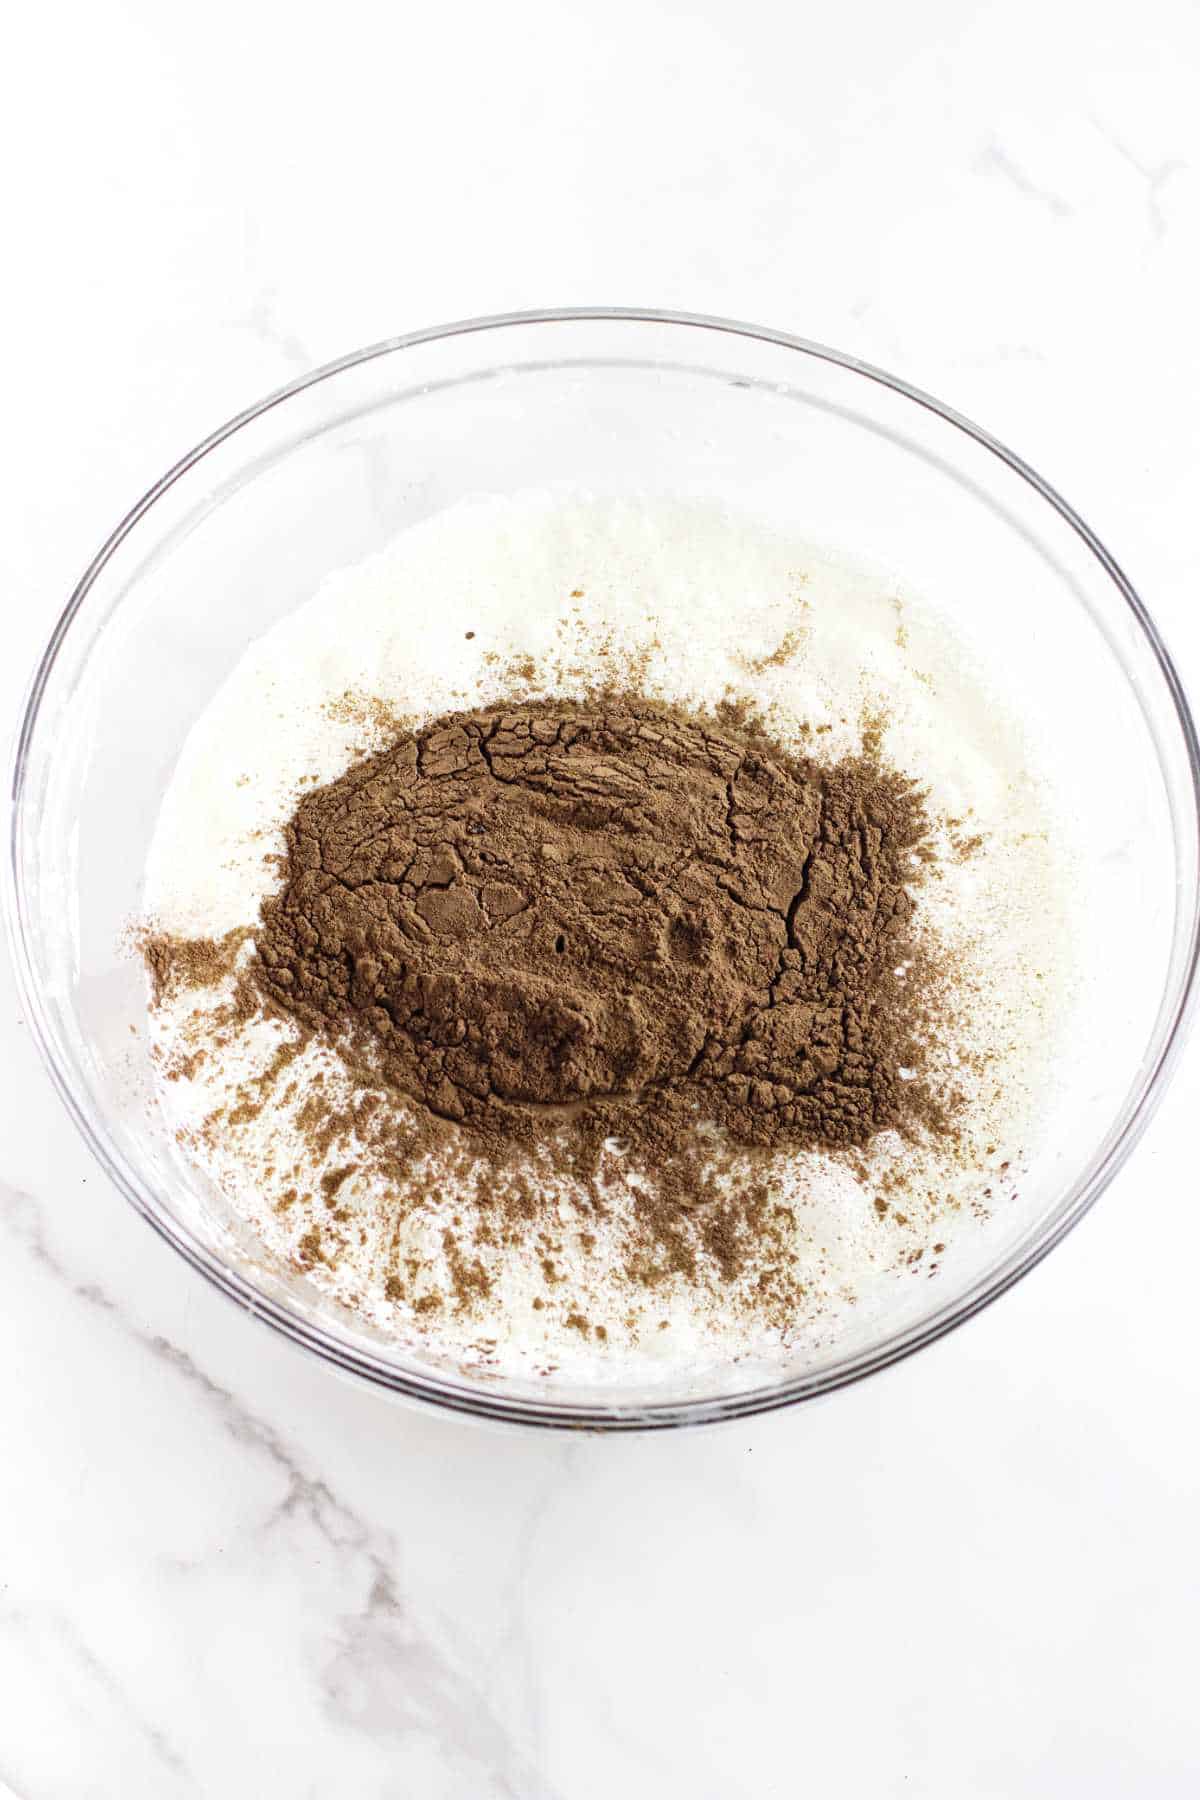
Step 2: Pour the heavy cream into a large mixing bowl. Add the sifted cocoa power.

Step 3: Using an electric mixer, mix until the cocoa powder is evenly mixed into the cream.
Step 4: Add the sweetened condensed milk, milk, vanilla extract, and the pinch of salt. Use the electric hand mixer to blend everything smooth. Chill the ice cream base for an hour.
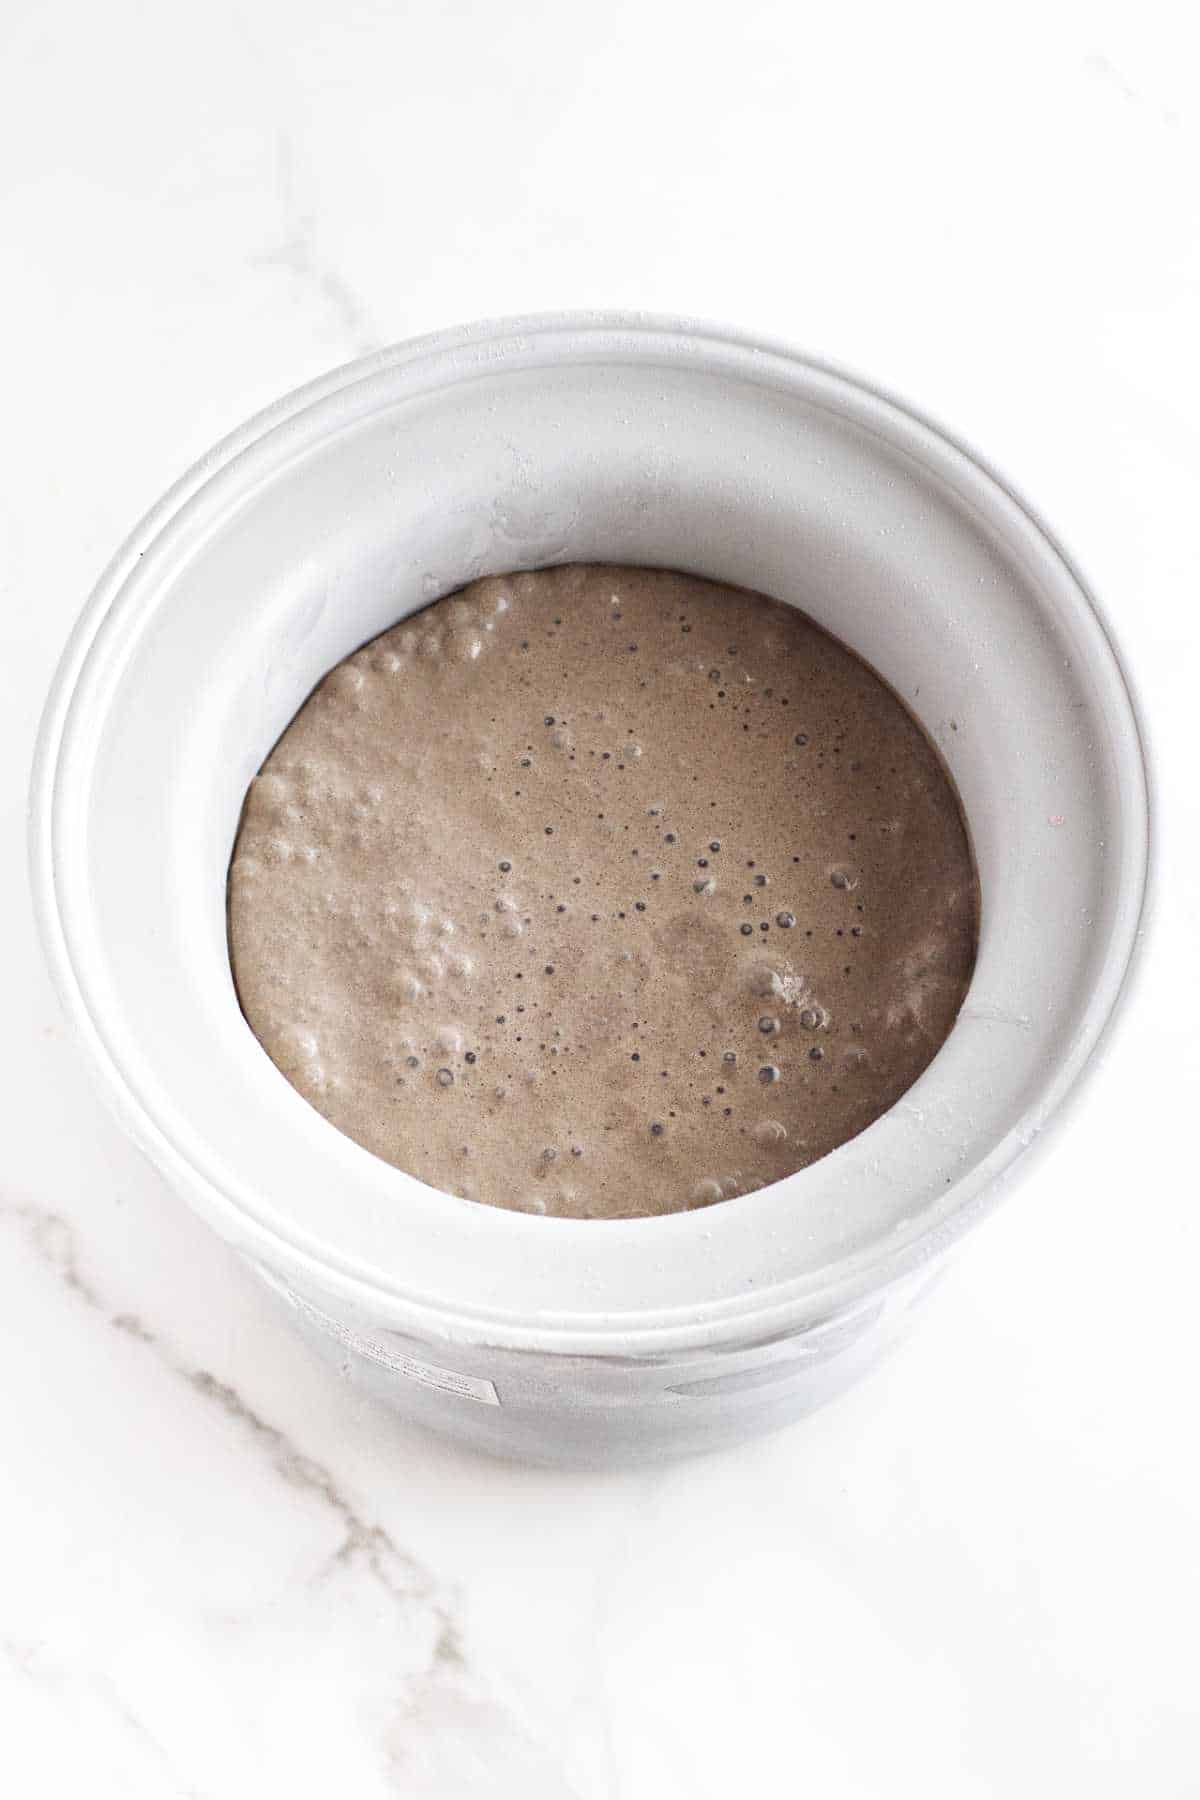
Step 5: Pour the ice cream base into the previously frozen freezer bowl.
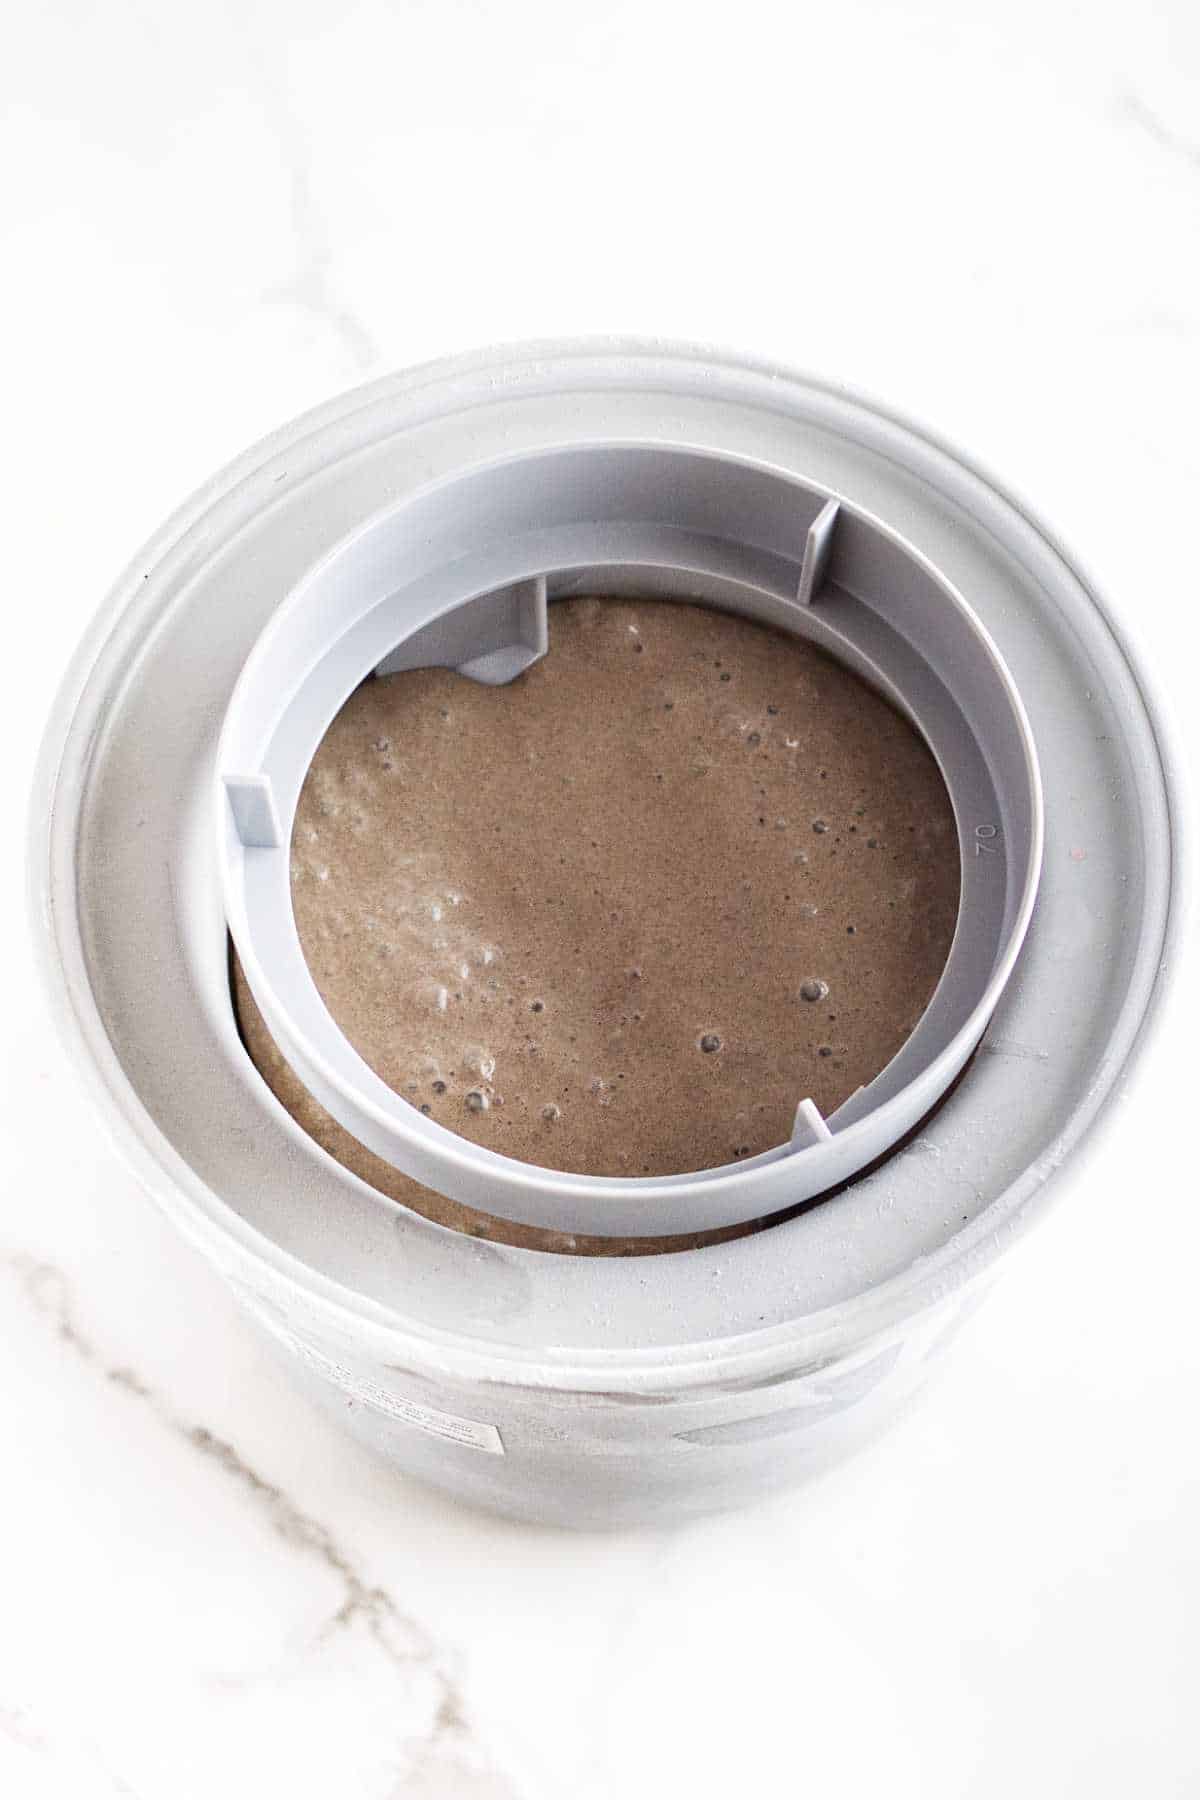
Step 6: Insert the dasher and set in the ice cream maker, setting program for "Ice Cream".
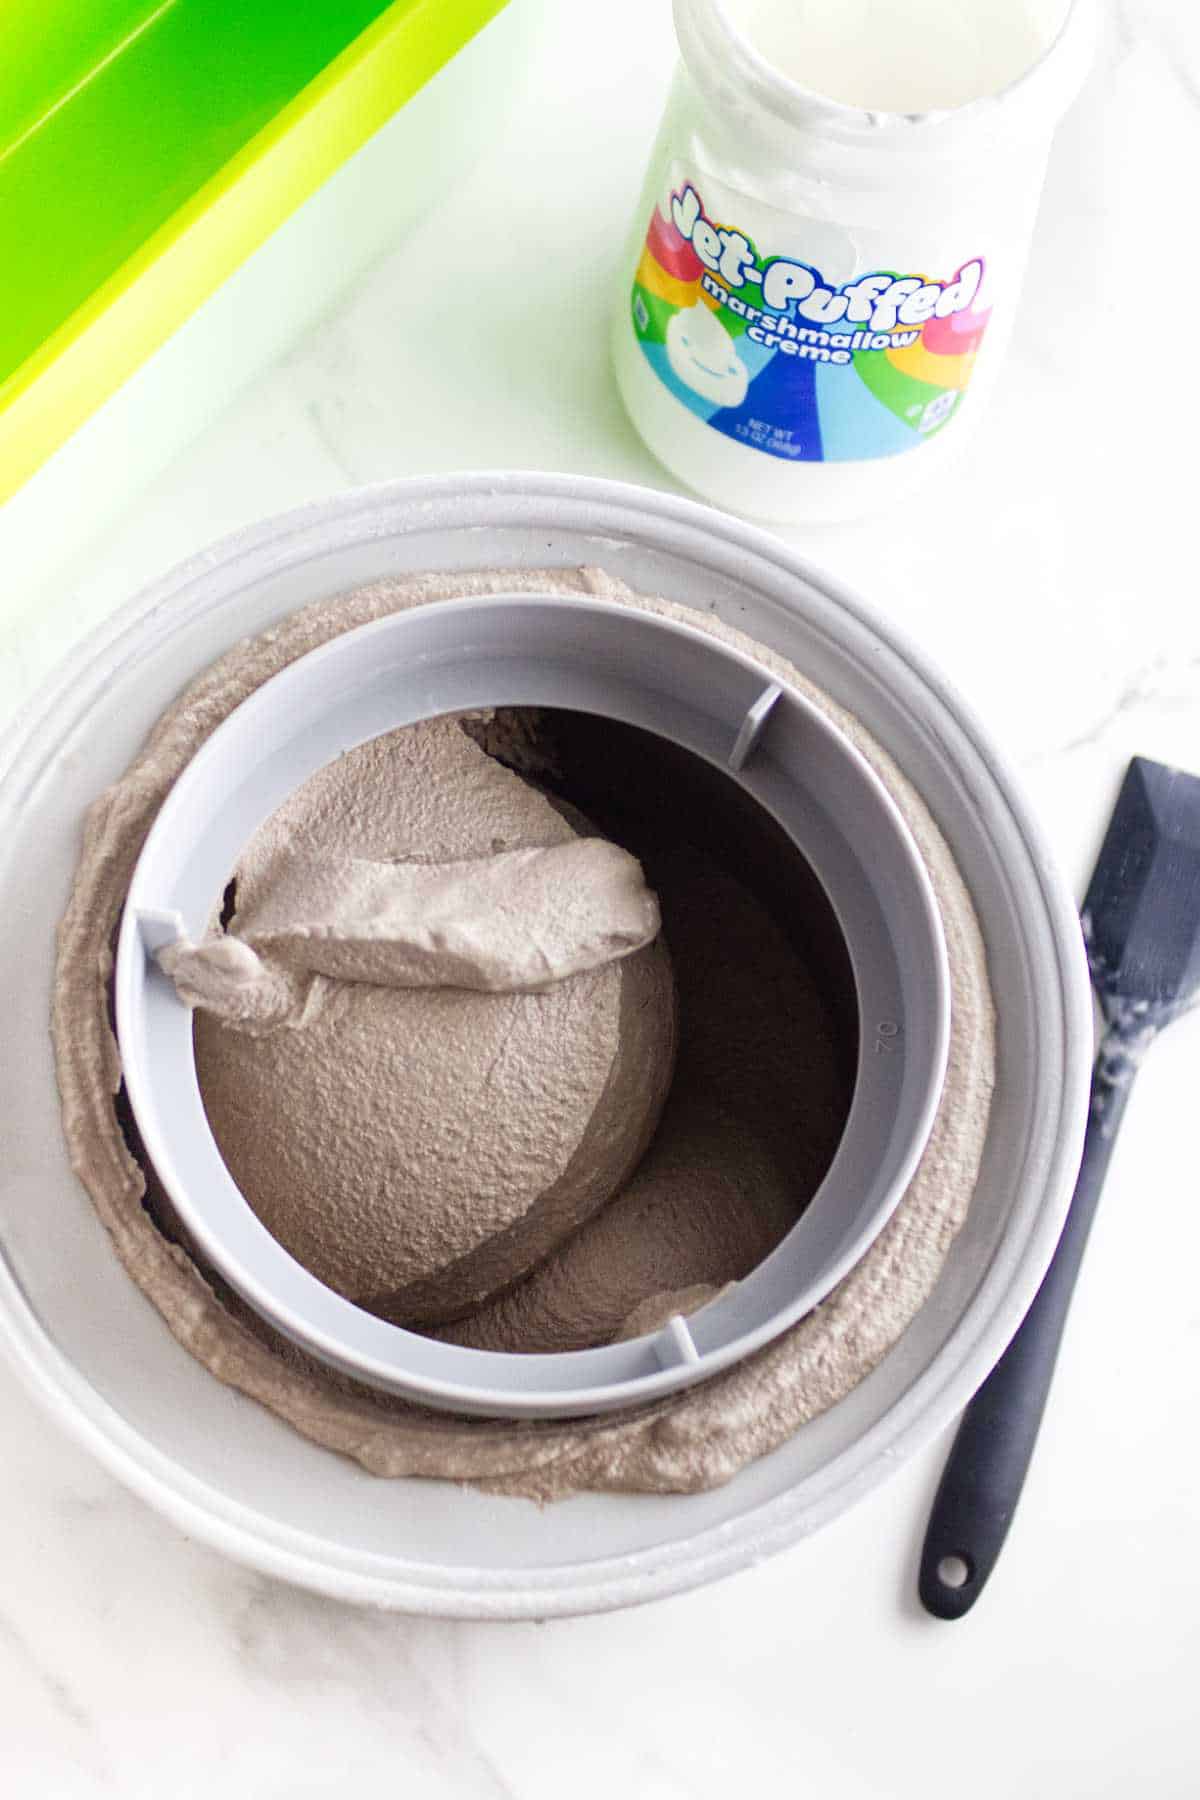
Step 7: Once churning cycle is complete, remove the dasher, scraping off the ice cream from the dasher.
Step 8: Warm the marshmallow cream in the microwave for about 10 to 15 seconds, just so it's looser and easier to work with. DO NOT LET IT GET HOT. Alternatively, you simply layer mini marshmallows.
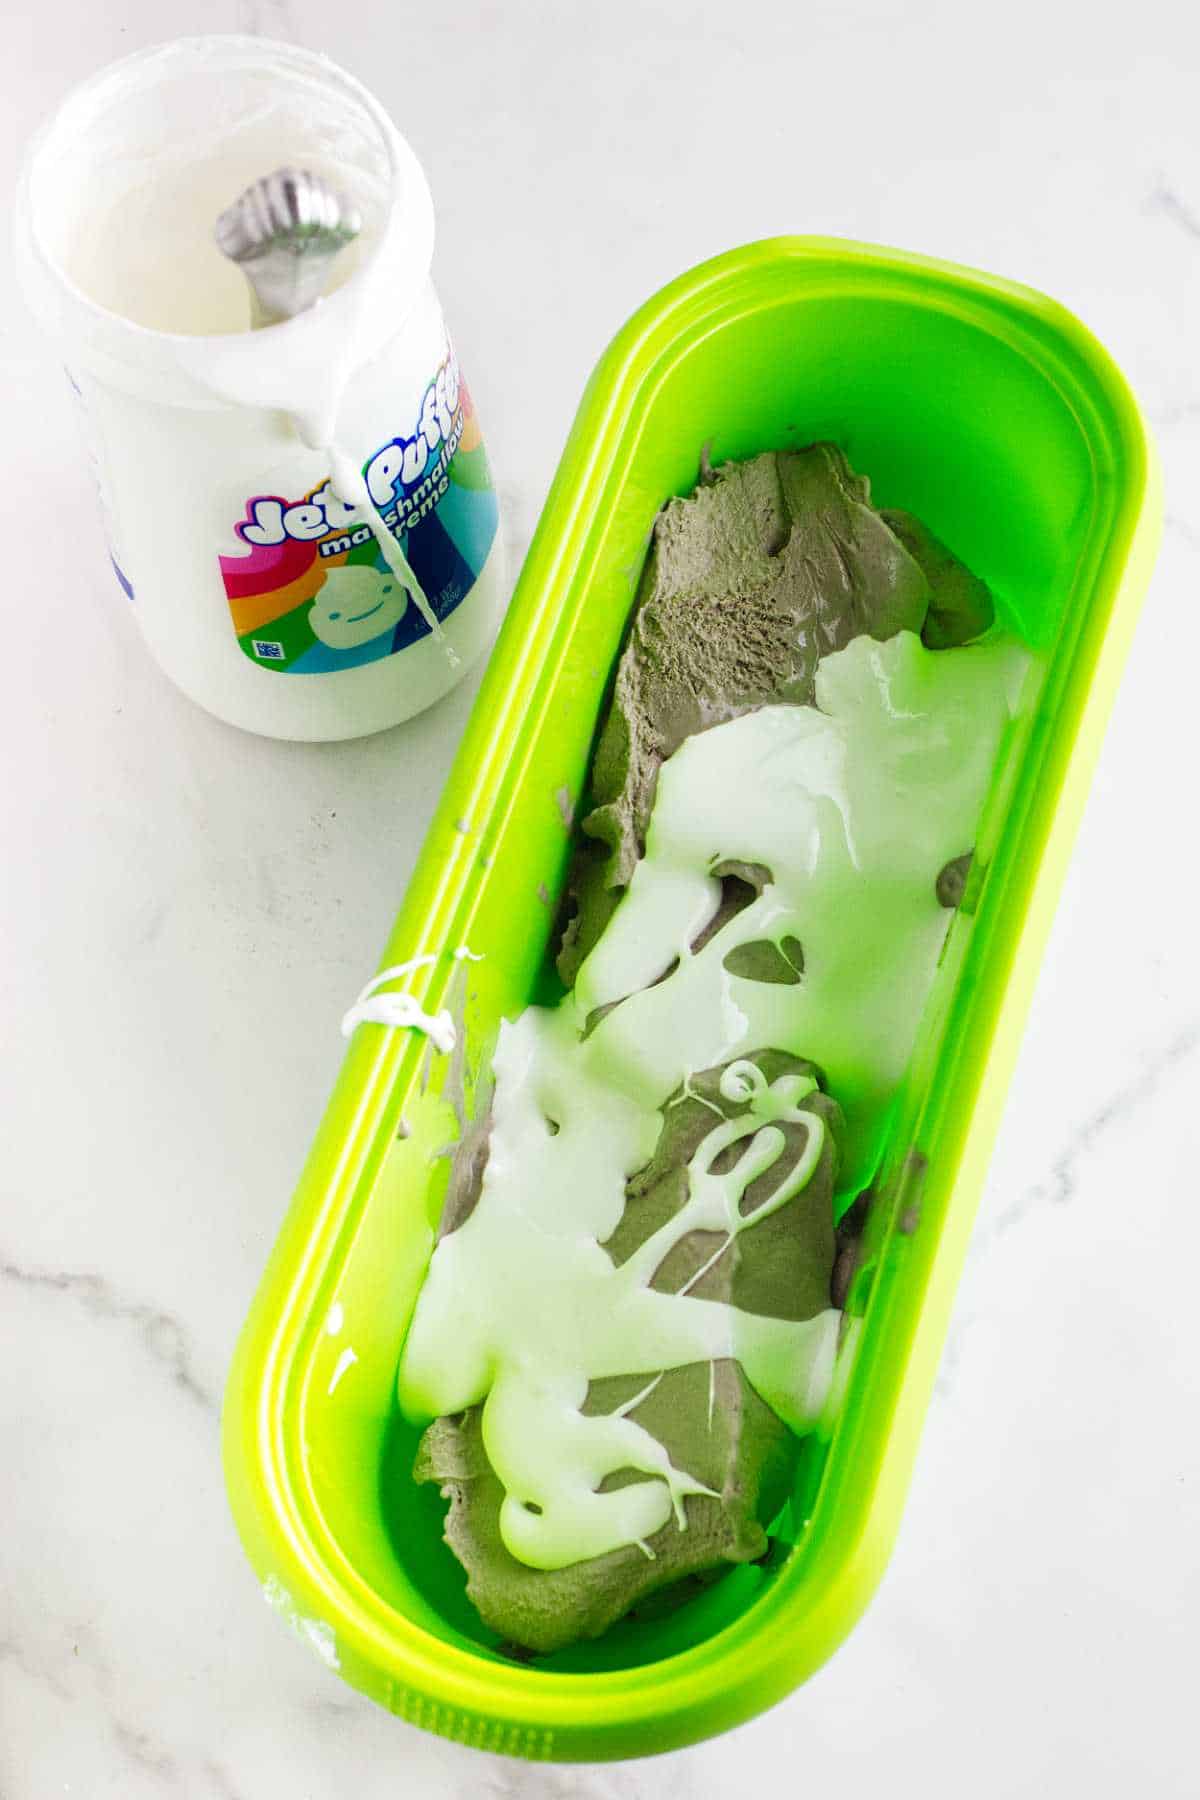
Step 9: Transfer half the chocolate ice cream into an insulated ice cream storage tub, or any loaf pan, and top with some marshmallow cream or mini marshmallows.
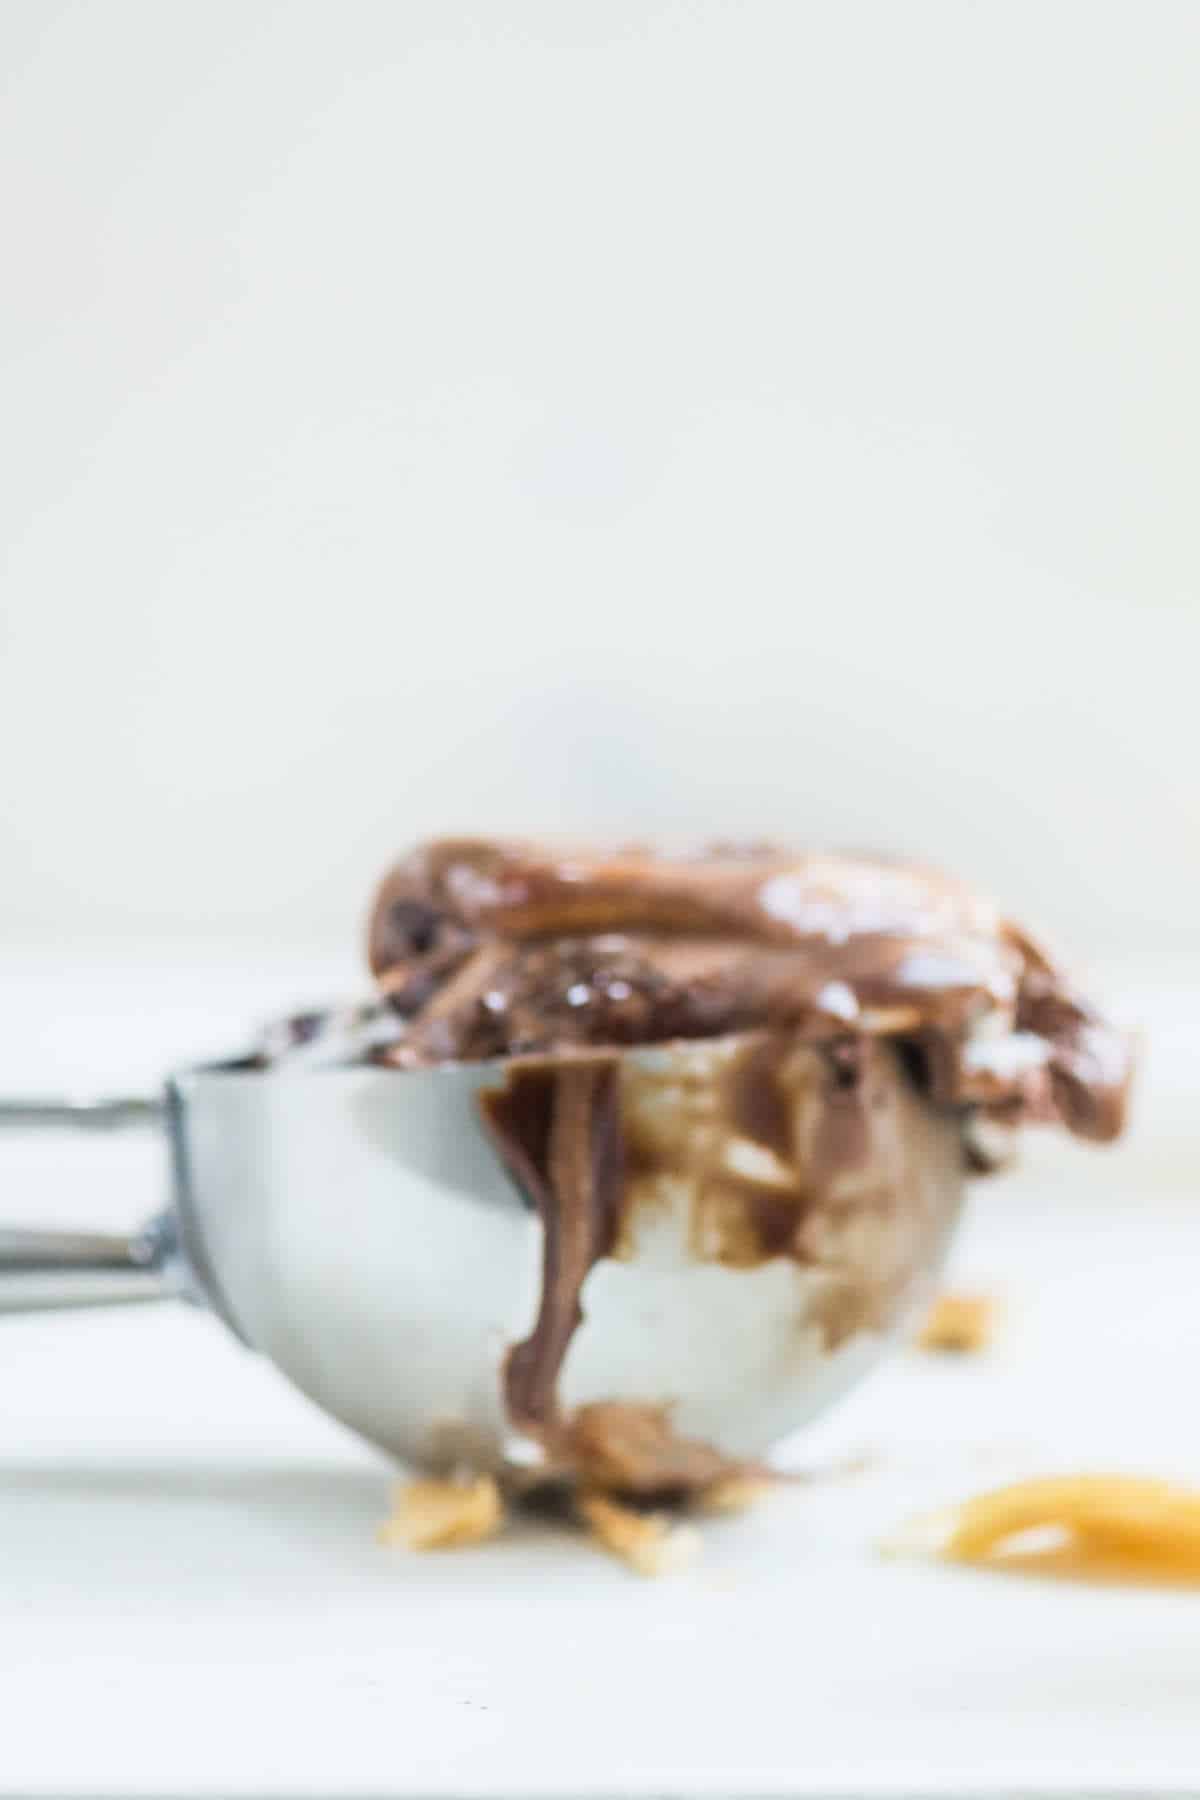
Step 10: Add the remaining ice cream to the storage tub, and using a spatula, fold the ice cream mixture lightly. You can serve immediately as soft serve style ice cream or store in the freezer to harden for 2 hours for scoop ice cream.
Serving Suggestions
Serve Chocolate Marshmallow ice cream on its own, or top with whipped cream, chocolate ganache sauce, or crushed cookies for a decadent sundae. You can even make ice cream sandwiches with your favorite cookies.
Substitutions and Variations
Here are a few delicious variations or substitutions when making this recipe.
- Chocolate Intensity: Adjust the amount of cocoa powder to your liking, or try using Dutch-processed cocoa for an even darker, less bitter chocolate flavor.
- Marshmallow Alternative: Instead of marshmallow fluff, use mini marshmallows. For a richer, more toasted flavor, you can briefly toast the mini marshmallows under a broiler before folding them in.
- Add-Ins: Introduce other textures and flavors! Stir in chocolate chips, chopped nuts, or even crushed graham crackers during the last few minutes of churning for a rocky road twist.
Pro Tip
If you don't like working with the sticky marshmallow cream, swirl in 1 cup of mini marshmallows.
Tips for Success
Here are a few tips for making this recipe:
- Chill Your Bowl: For the best results, ensure your ice cream maker's freezer bowl is completely frozen, ideally for 24 hours. A well-chilled bowl is crucial for achieving a creamy texture.
- Thoroughly Mix Cocoa: Whisk the cocoa powder thoroughly into your heavy cream and sweetened condensed milk mixture to avoid any lumps and ensure an even chocolate flavor.
- Chill Your Base: Before churning, chill your ice cream base in the refrigerator for at least 2-4 hours, or even overnight. A colder base churns faster and results in a smoother, richer ice cream.
- Add Marshmallow at the End: Incorporate the marshmallow fluff or mini marshmallows during the last few minutes of churning, or gently fold them in by hand after the ice cream reaches a soft-serve consistency. This prevents them from being completely broken down and ensures distinct swirls.
- Freeze for Firmness: After churning, transfer the ice cream to an airtight, freezer-safe container and freeze for at least 4-6 hours. This allows it to harden to a scoopable consistency.
Storage Options
Some recommended storage options for this recipe are:
- Freezer: Store the ice cream in an airtight, freezer-safe container. This helps prevent ice crystals and keeps it fresh for up to 2 weeks. For best results, press a piece of parchment paper or plastic wrap directly onto the surface of the ice cream before sealing the container.
- Prevent Freezer Burn: Ensure the container is well-sealed. This protects the ice cream from freezer burn, which can negatively impact its texture and flavor.
Related Recipes
Frequently Asked Questions
To make it without a machine, combine your base ingredients, then pour into a freezer-safe container. Freeze for 2-3 hours, then stir vigorously to break up ice crystals. Repeat stirring every 30-60 minutes until firm.
Yes, you can use mini marshmallows. For a fun twist, you can even lightly toast them under the broiler before folding them in.
Make sure your ice cream maker's freezer bowl was completely frozen (at least 12-24 hours). Also, ensure your ice cream base was thoroughly chilled before churning.
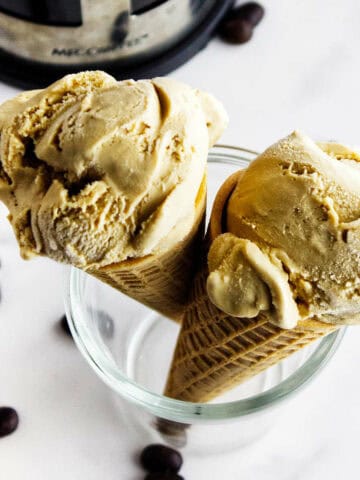
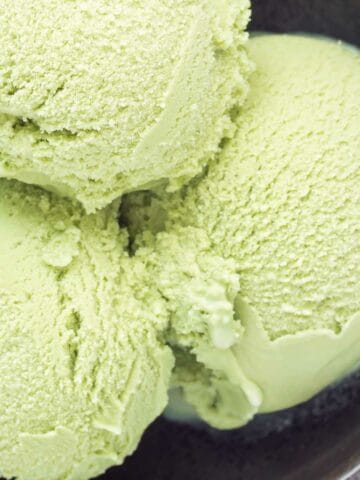
Summer Recipes


Get The Recipe!

Chocolate Marshmallow Ice Cream
Equipment
- Cuisinart Ice Cream Maker ICE70
- Cuisinart Ice Cream Maker
- Ice Cream Storage Tubs, 1 quart
- Long Scoop Ice Cream Storage Tubs
Ingredients
- ½ cup cocoa powder regular or Dark
- 2 cup heavy cream
- 2 cup milk
- 14 oz sweetened condensed milk 1 can
- ¼ teaspoon salt
- 2 teaspoon vanilla extract
- 1 cup marshmallow cream or Marshmallow Fluff
Instructions
- To remove lumps, sift the cocoa powder through a sieve into a bowl.½ cup cocoa powder
- Pour the heavy cream into a large mixing bowl. Transfer the sifted cocoa power into the bowl of heavy cream.2 cup heavy cream
- Using an electric mixer, mix until the cocoa powder is evenly mixed into the cream.
- Add the sweetened condensed milk, milk, vanilla extract, and the pinch of salt. Use the electric hand mixer to blend everything smooth. Chill for at least an hour before pouring into the freezer bowl and churning.2 cup milk, 14 oz sweetened condensed milk, ¼ teaspoon salt, 2 teaspoon vanilla extract
- Pour the ice cream base into the previously frozen freezer bowl. Insert the dasher and set in the ice cream maker, setting program for "Ice Cream".
- Once churning cycle is complete, remove the dasher, scraping off the ice cream from the dasher.
- Warm the marshmallow cream in the microwave for about 10 to 15 seconds, just so it's looser and easier to work with. DO NOT LET IT GET HOT. Alternatively, you can simply layer mini marshmallows instead of the marshmallow cream.1 cup marshmallow cream
- Transfer half the chocolate ice cream into an insulated ice cream storage tub, or any loaf pan, and top with some marshmallow cream (or mini marshmallows).
- Add the remaining ice cream to the storage tub, and using a spatula, fold the ice cream mixture lightly. You can serve immediately as soft serve style ice cream or store in the freezer to harden for 2 hours for scoop ice cream.
Notes
- Chill Your Bowl: For the best results, ensure your ice cream maker's freezer bowl is completely frozen, ideally for 24 hours. A well-chilled bowl is crucial for achieving a creamy texture.
- Thoroughly Mix Cocoa: Whisk the cocoa powder thoroughly into your heavy cream and sweetened condensed milk mixture to avoid any lumps and ensure an even chocolate flavor.
- Chill Your Base: Before churning, chill your ice cream base in the refrigerator for at least 2-4 hours, or even overnight. A colder base churns faster and results in a smoother, richer ice cream.
- Add Marshmallow at the End: Incorporate the marshmallow fluff or mini marshmallows during the last few minutes of churning, or gently fold them in by hand after the ice cream reaches a soft-serve consistency. This prevents them from being completely broken down and ensures distinct swirls.
- Freeze for Firmness: After churning, transfer the ice cream to an airtight, freezer-safe container and freeze for at least 4-6 hours. This allows it to harden to a scoopable consistency.

Leave a Reply