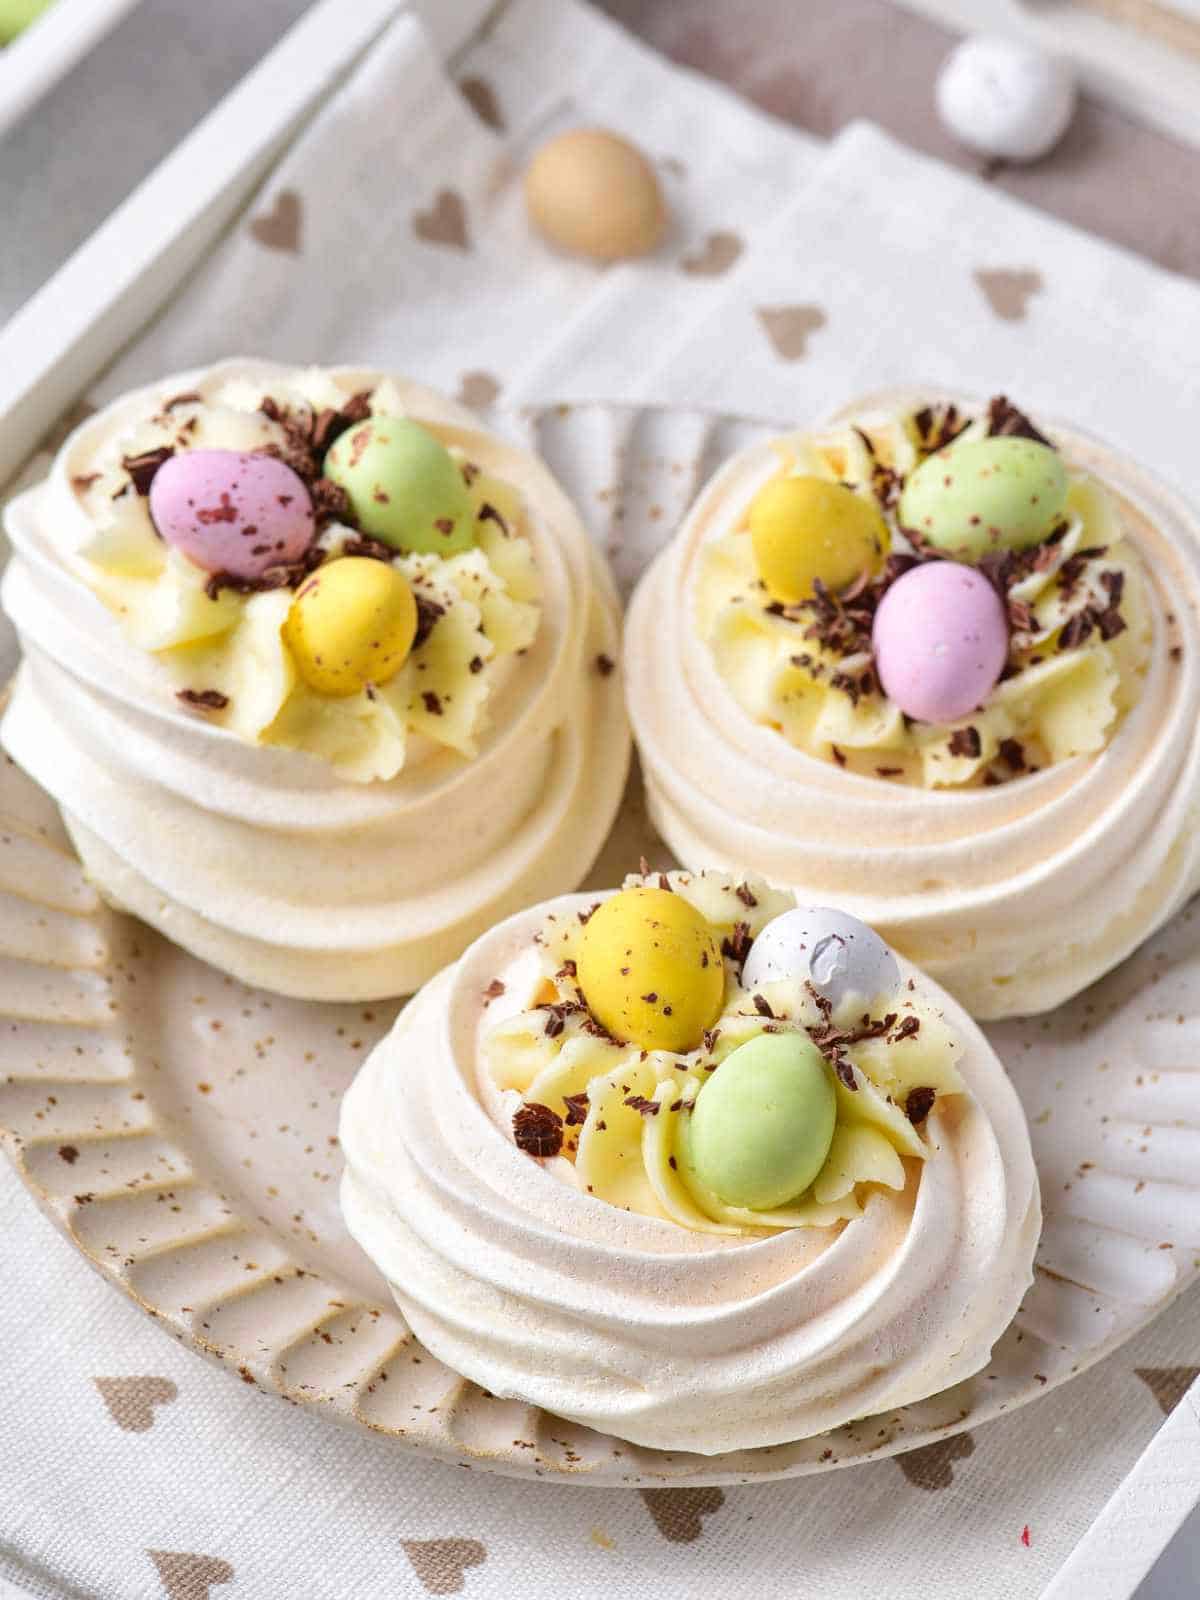
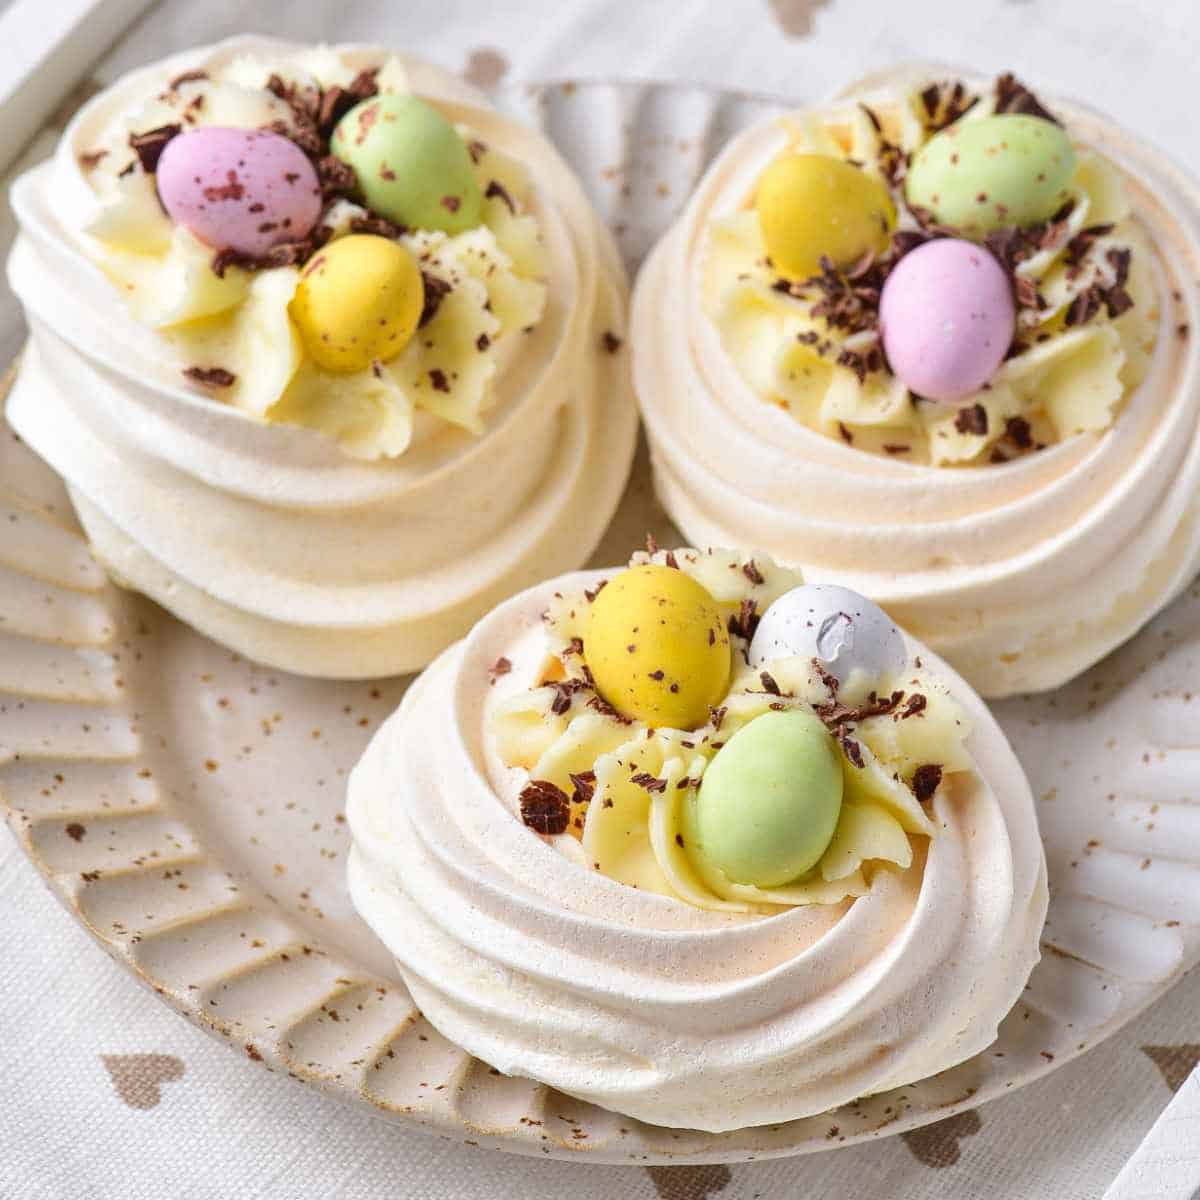
These adorable Mini Easter Pavlova Nests are the perfect way to add a touch of whimsy and elegance to your springtime celebrations. Light and airy meringue nests are filled with a dollop of decadent cream cheese filling.
Topped with a sprinkle of decadent shaved chocolate and Mini Cadbury Eggs, these little nests are a guaranteed crowd-pleaser and a delightful addition to any Easter brunch or dessert table.
Why You'll Love This Recipe
The pastel color palette and playful presentation make these individual Easter pavlova nests ideal for Easter celebrations. They're super easy to make, and with a little planning and our helpful tips, you can whip up a batch of these impressive treats in no time.
Feel free to experiment with different flavored fillings and toppings to create your own unique flavor combinations.
- Light and Airy: The meringue nests are incredibly light and airy, providing a delightful textural contrast to the creamy filling.
- Easy to Customize: Feel free to get creative with your fillings and toppings! Swap the whipped cream for lemon curd, fresh berries, or passion-fruit for a tropical twist.
- Perfect for Spring Celebrations: The pastel colors and bird's nest design make these Easter pavlova nests perfect for baby showers, or any spring gathering.
Ingredients You'll Need
Be sure to use room temperature egg, as it makes separating the white from the yolks so much easier, and you get better volume to your meringue. When making the filling you'll want cold heavy cream, but room temperature, softened cream cheese.
The cream cheese not only give you a delightful 'cheesecake' taste to the filling, but also stabilizes the whipped cream so that your mini pavlova nests hold up better.
Full ingredient amounts and preparation instructions are in the printable recipe card at the bottom of this post.
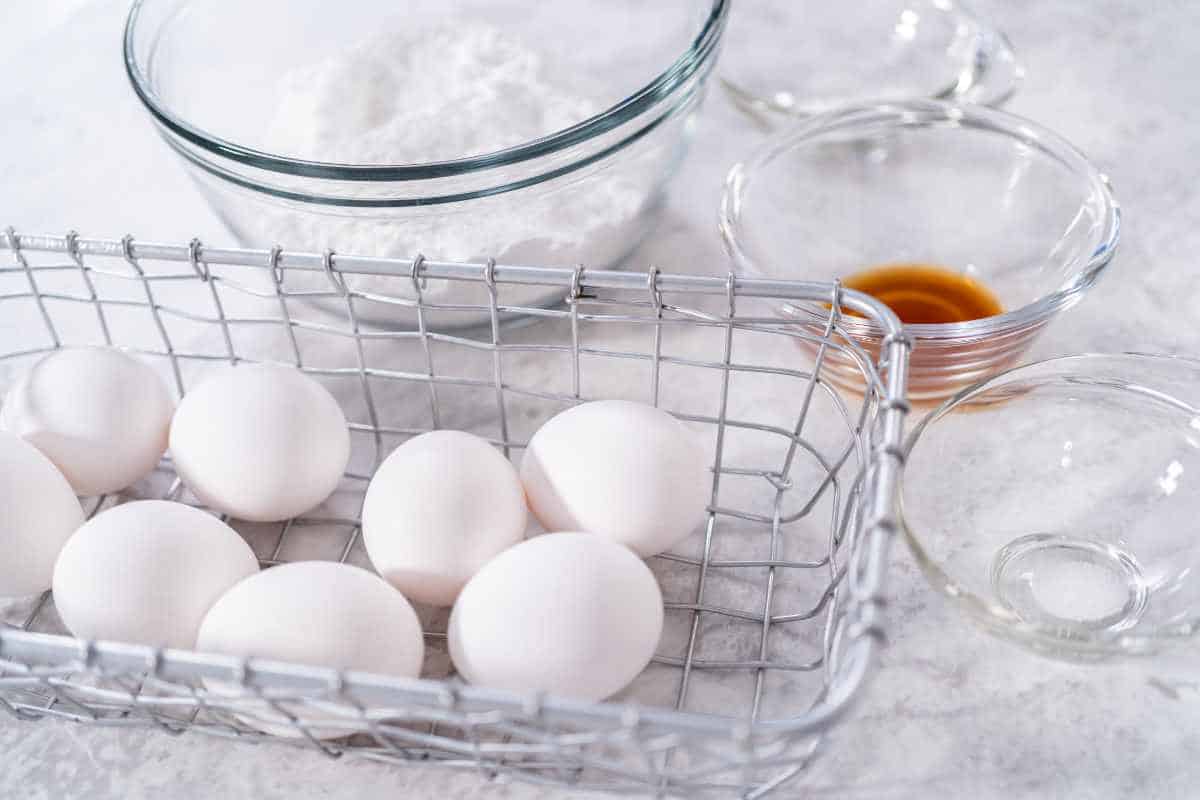
How To Make Easter Pavlova Nests
Making individual meringues for individual pavlovas easy, involving mostly just whipping egg whites. The long, low heat baking dries the meringues out to little light weight nests that you can fill with anything from our cream cheese filling to lemon curd, chocolate pudding, etc.
Prepare The Meringue
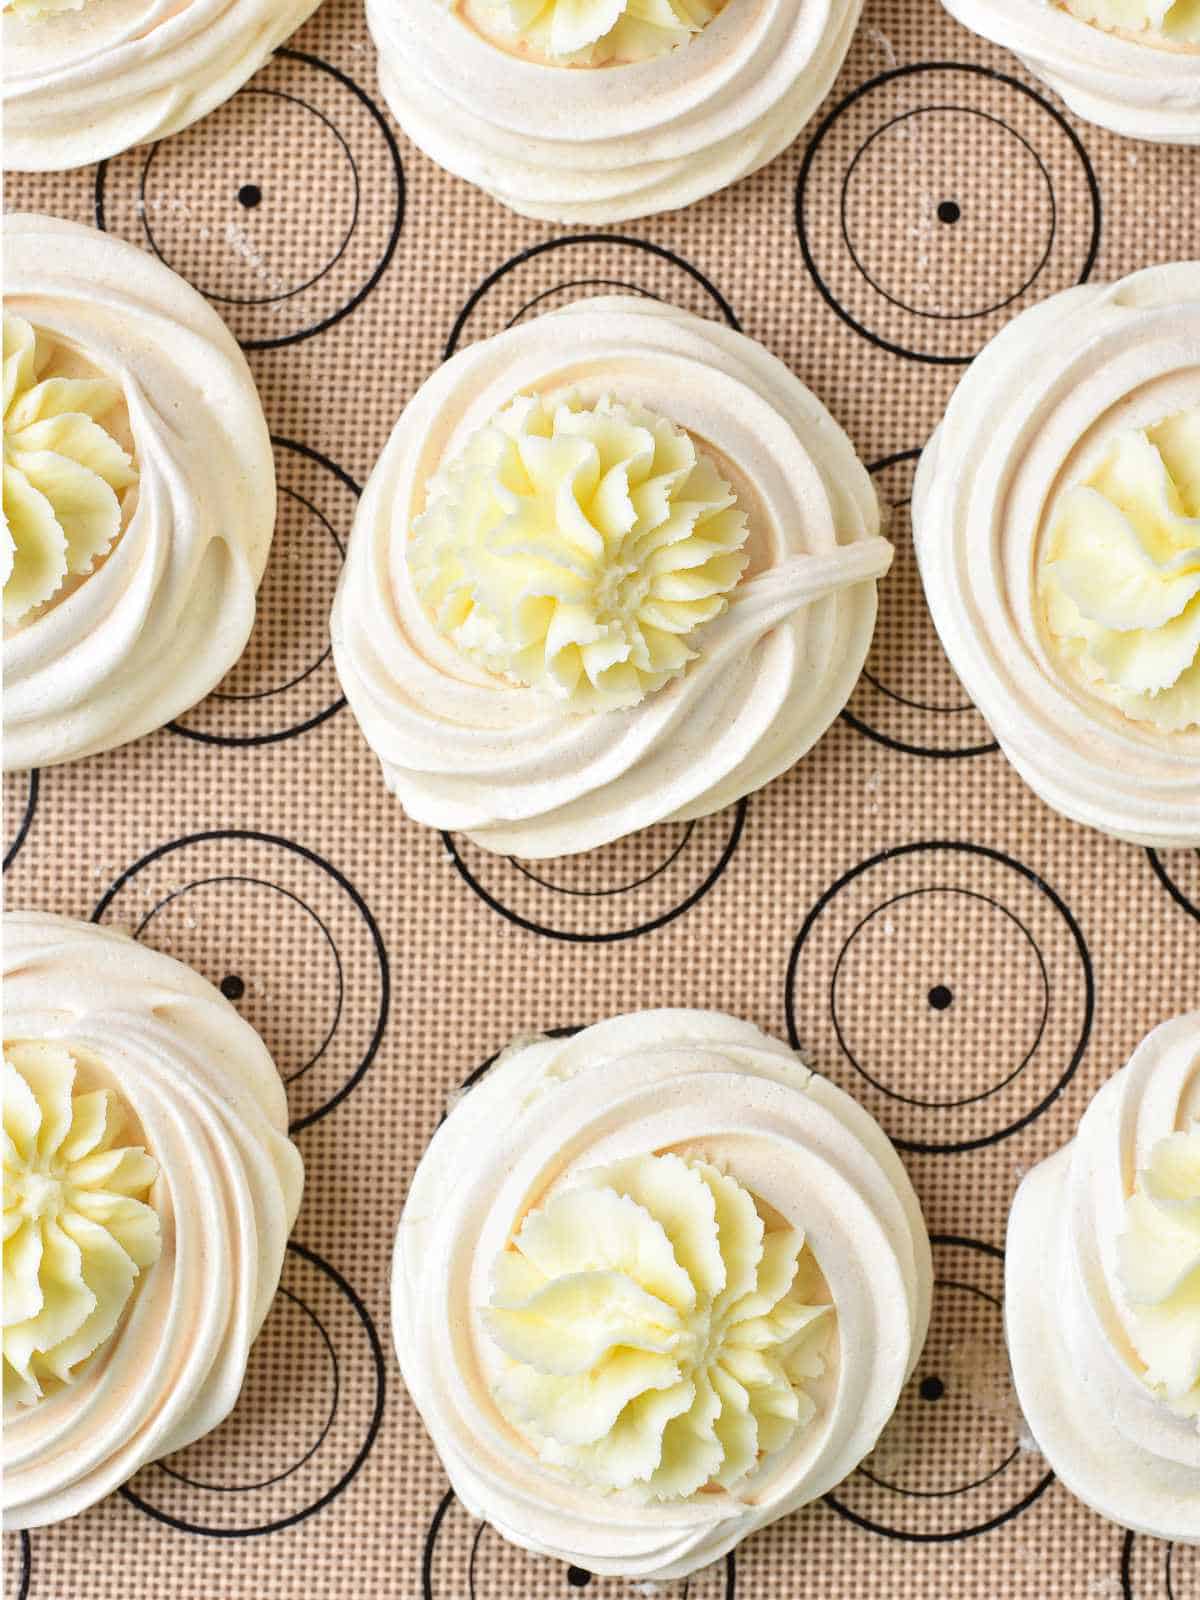
- Preheat the oven to 175F. Line a large rimmed baking sheet with a Silpat mat that has 12 circles on it.
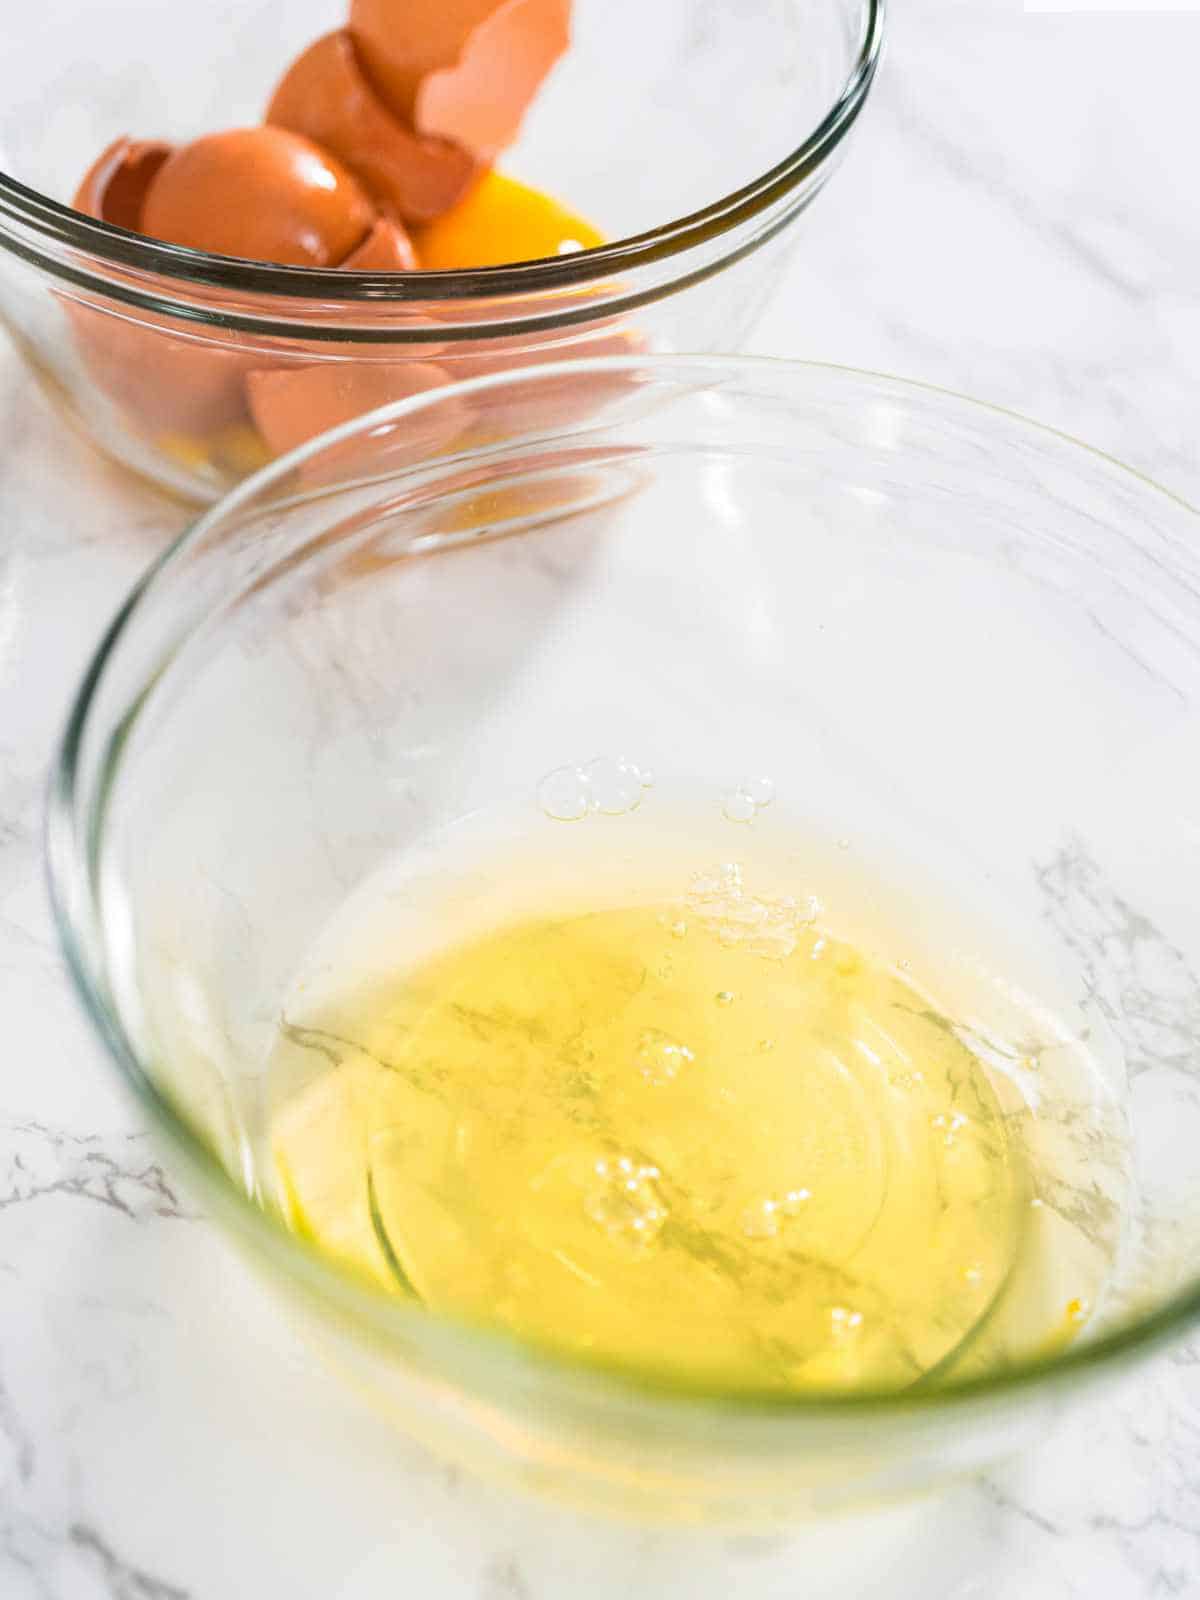
- Separate the egg whites from the egg yolks taking care to not get egg yolk mixed in. Save the egg yolks for making our lemon curd.
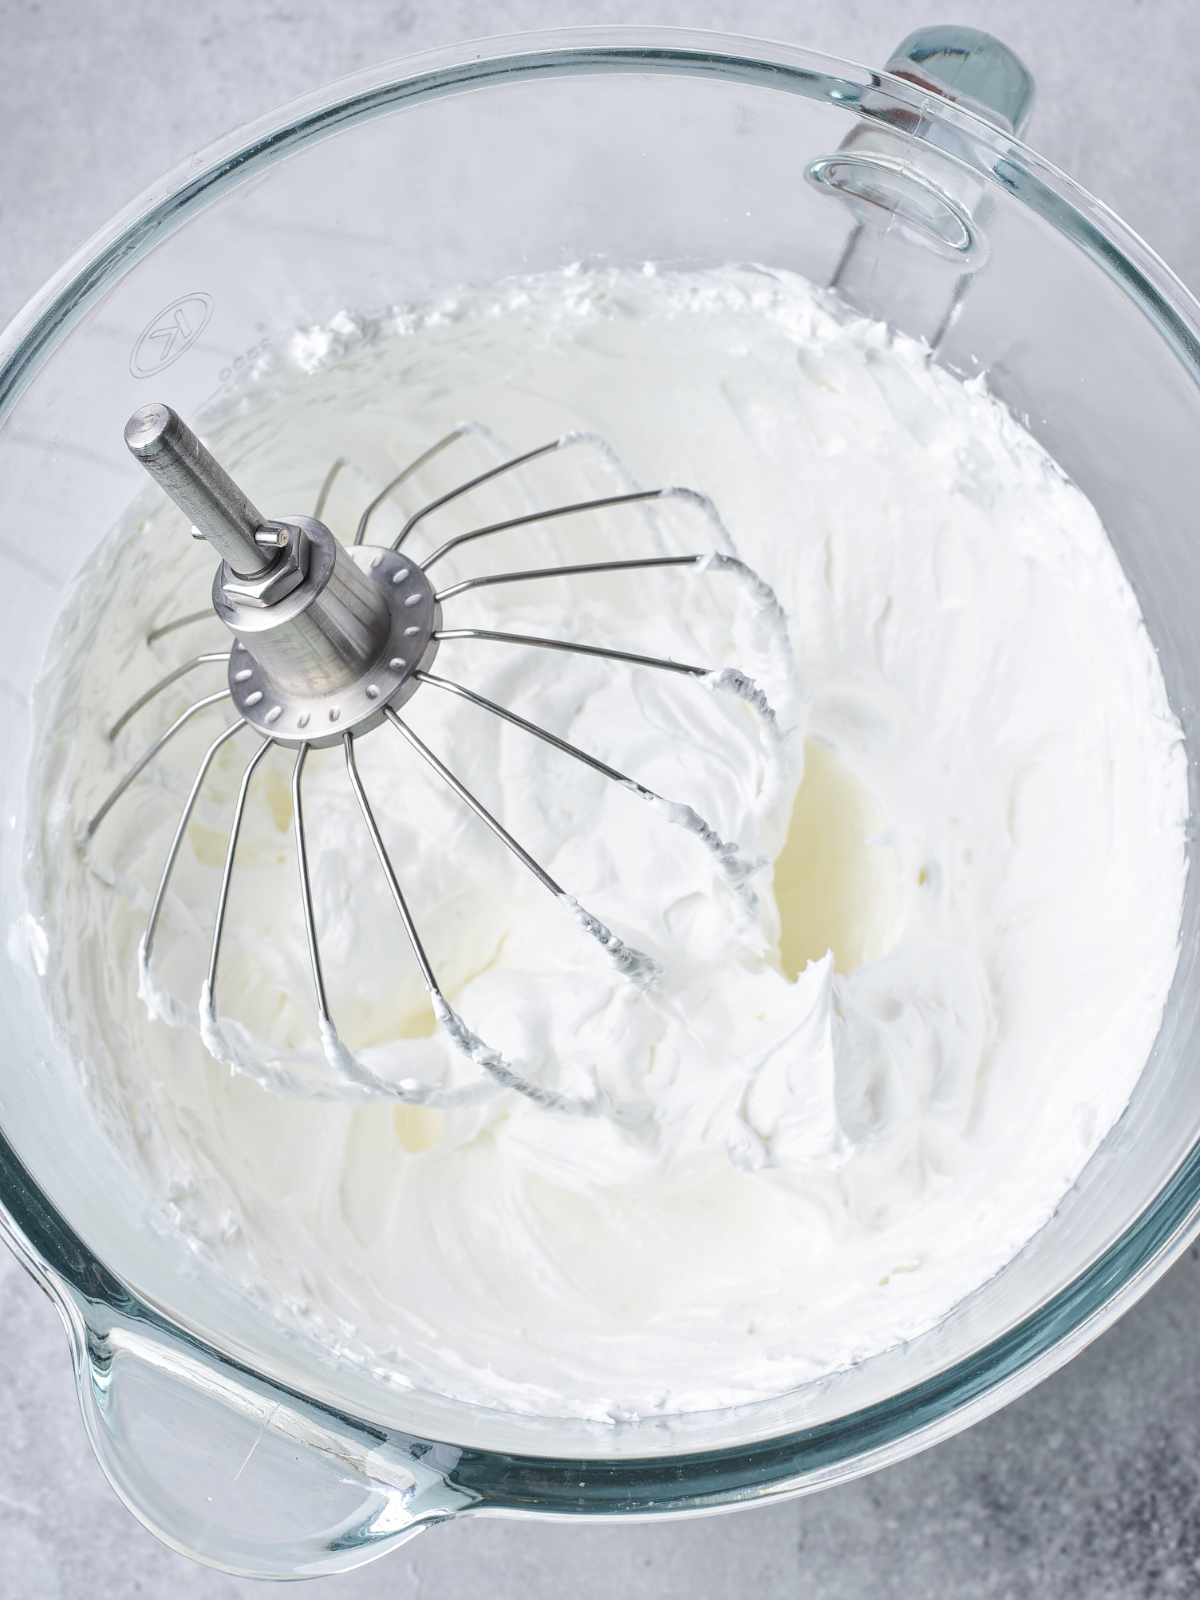
- Add the cream of tartar to the egg whites and whisk until foamy. Then add the sugar and whip until glossy, stiff peaks form.
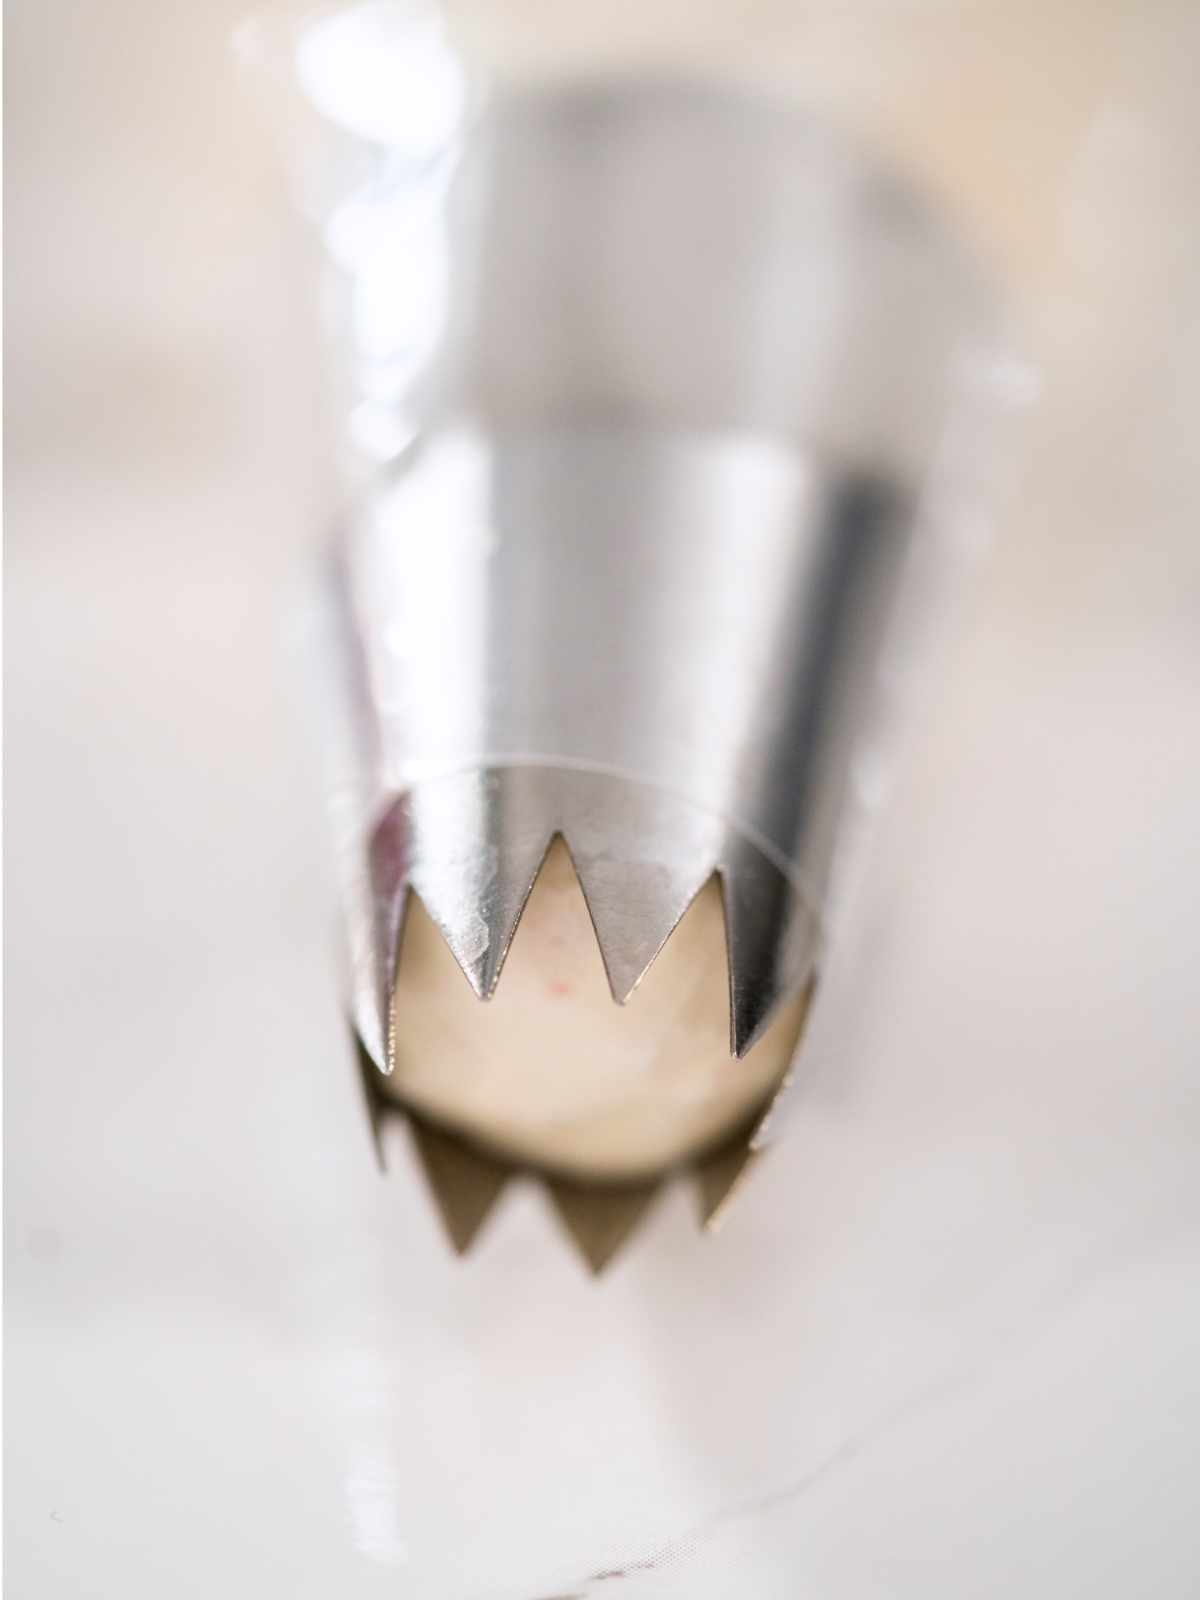
- Transfer the meringue to a large piping bag fitted with a large star tip (open or closed).
Pipe The Meringue Nests
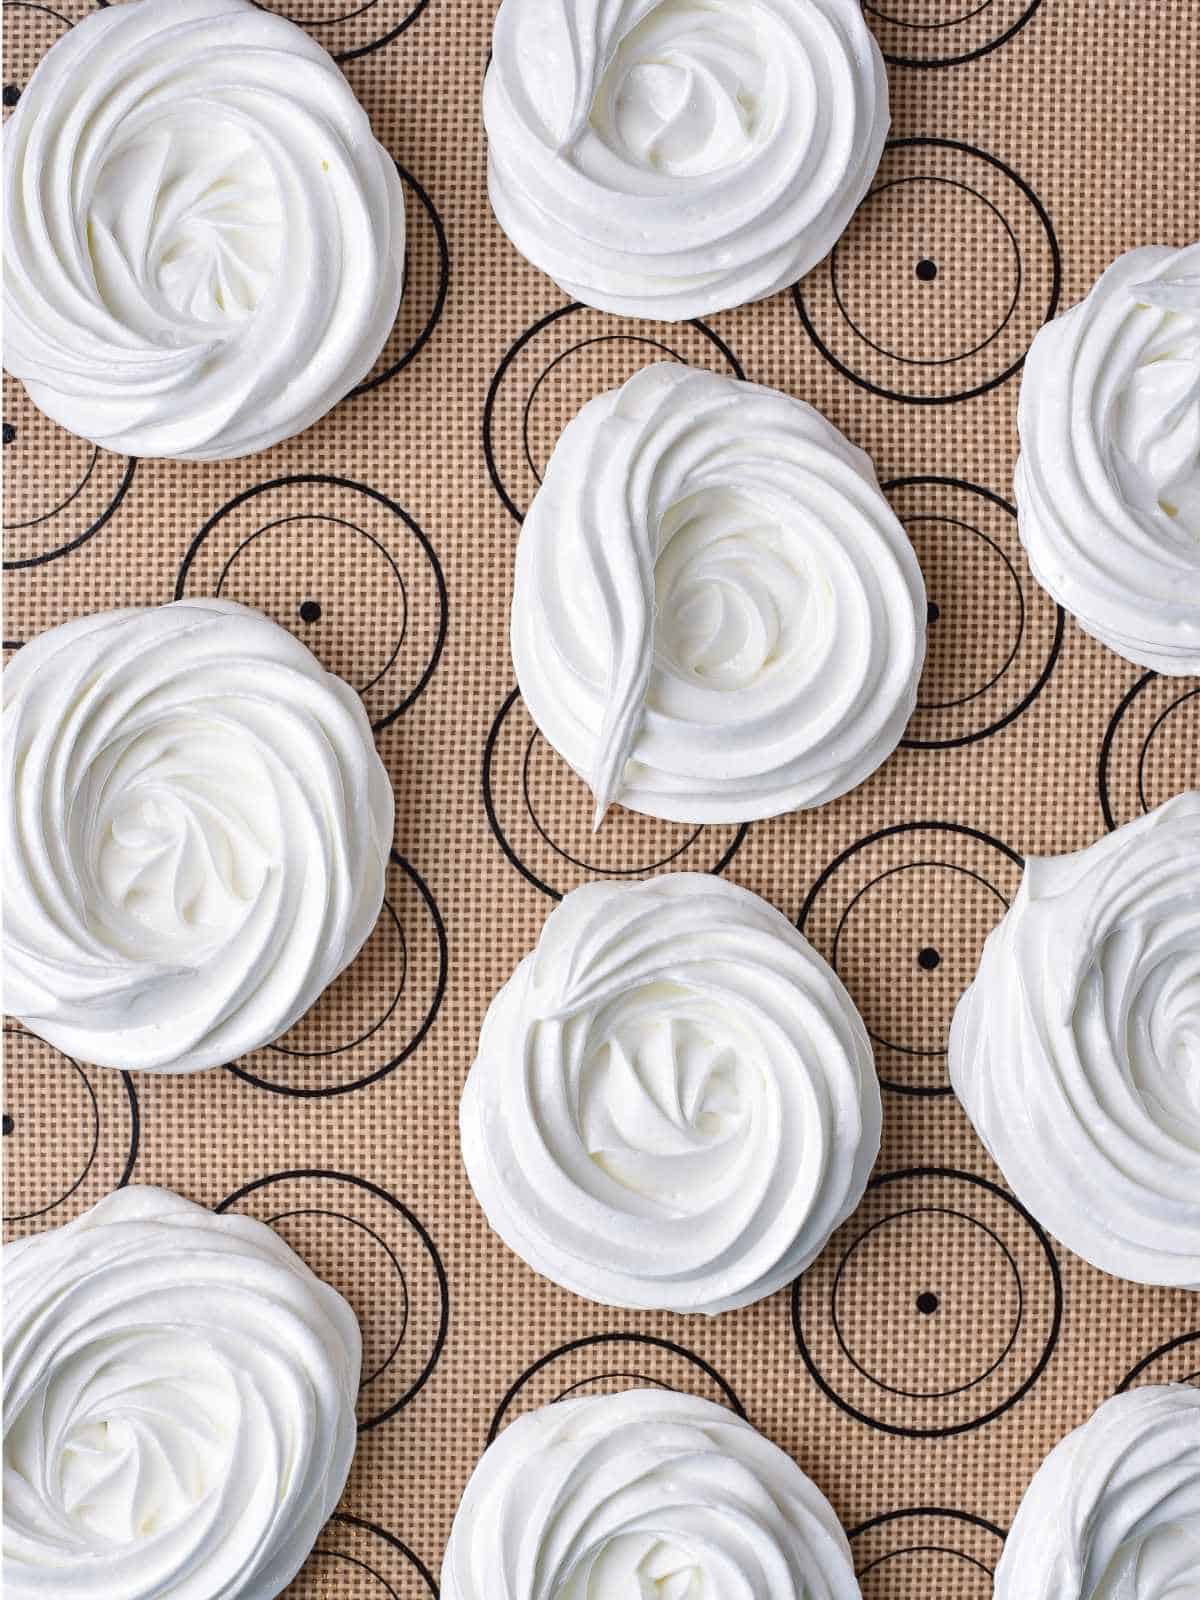
- Pipe the meringue onto a silicone mat following the circle guidelines so they don't touch each other. Start with the bottom, swirling from the center and then back again to create a filled center with a double swirl for the outside of the circle.
- Place the baking sheet in the preheated oven at 175F to dry for 11/2 - 2 hours. Don't open the oven door the first 30 minutes.
- Check the dryness of the meringues after 90 minutes. If too soft and springy, continue drying for another 30 minutes. When crisp and hollow feeling, remove the meringues to cool on a cooling rack.
Make The Fluffy Cream Cheese Filling
While the meringues are baking, whip the softened cream cheese and sugar into the cold heavy cream for a light and fluffy filling. Keep chilled in the refrigerator until ready to fill the nests.
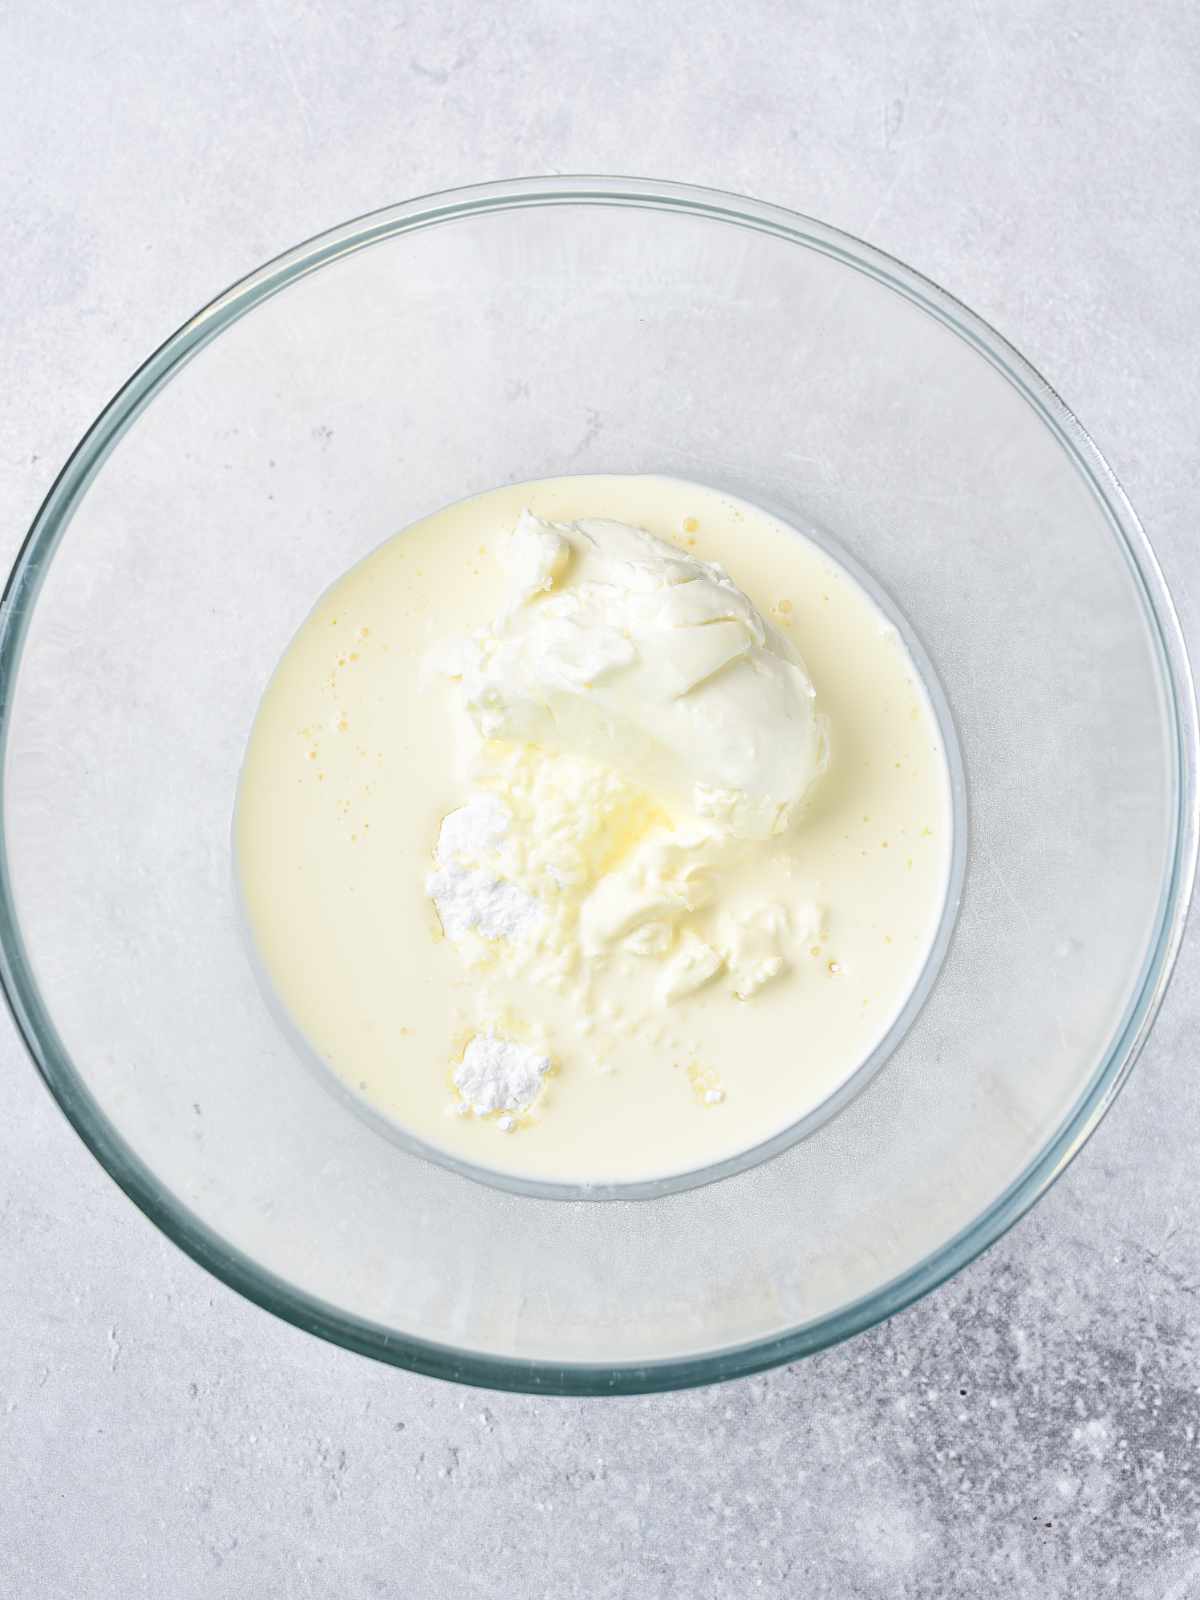
- Measure the cold whipping cream, softened cream cheese, vanilla, and sugar into a mixing bowl.
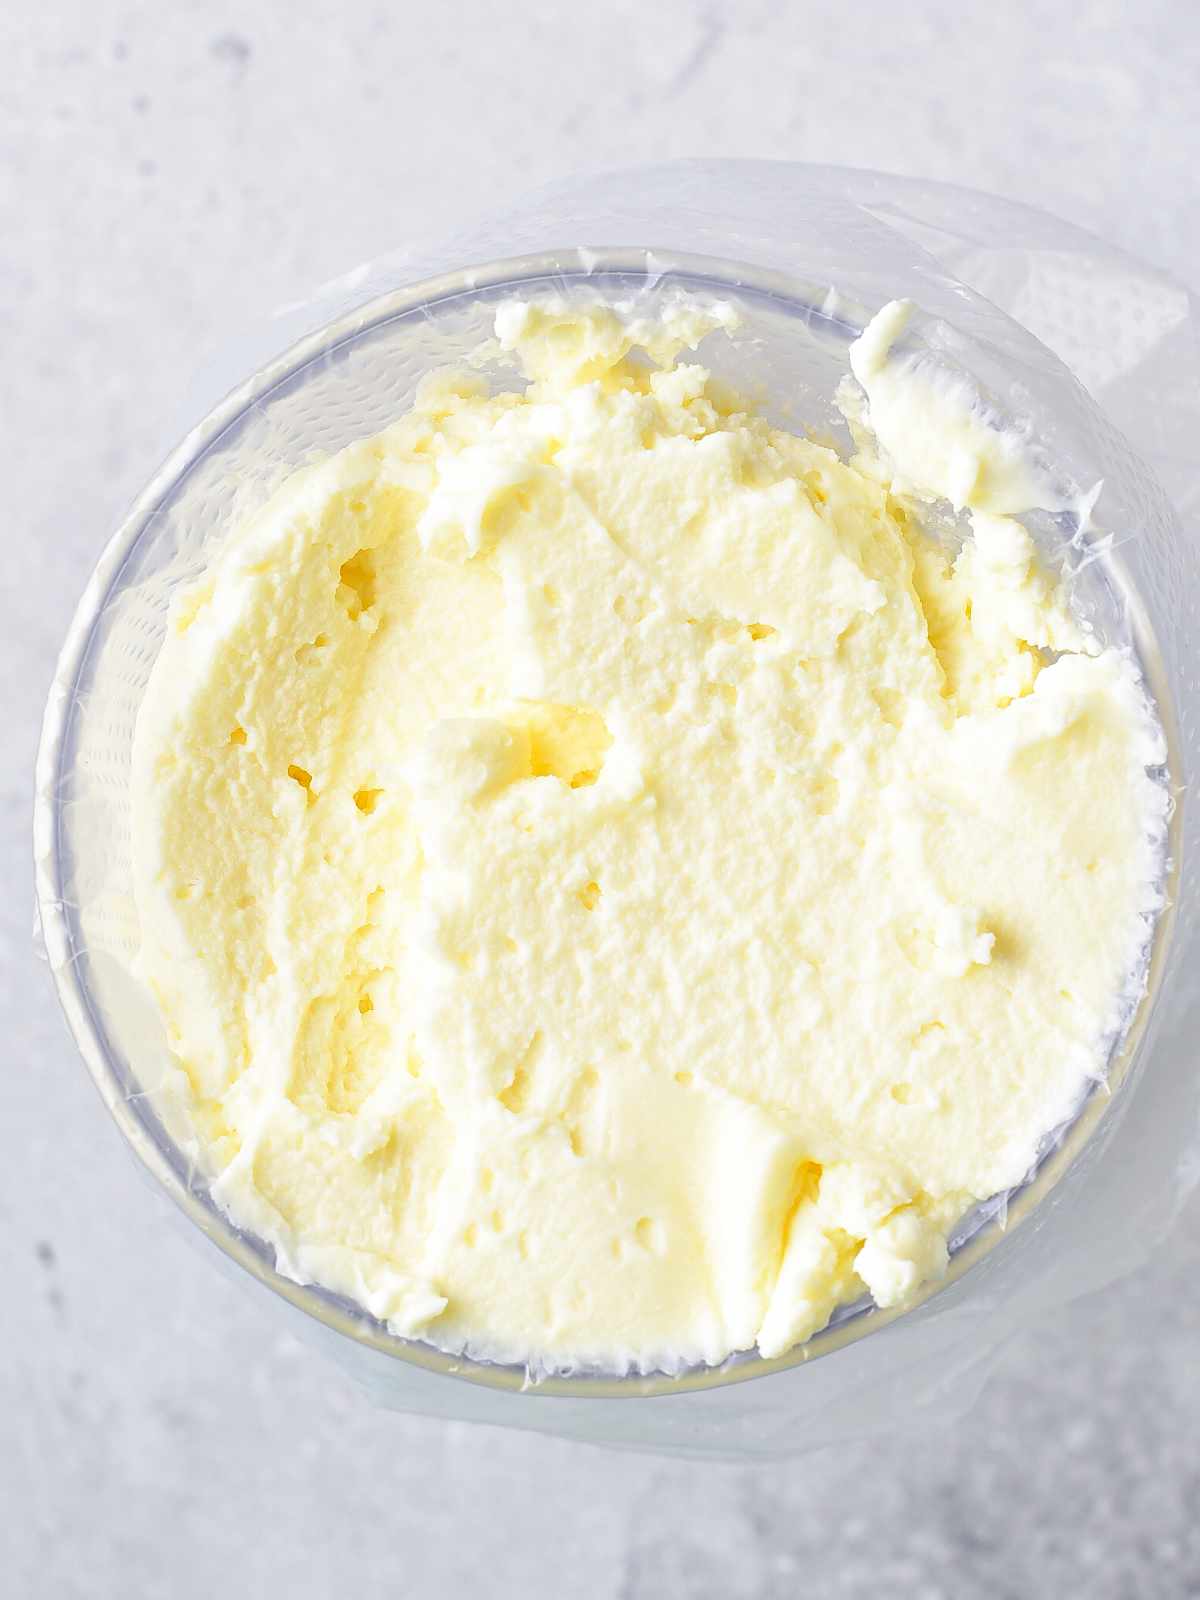
- Whip with a mixer until you get a fluffy, thick cream filling mixture. Be careful to not over mix.
Bake The Meringue Nests
- When ready to fill the completely cooled meringue nests, transfer the whipped cream and cream cheese topping into a piping bag fitted with a star tip. Pipe the filling into the center or each meringue nest to create a mini pavlova.
Garnish with Cadbury Mini Eggs
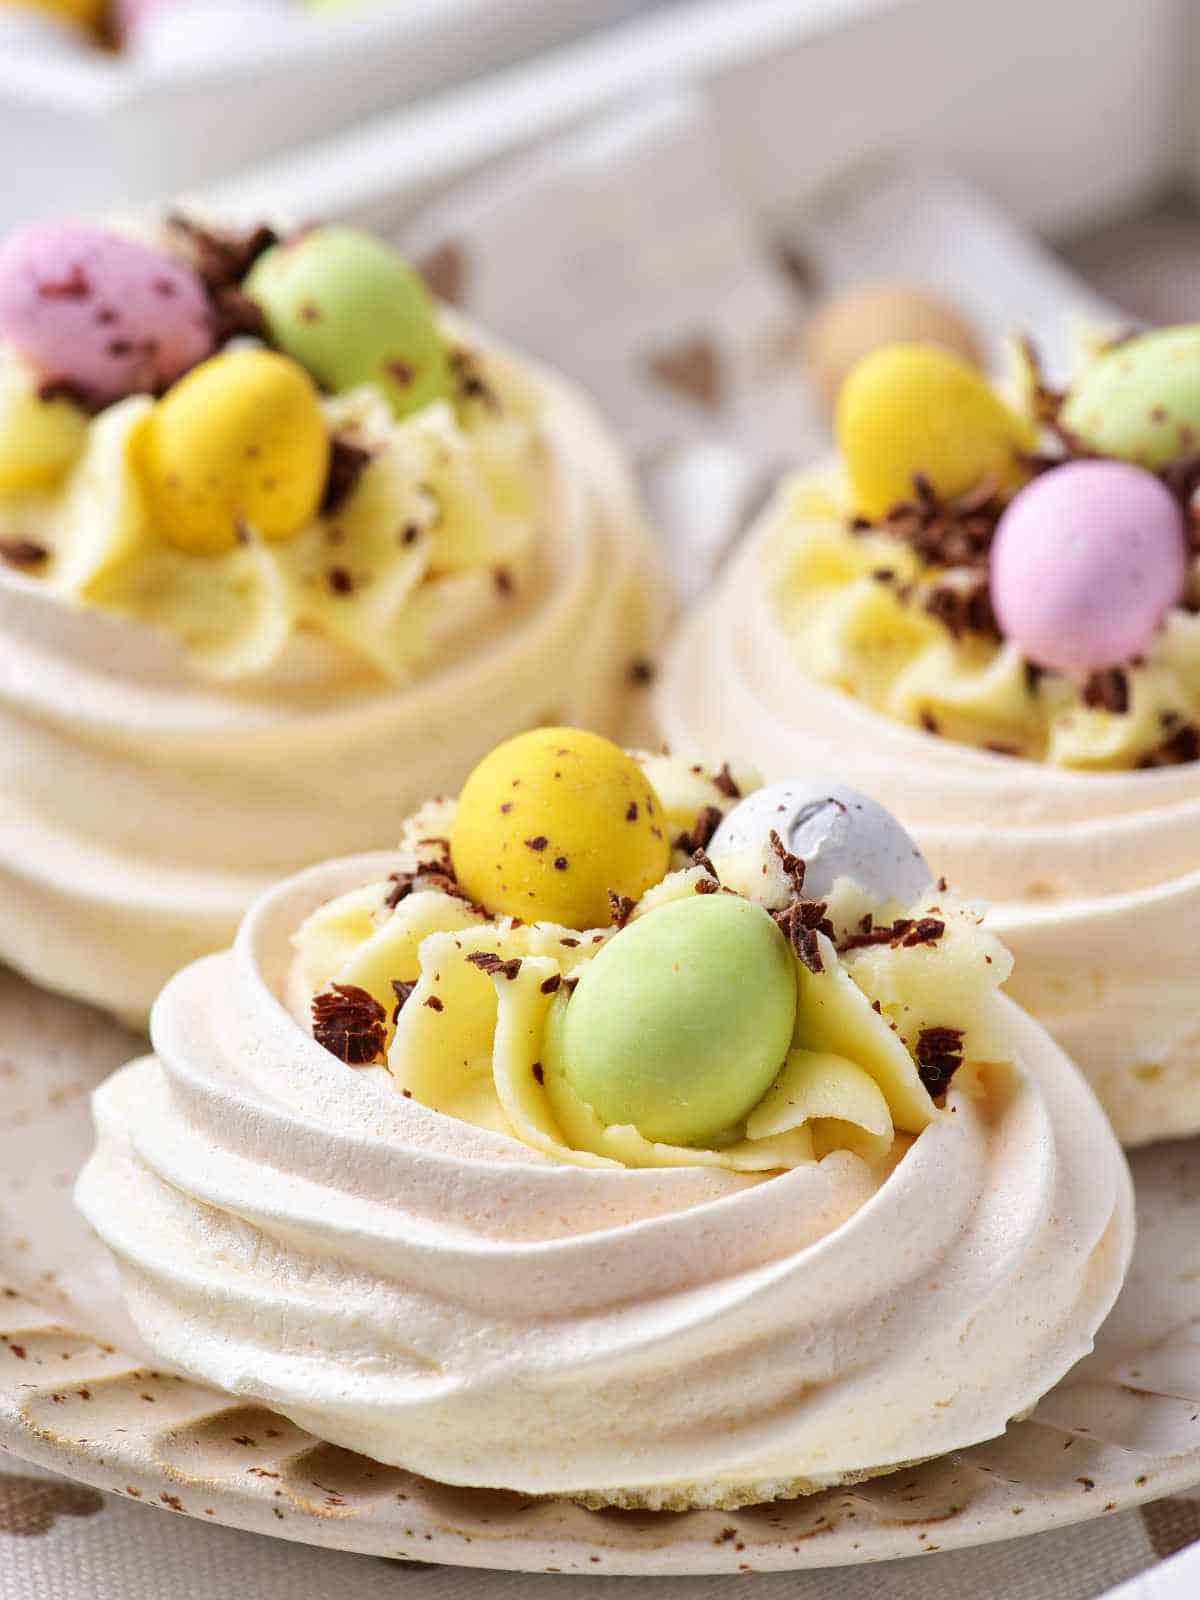
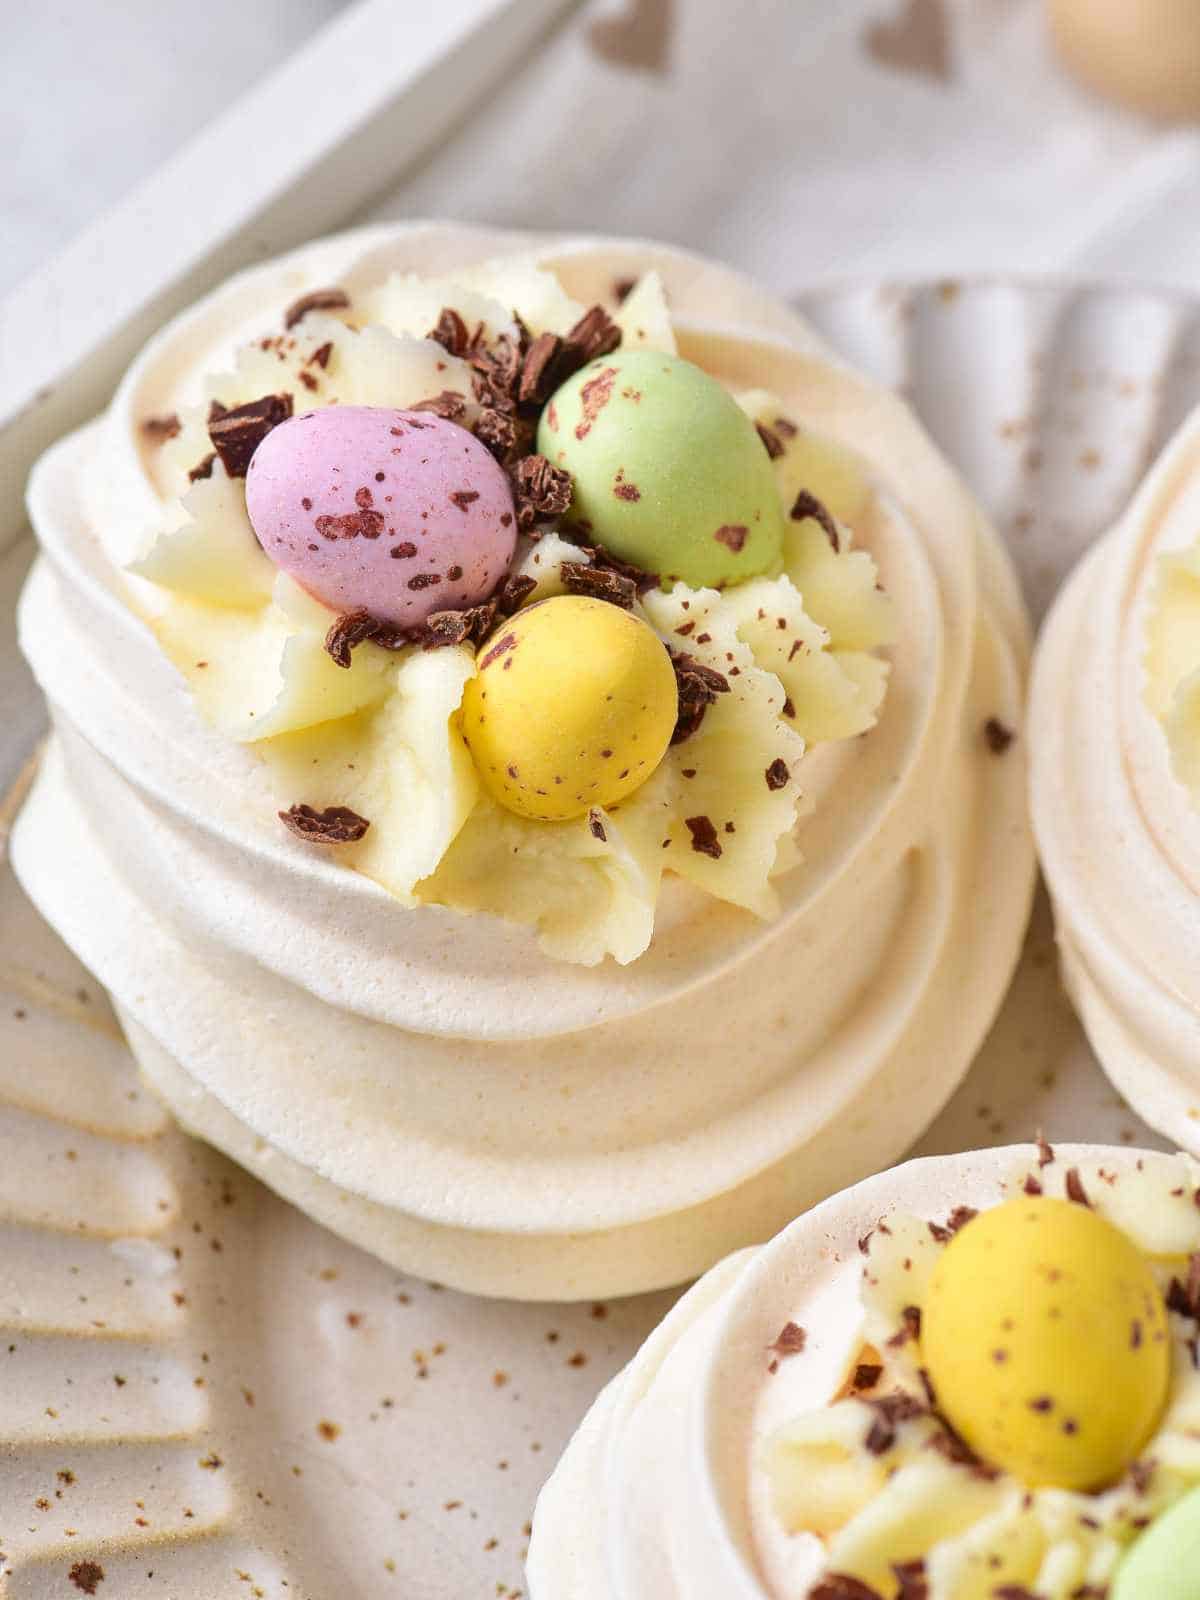
- Decorate the nests with shaved milk chocolate, and optionally with three pastel Cadbury Mini Easter Eggs.
Tips for Success
Here are a few tips for making these Easter pavlova nests:
- Clean all utensils: Ensure your mixing bowl is completely clean and grease-free for the egg whites to whip properly.
- Use room temperature egg whites: This will help them whip up more easily and create a lighter meringue.
- Don't overmix the meringue: Once stiff peaks form, stop mixing to prevent the meringue from becoming deflated.
- Let the meringues cool completely: This is crucial to ensure they are crisp and don't become soggy from the whipped cream.
Substitutions and Variations
Here are a few delicious options when making this mini pavlova recipe.
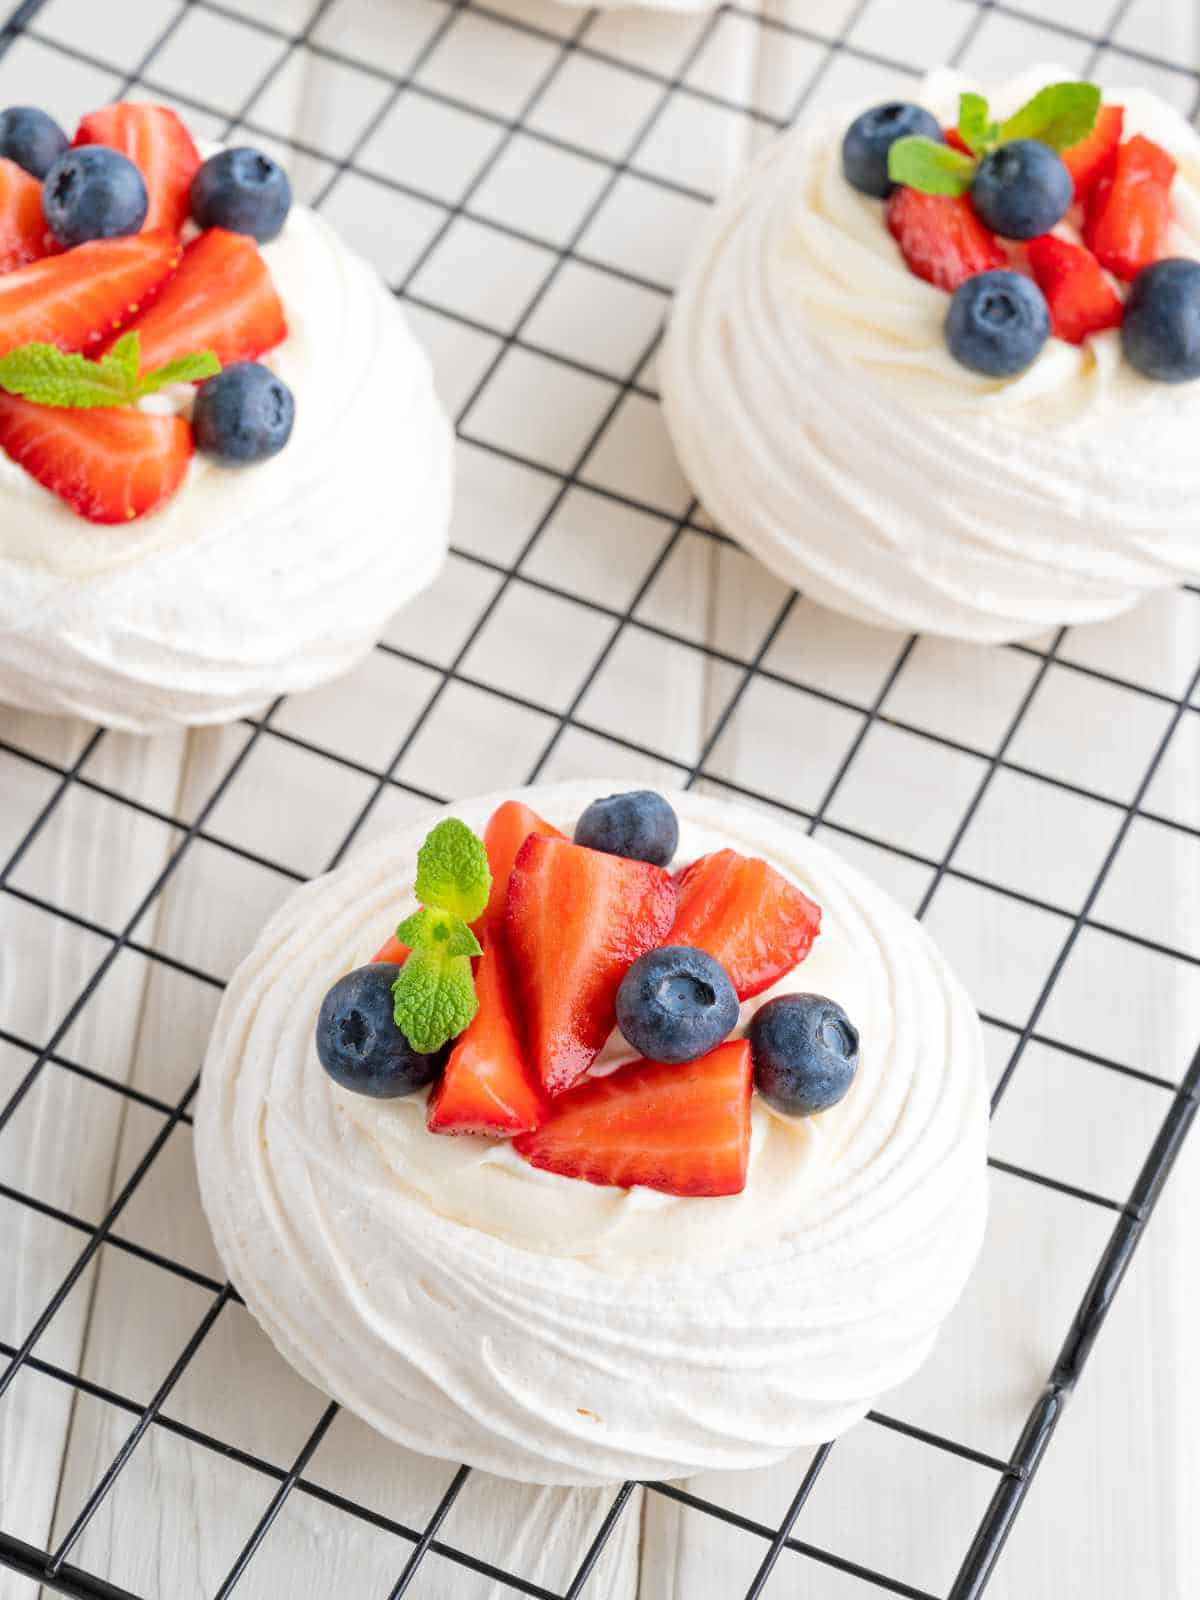
- Get fruity! Fill the nests with fresh berries, passion-fruit curd, or a dollop of lemon curd.
- Chocolate lovers rejoice! Fill the nests with chocolate ganache, pudding, or drizzle the nests with melted chocolate before adding toppings.
- Flavorings: Add a few drops of almond or coconut extract to the whipped cream for an extra flavor boost.
Serving Suggestions
These individual Easter pavlova nests are perfect on their own or alongside a cup of coffee or tea. For a more decadent dessert, serve them with a drizzle of chocolate ganache.
Related Recipes
- Cast Iron Lamb Chops
- Air Fryer Roasted Carrots
- Slow Cooker Ham Dinner
- Symbols of Easter - Bunnies to Lambs
- Dying Easter Eggs With Natural Dyes
- Rhubarb Dump Cake
Equipment
Equipment can have a big impact on how a recipe turns out. Below are some of my favorite pieces of equipment that I use when making this mini pavlovas recipe.
As an Amazon Associate I earn from qualifying purchases.
- Russell Stover Sugar Free Chocolate Candy Coated Peanuts
- Half Sheet Silpat Mat - Perfect Cookie circles
- Large Rimmed Sheet Pans and Cooling Rack
- Jelly Belly Sugar Free Jelly Beans
- No Sugar Added Jordan Almonds
Storage Options
- Store leftover mini pavlovas in an airtight container at room temperature for up to 2 days.
- The meringues will soften slightly over time, but will still be delicious.
- These are not freezer-friendly, as the meringue will lose its crisp texture.
Frequently Asked Questions
Cream of tartar helps stabilize the egg whites and achieve a greater volume. However, you can still make the pavlovas without it, but the peaks might not be as stiff.
No, you can use any type of candy you like to decorate the nests. Jellybeans, chopped dried fruit, or sprinkles would all be delicious options.
The pavlovas are done when they are dry and crisp to the touch and feel light and hollow.
First, make sure you whisked the egg whites and sugar until stiff peaks formed. Second, the meringue might have been piped too thinly. Try using a spoon to create thicker nests.
The meringue shells can be made a day in advance and stored in an airtight container at room temperature. However, assemble the nests with the filling and toppings just before serving.
More Delish Ideas
Mini Easter Pavlova Nests
Equipment
- Large Rimmed Sheet Pans w Cooling Rack
- Silpat Baking Mat w Circle lines with 12 circles
Ingredients
For the Sugar Free Mini Meringue Nests
- 3 Large Egg whites at room temperature
- ½ teaspoon Cream of tartar
- ½ cup Sugar
For the Pavlova Filling
- ½ cup heavy whipping cream
- ½ cup cream cheese softened regular or low fat
- ½ teaspoon Vanilla extract
- ¼ Sugar
Garnish Options
- 1 oz Chocolate
- 36 pieces Cadbury Mini Easter Egg
Instructions
For The Mini Sugar Free Meringues
- Preheat the oven to 175℉. Line a large rimmed baking sheet with a Silpat mat that has 12 circles on it.
- Separate the egg whites from the egg yolks taking care to not get egg yolk mixed in. PRO TIP: Save the egg yolks for making our lemon curd recipe.3 Large Egg whites
- Add the cream of tartar to the egg whites and whisk until foamy. Then add the sugar and whip until glossy, stiff peaks form.½ teaspoon Cream of tartar, ½ cup Sugar
- Transfer the meringue to a large piping bag fitted with a large star tip (open or closed) and pipe onto a silicone mat following the circle guidelines so they don't touch each other.
- Start with the bottom, swirling from the center and then back again to create a filled center with a double swirl for the outside of the circle.
- Place the baking sheet in the preheated oven at 175°F to dry for 11/2 - 2 hours. Don't open the oven door the first 30 minutes.
- Check the dryness of the meringues after 90 minutes. If too soft and springy, continue drying for another 30 minutes. When crisp and hollow feeling, remove the meringues to cool on a cooling rack.
For the Whipping Pavlova Filling
- While the meringue nests are cooling, prepare the whipped topping to fill the centers of each meringue.
- Measure the cold whipping cream, softened cream cheese, vanilla, and sugar into a mixing bowl.½ cup heavy whipping cream, ½ cup cream cheese, ½ teaspoon Vanilla extract, ¼ Sugar
- Whip with a mixer until you get a fluffy, thick cream filling mixture. Be careful to not over mix.
- Transfer the whipped cream and cream cheese topping into a piping bag fitted with a star tip. Squeeze a swirl of filling into the center or each meringue nest to create a mini pavlova.
- Decorate the nests with shaved chocolate, and three Cadbury Mini Easter Eggs.1 oz Chocolate, 36 pieces Cadbury Mini Easter Egg




Leave a Reply