
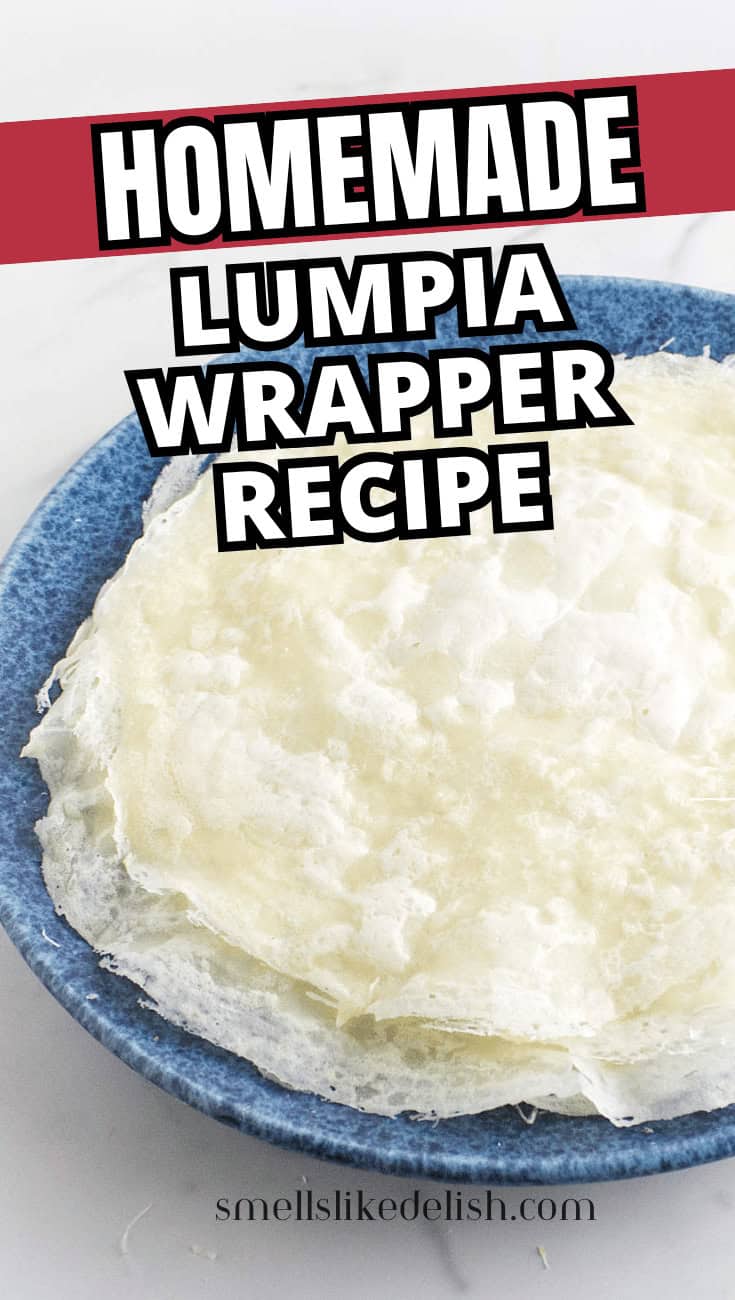
Homemade lumpia wrappers are a good skill to have when store-bought wrappers are hard to find or you want to make them fresh at home. This simple batter comes together with just a few basic ingredients and cooks into thin, flexible wrappers ready for rolling.
Why This Lumpia Wrapper Recipe Works
These wrappers are made from a thin batter that cooks quickly in a nonstick skillet and stays flexible enough to fill and roll. Once you get the pan temperature and brushing method down, the process becomes easy to repeat for a full stack. These freeze well, so you can keep a stack on hand when you want to make lumpia later.
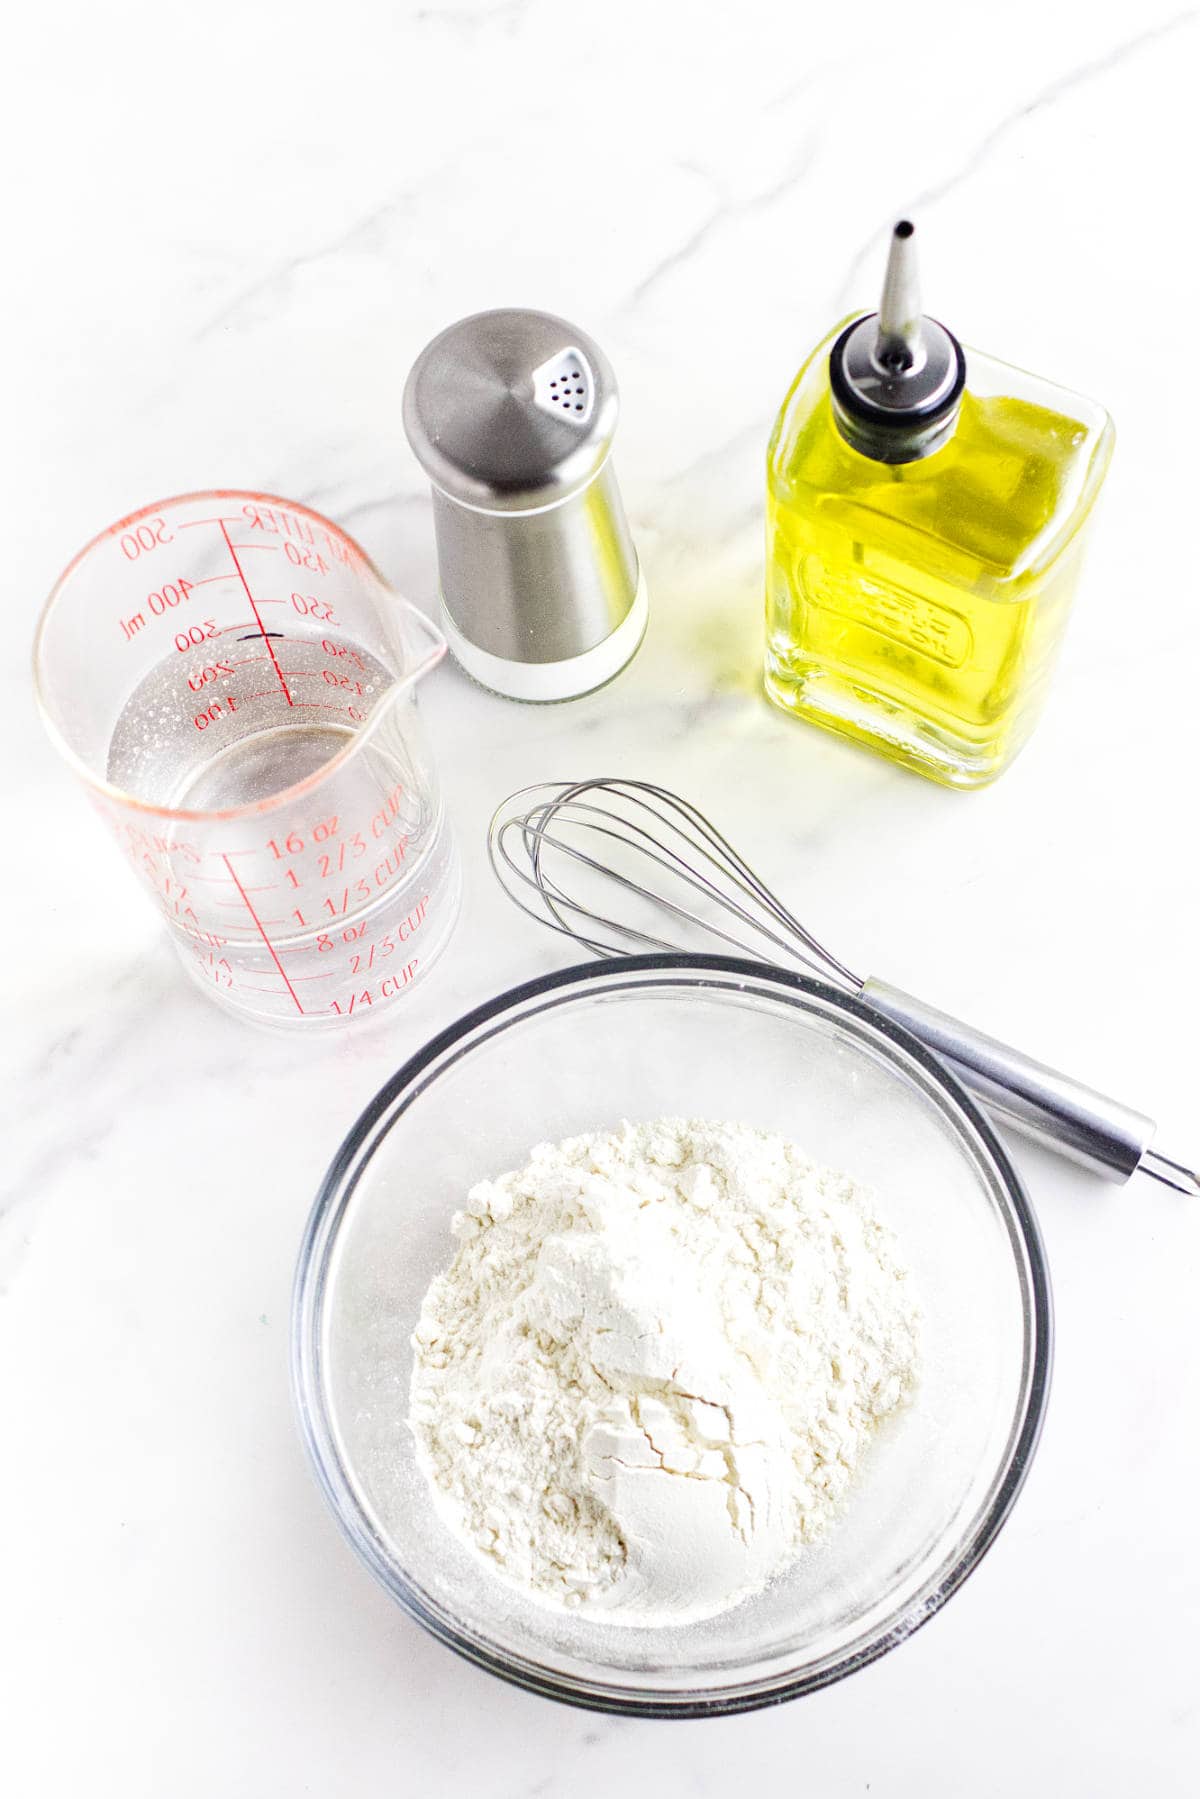
- Simple pantry ingredients: You only need flour, salt, water, and oil to make a fresh batch.
- Thin and flexible texture: The batter cooks into wrappers that are easy to fill and roll.
- Helpful when wrappers are hard to find: This homemade version gives you another option when stores do not carry lumpia wrappers.
Ingredients Overview
You only need four basics for these homemade wrappers: flour, salt, water, and oil. The batter should be smooth and thin, closer to crepe batter than pancake batter, so it brushes easily across the skillet.
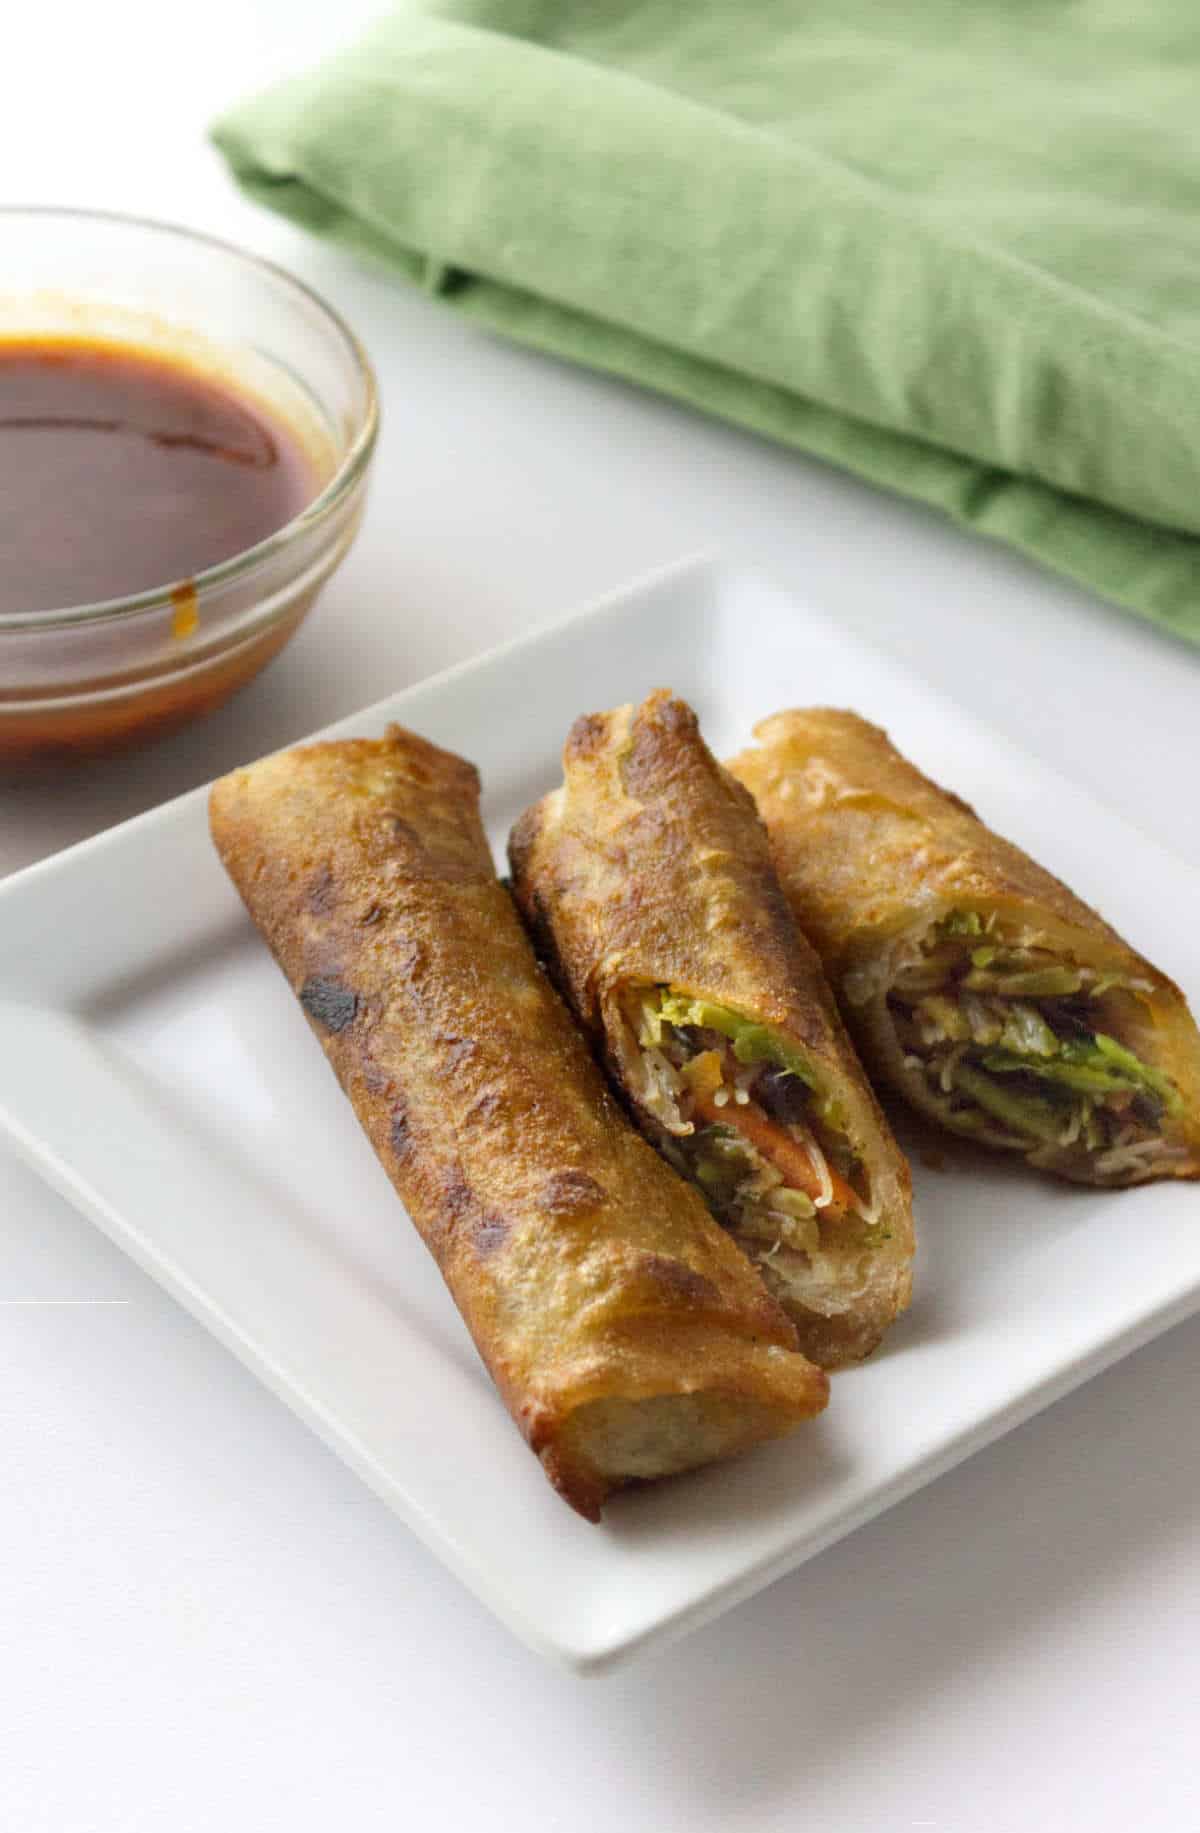
These wrappers are used to make lumpia, and once they are cooked you can use them with this How To Roll Lumpia guide for the folding technique.
Full ingredient amounts and instructions are in the printable recipe card at the bottom of this post.
How To Make Homemade Lumpia Wrappers
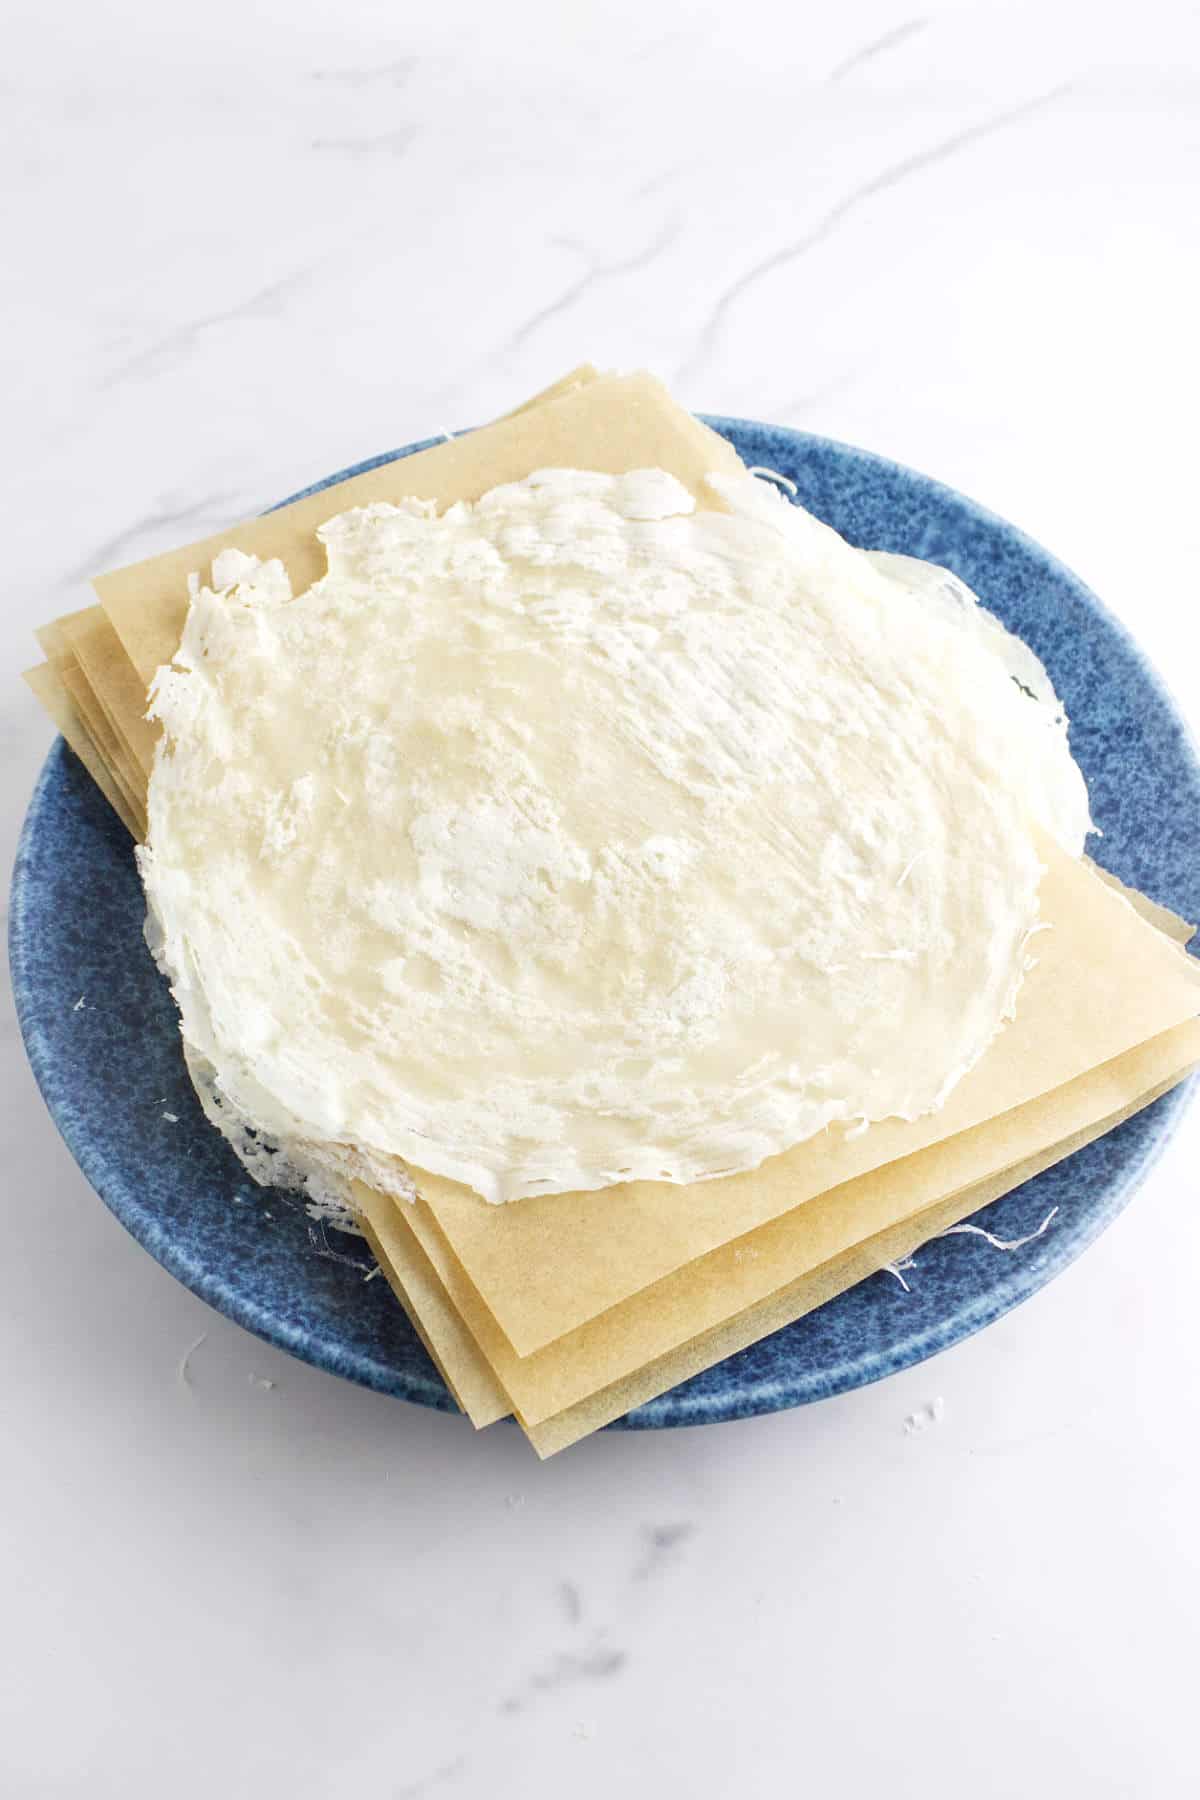
The batter is whisked together first, then brushed into a thin circle in a cooled nonstick skillet. Once the edges begin to set, the center is brushed in with more batter to complete the wrapper.
Each one cooks quickly, so the process moves along once you get your rhythm, cooling the skillet between each wrapper. Follow the step-by-step visual guide below, I'll walk you through the process.
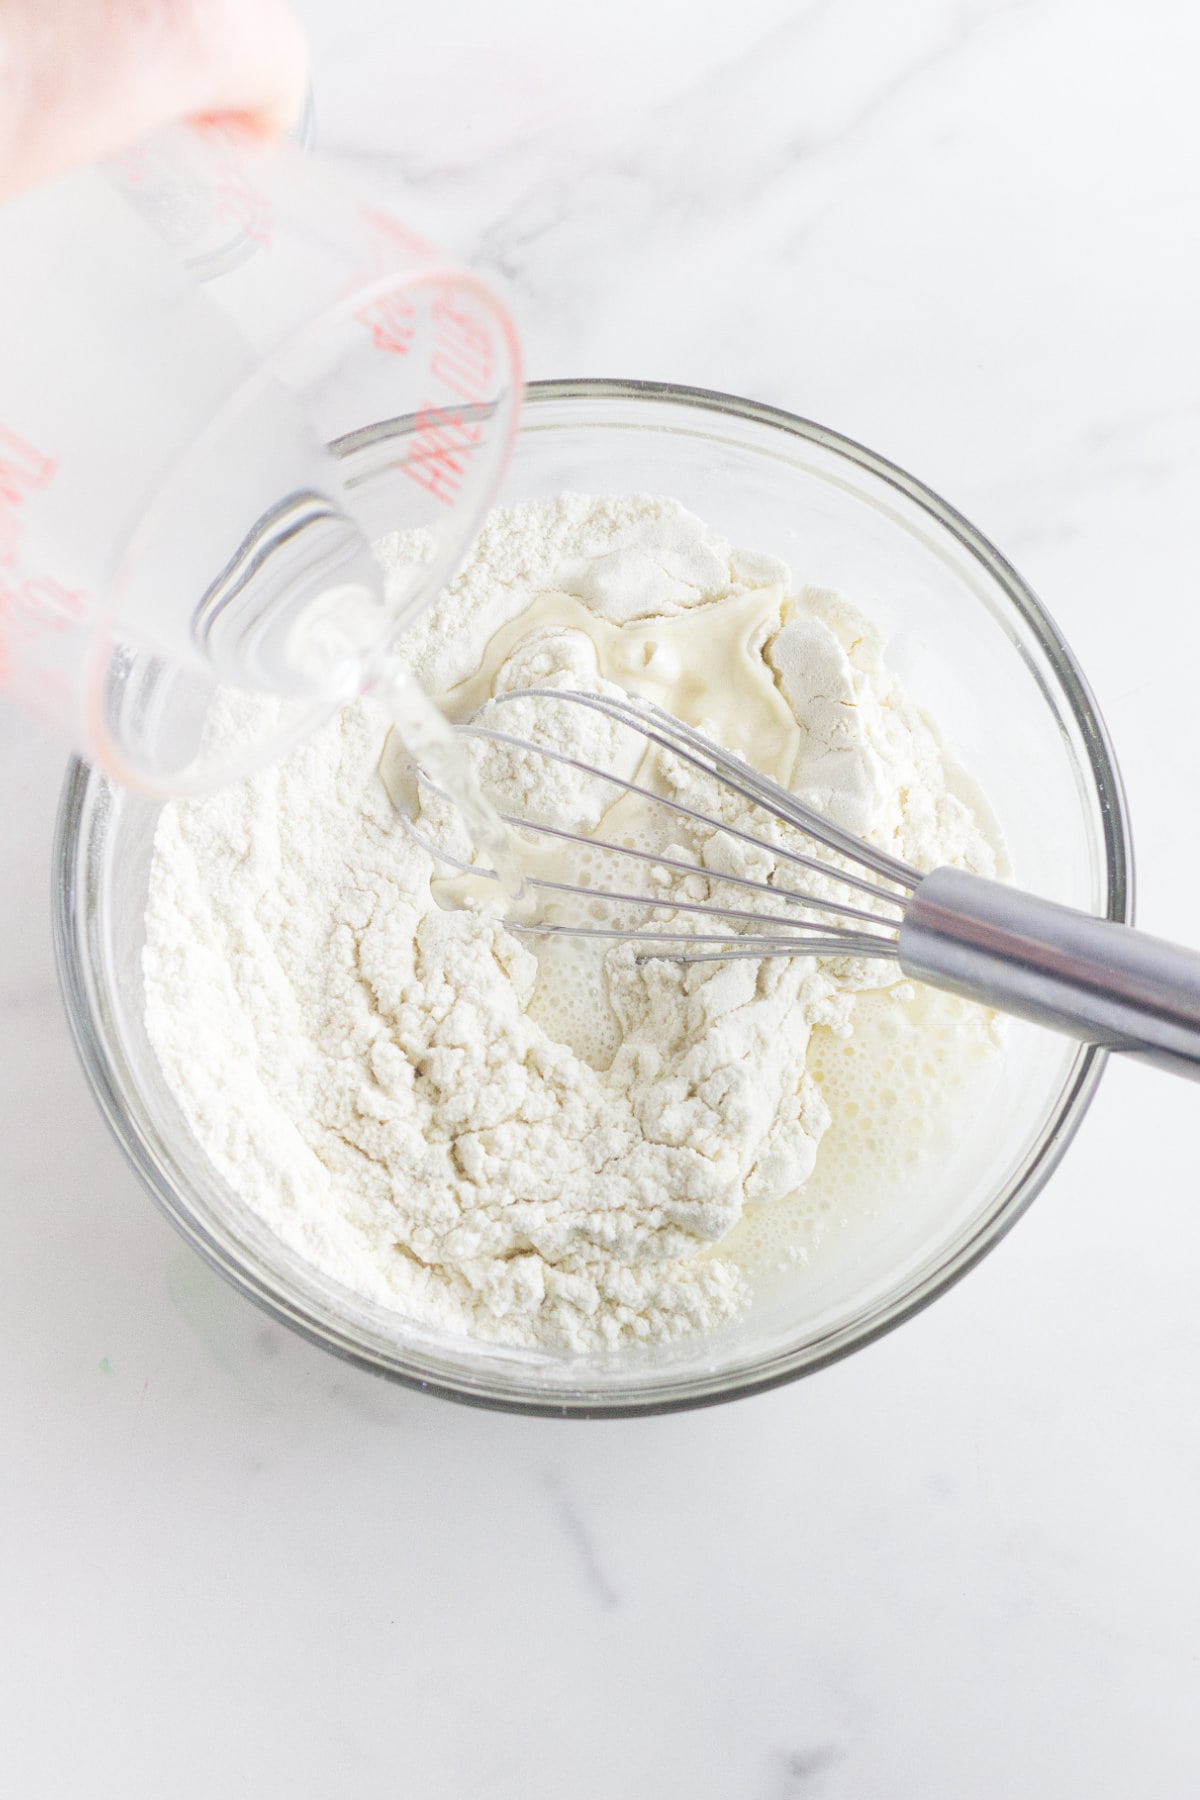
Step 1: Whisk the flour and salt together in a medium bowl. Pour in the water and whisk lightly, then add the oil.
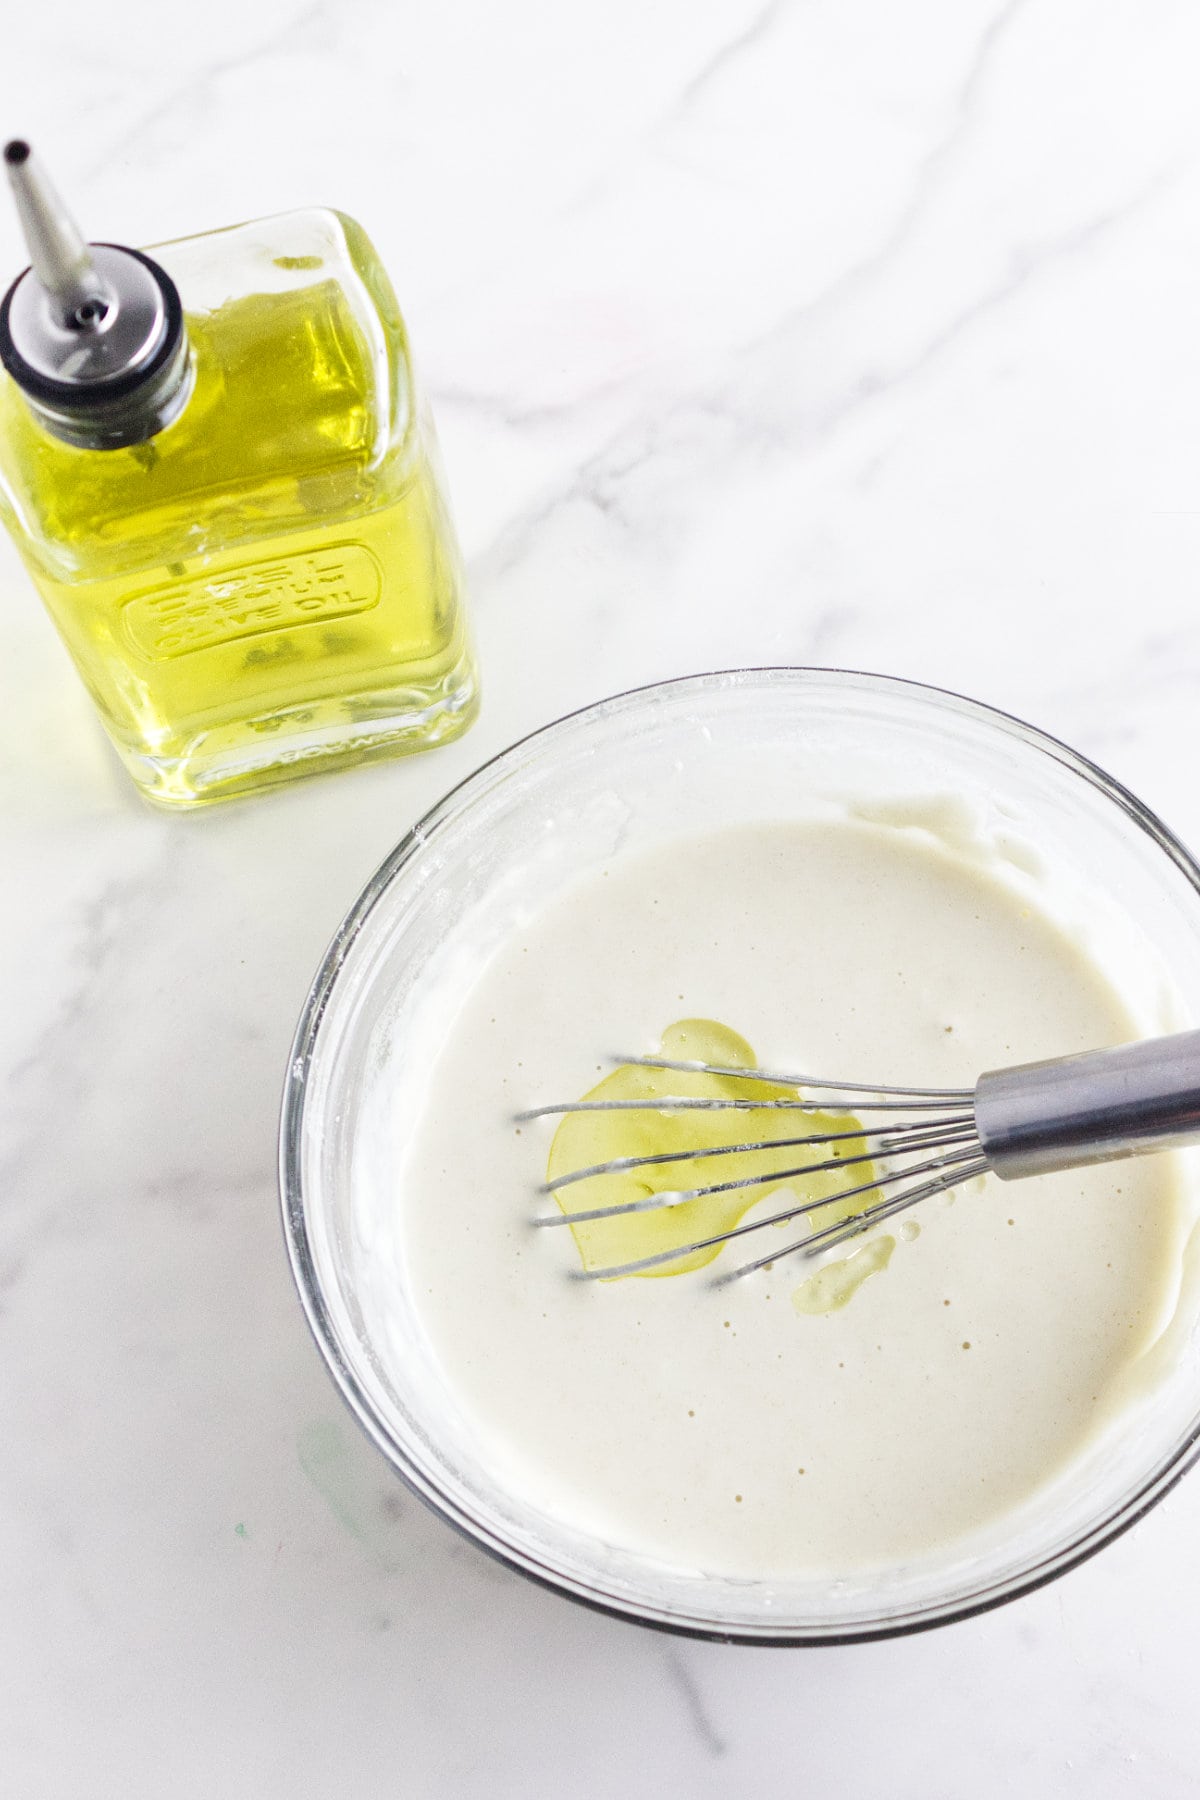
Step 2: Continue whisking until the batter is smooth and thin, similar to crepe batter, with no dry pockets of flour left.
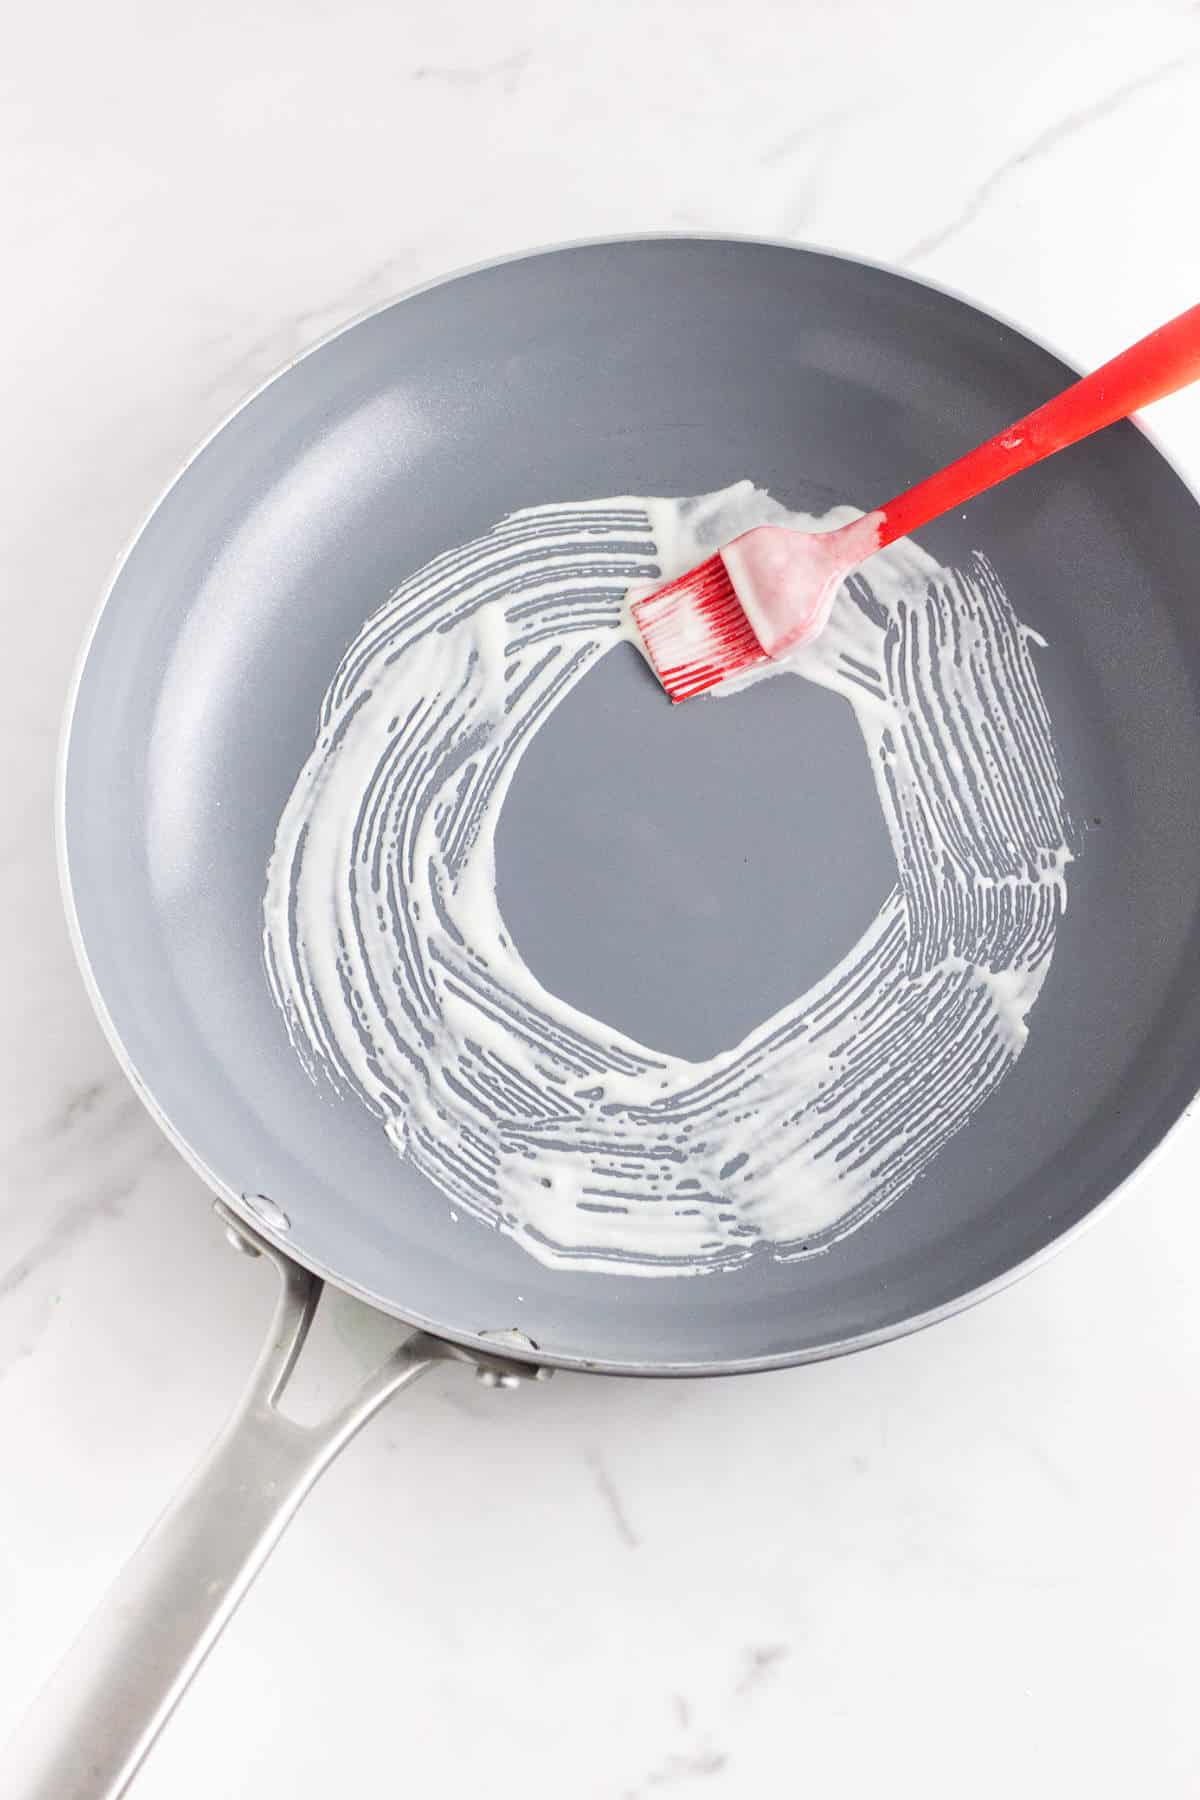
Step 3: Set a stovetop burner to medium-high heat. Dip a silicone or natural bristle pastry brush into the batter and brush a circle inside a cool nonstick skillet.

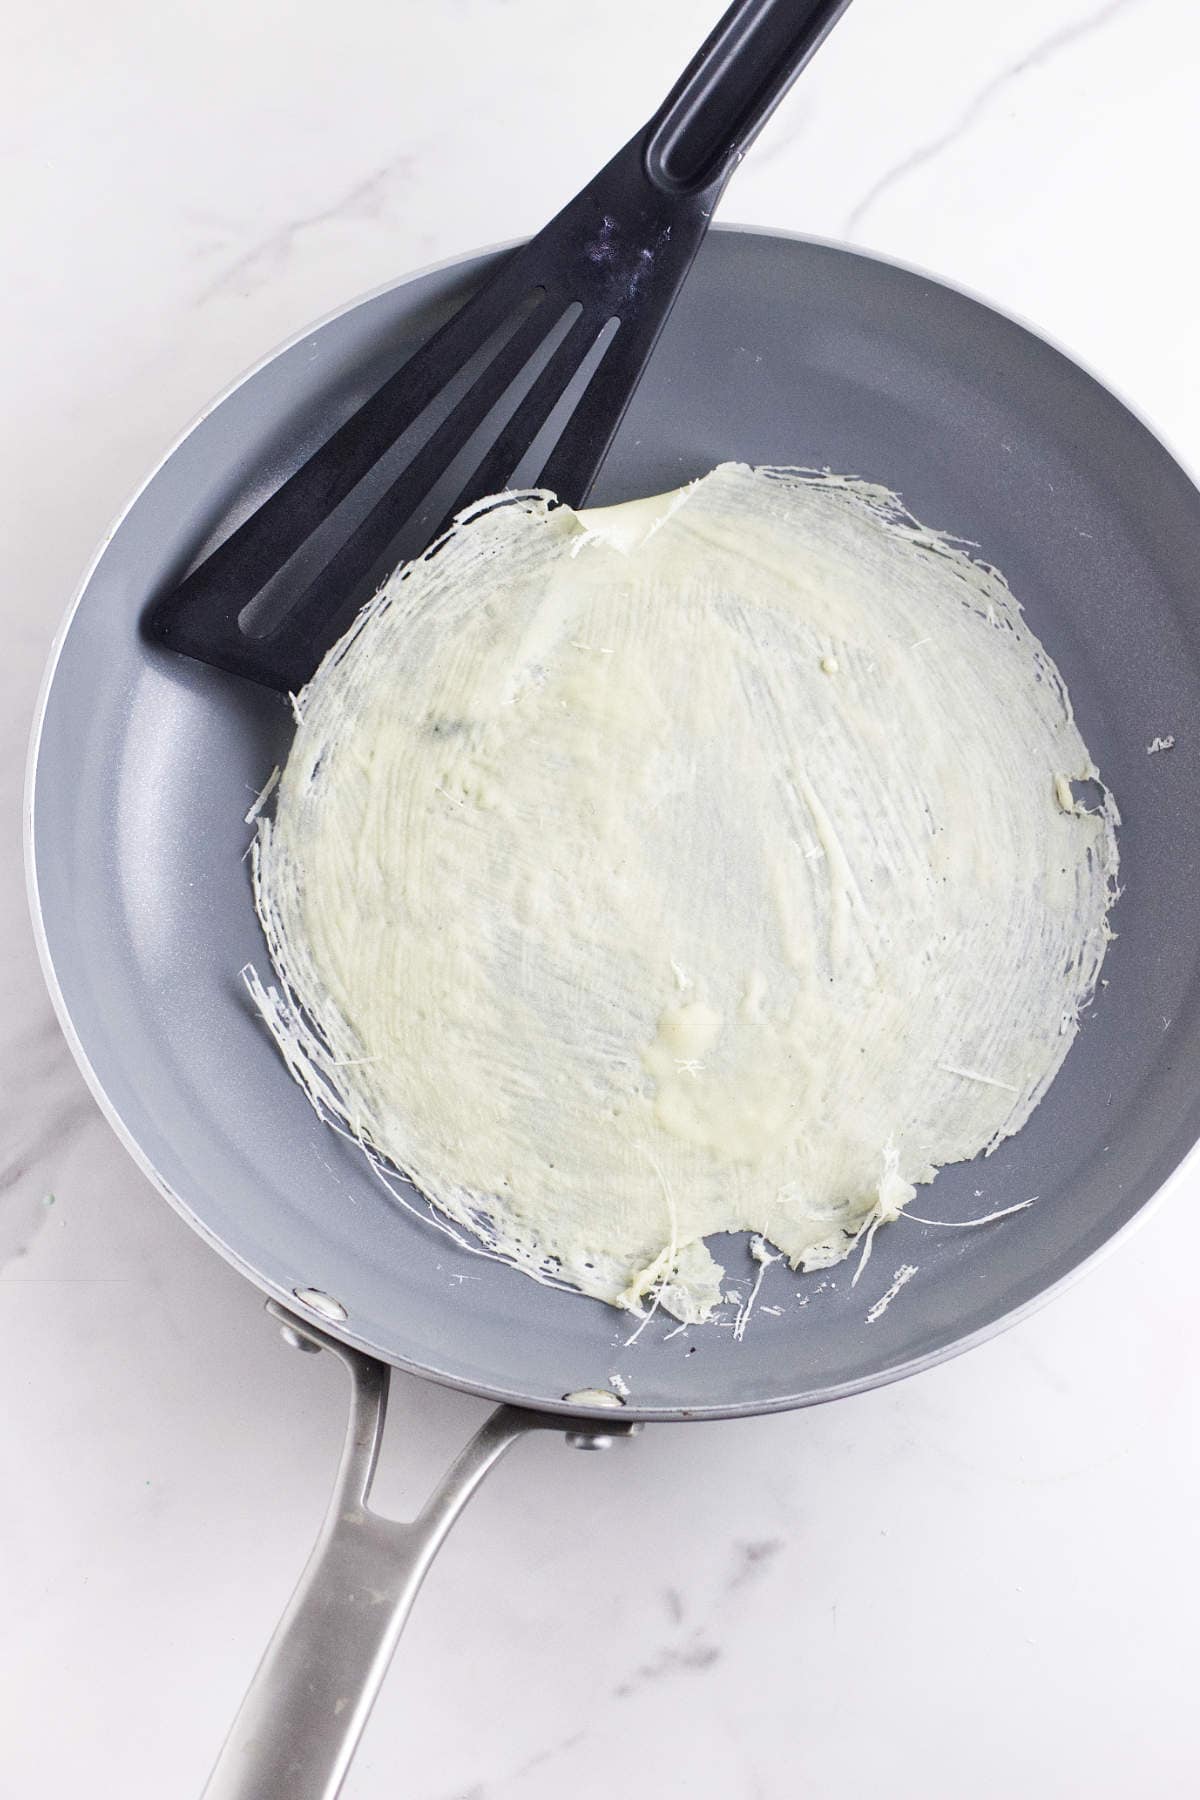
Step 4: Place the skillet on the heated burner and use the brush to fill in the rest of the circle. If you notice small holes, dab on a little more batter to patch them.
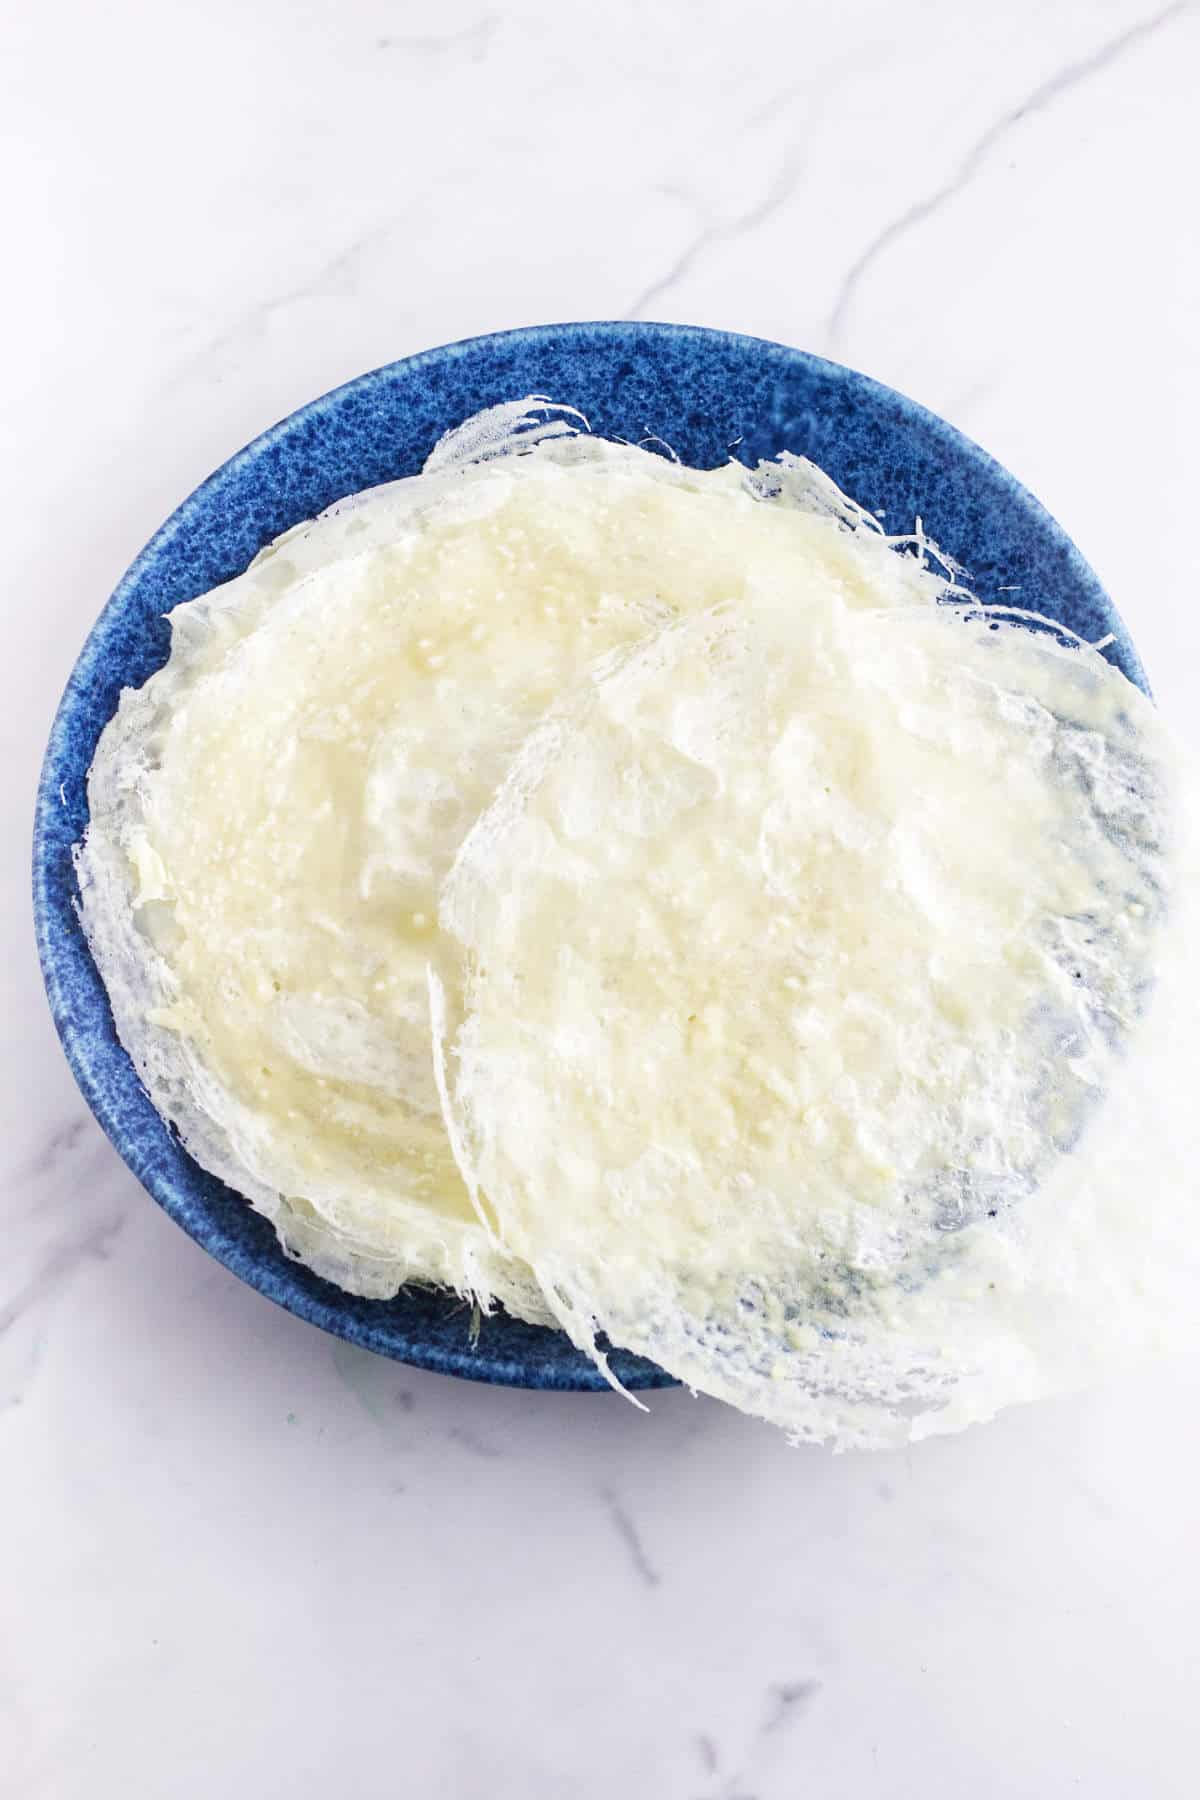
Step 5: When the outer edges start to loosen and lift, gently peel the wrapper off the skillet with a spatula or your fingers.
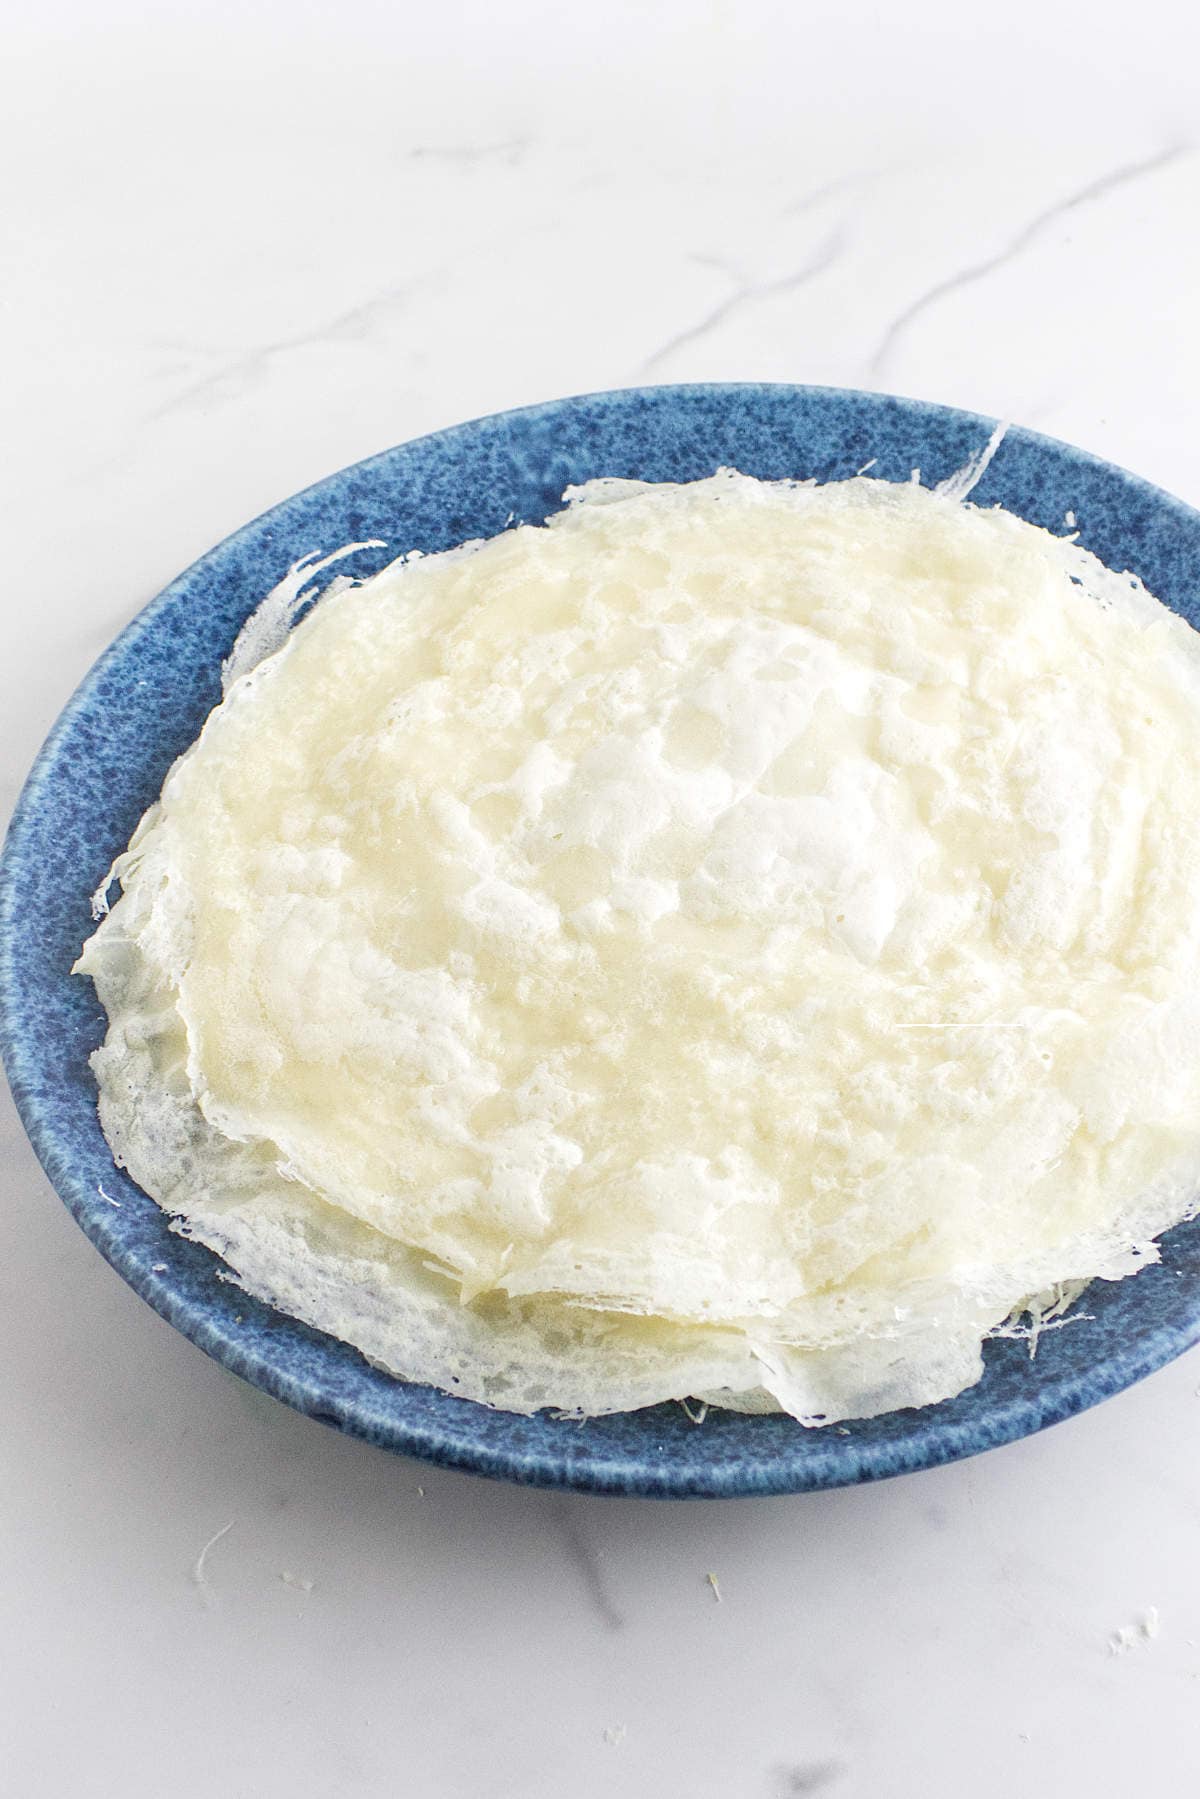
Step 6: Flip the wrapper and cook for about 30 seconds more, then transfer it to a plate. Repeat until you have a stack of wrappers ready to use.
💡 Pro Tip
After transferring each wrapper to the plate, run cold tap water over the back of the skillet to cool it down quickly. Brushing the batter is much easier on a cooled skillet, and it helps you make thinner wrappers.
Serving Suggestions
These homemade wrappers can be used for classic lumpia, fresh vegetable lumpia, and sweet options like banana lumpia. If you want to build out a full Filipino snack-style spread, pair them with a batch of filled lumpia and a dipping sauce like sawsawan.
They are especially handy when you can't find packaged wrappers locally but still want to make lumpia from scratch.
Substitutions and Variations
Here are a few ways to adjust the batter or use the wrappers once they are made.
- Gluten-free version: Use your preferred gluten-free flour blend if you need a wheat-free option.
- Smaller wrappers: Brush a slightly smaller circle if you want shorter rolls for appetizers or party trays.
- Sweet filling option: Use the wrappers for banana lumpia or other dessert-style filled rolls.
- Fresh lumpia use: These wrappers can also be used for fresh vegetable lumpia instead of fried versions.
Tips for Success
These tips will help the batter spread more evenly and keep the wrappers easy to handle.
- Keep the batter thin: A thin batter spreads more easily and makes flexible wrappers.
- Start on a cool skillet: Brushing the batter onto a cooled skillet helps prevent clumping and tearing.
- Patch small holes: If you see gaps in the wrapper, dab on a little more batter before it fully sets.
- Do not overcook: Cook just until the wrapper releases and lightly sets so it stays flexible for rolling.
- Separate as they cool: Use parchment or wax paper between wrappers so they do not stick together later.
Storage Options
Here's how to store the wrappers so they stay flexible and ready to use later.
- Refrigerate short term: Store wrapped tightly in the refrigerator for up to 3 days.
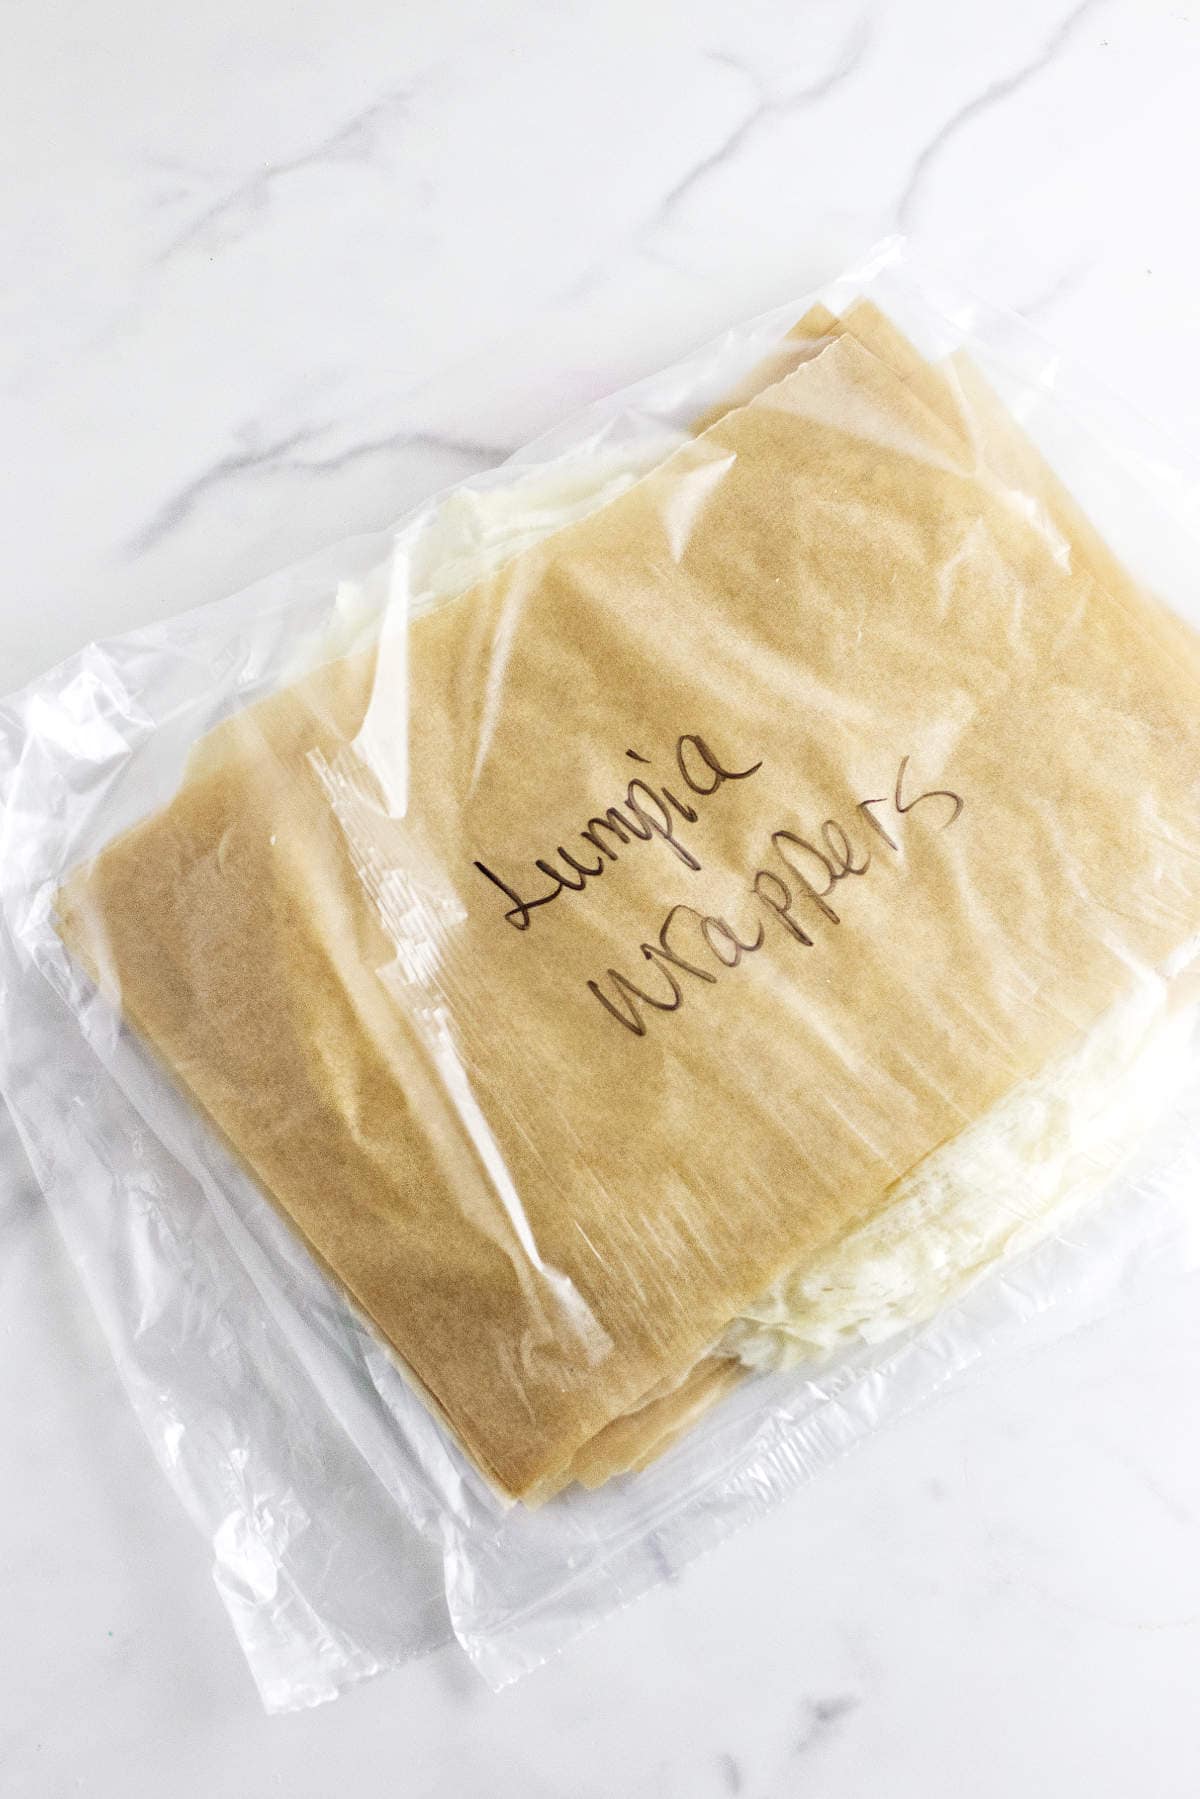
- Freeze for longer storage: Freeze for up to 2 months with parchment or wax paper between each wrapper.
- Press out excess air: Removing excess air helps keep the wrappers from drying out and becoming brittle.
- Separate each wrapper: A layer of parchment or wax paper between each one helps prevent sticking when thawed.
Related Recipes
- Lumpia Dipping Sauce
- Subgum Wonton Soup (Wor Wonton Soup)
- Rice Cooker White Rice
- Soy Garlic Chicken Wings
- Orange Teriyaki Sauce
Frequently Asked Questions
Lumpia wrappers are made from a simple batter of flour, water, salt, and oil. They cook into thin, flexible sheets that are used for rolling lumpia.
Yes, you can use store-bought lumpia wrappers if you have them. Homemade wrappers are especially helpful when packaged wrappers are hard to find.
Wrappers can tear if the batter is too thick, the pan is too hot, or the wrapper is cooked too long. Keeping the batter thin and the skillet properly cooled between wrappers helps.
Place parchment or wax paper between each wrapper as they cool and before storing. This helps prevent sticking both in the refrigerator and freezer.
Yes, you can make the batter ahead and refrigerate it for up to 24 hours before cooking the wrappers.
Yes, homemade lumpia wrappers freeze well. Separate each wrapper with parchment or wax paper and store in an airtight bag or container.
Pantry Recipes
Get The Recipe!
Homemade Lumpia Wrappers
Equipment
- non stick pancake griddle
- Non Stick Frying Pan
- non stick skillet
Ingredients
- 1 cup flour all purpose or gluten free
- ½ teaspoon salt
- 1⅓ cup water
- 1 tablespoon oil
Instructions
- Whisk the flour and salt together in a medium bowl. Pour in the water and whisk lightly, then add the oil.1 cup flour, ½ teaspoon salt, 1⅓ cup water, 1 tablespoon oil
- Continue whisking until the batter is smooth and thin, similar to crepe batter, with no dry pockets of flour left.
- Set a stovetop burner to medium-high heat. Dip a silicone or natural bristle pastry brush into the batter and brush a circle inside a cool nonstick skillet.
- Place the skillet on the heated burner and use the brush to fill in the rest of the circle. If you notice small holes, dab on a little more batter to patch them.
- When the outer edges start to loosen and lift, gently peel the wrapper off the skillet with a spatula or your fingers.
- Flip the wrapper and cook for about 30 seconds more, then transfer it to a plate. Repeat until you have a stack of wrappers ready to use.
Notes
- Keep the batter thin: A thin batter spreads more easily and makes flexible wrappers.
- Start on a cool skillet: Brushing the batter onto a cooled skillet helps prevent clumping and tearing. Cool the skillet down by running cold tap water on the back of the skillet before brushing batter for the next wrapper.
- Patch small holes: If you see gaps in the wrapper, dab on a little more batter before it fully sets.
- Do not overcook: Cook just until the wrapper releases and lightly sets so it stays flexible for rolling.
- Separate as they cool: Use parchment or wax paper between wrappers so they do not stick together later.
Nutrition
Pin It For Later ⤵
arnold says
Nice recipe for thin skin frying wraps. Thanks!