Easter recipes bring together brunch dishes, holiday meals, and seasonal desserts for celebrating the spring holiday. From make-ahead breakfast bakes to classic mains and simple desserts, these recipes are designed for easy preparation and reliable results.
This collection includes:
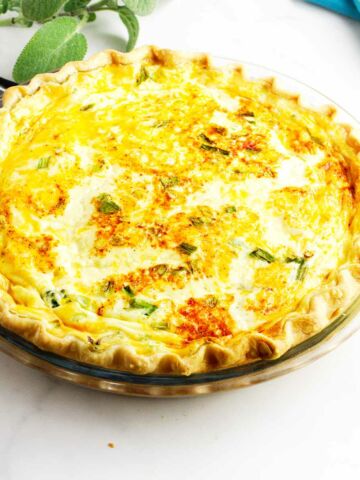
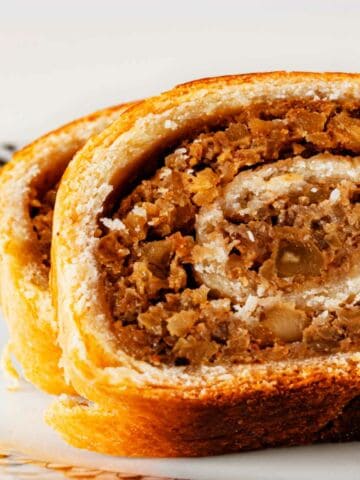
- Easter brunch and breakfast recipes
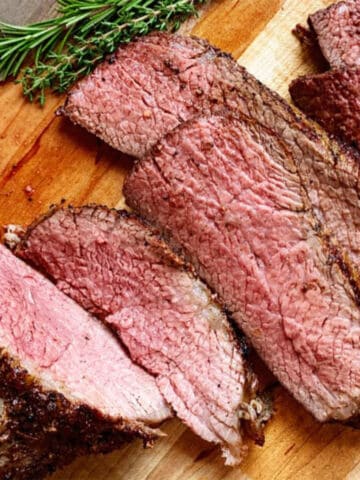
- Holiday main dishes and sides
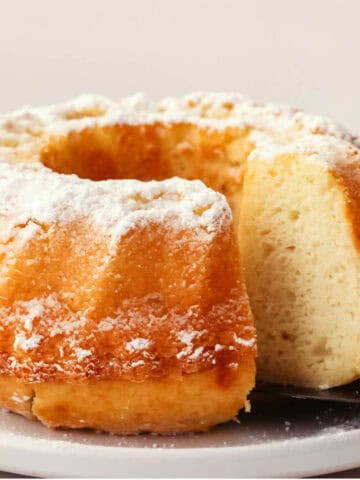
- Seasonal Easter desserts
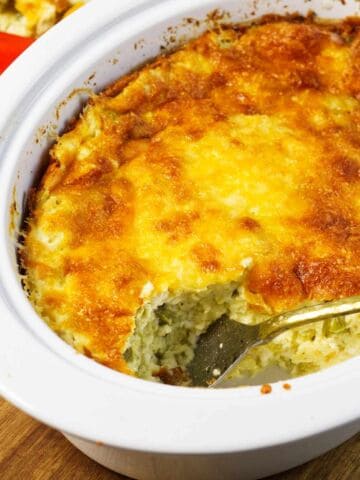
Easter Brunch and Breakfast
These Easter brunch and breakfast recipes include baked egg dishes, sweet breakfast options, and make-ahead casseroles suited for holiday mornings.
Easter Dinner and Desserts
These Easter dinner and dessert recipes include traditional main dishes, seasonal side dishes, and classic desserts that come together for a complete holiday meal.