
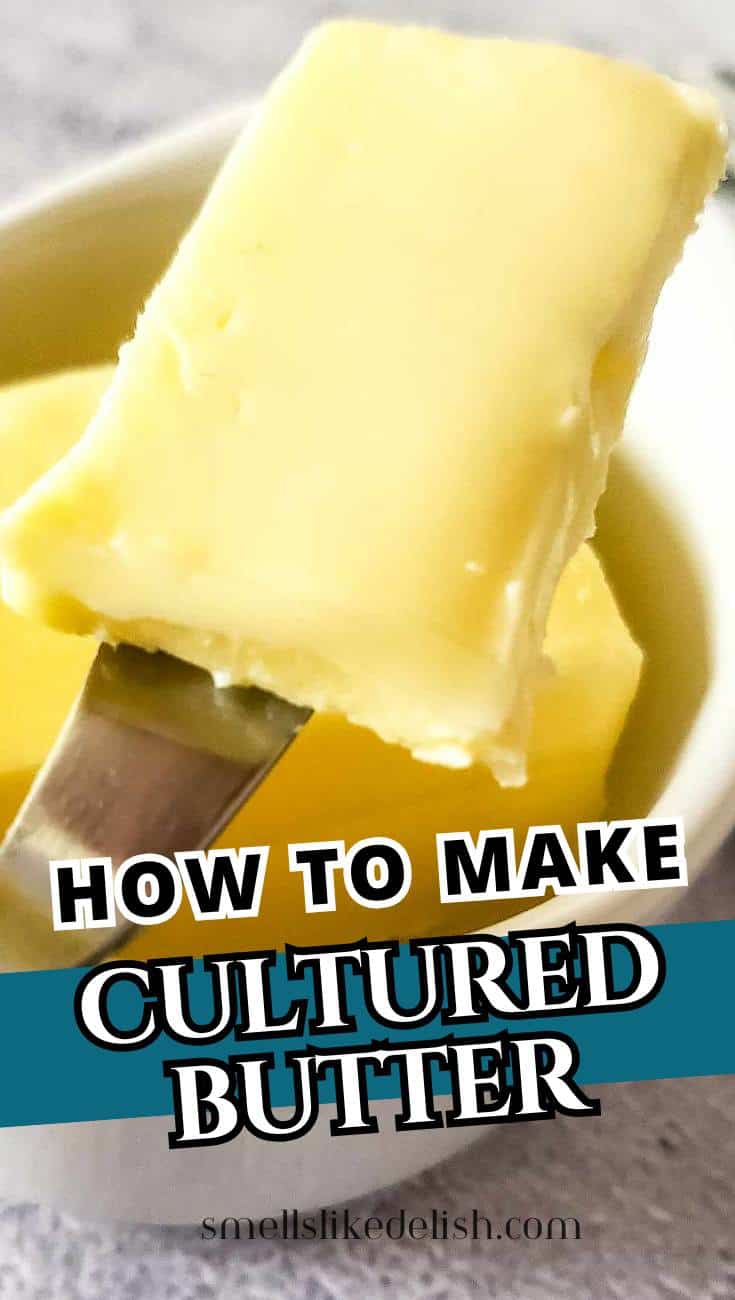
Cultured butter is made by fermenting cream before churning, which gives it a deeper flavor and a slight tang. This French-style method uses a little live cultured yogurt to do the work. From one batch, you get rich homemade butter and real buttermilk to use in biscuits, breads, and more.
What Is Cultured Butter?
Cultured butter is butter made from cream that has been fermented before churning. This traditional European method allows the cultures to break down sugars in the cream, creating a more complex flavor and aroma compared to regular sweet cream butter.
- More flavor: Slight tang and deeper richness
- Traditional method: Common in European butter making
- Dual purpose: Produces both butter and real buttermilk
Why This Method Works For Homemade Cultured Butter
This method keeps the process simple while still giving you the flavor that makes cultured butter so good. You do not need special equipment or starter cultures, just good cream, plain yogurt, and a little time.
- Simple ingredients: Just heavy cream and live cultured yogurt.
- Traditional flavor: The 48 hour rest gives the butter a light tang and fuller flavor.
- Two useful ingredients: One batch gives you butter for the table and buttermilk for baking.
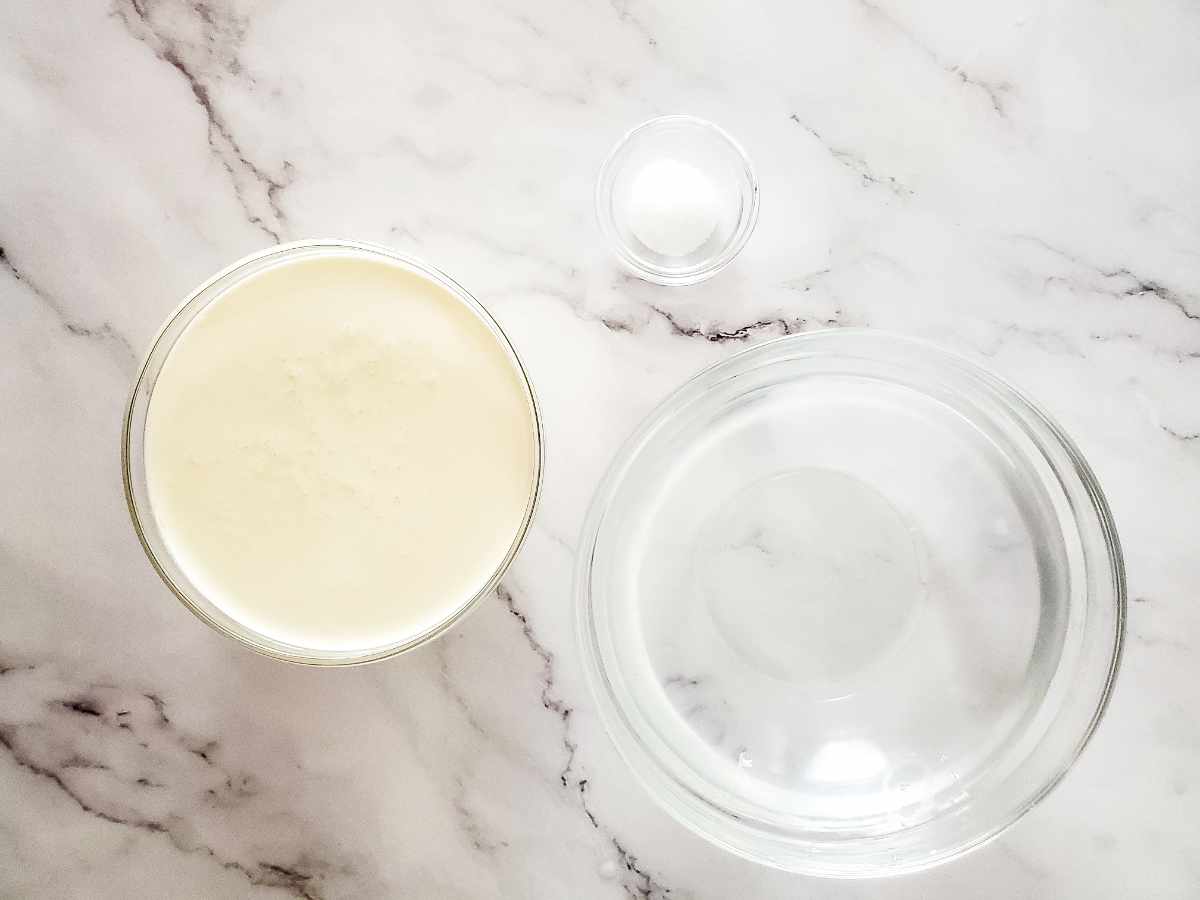
Ingredients Overview
You only need two ingredients for this recipe, but both matter. Heavy cream with a higher butterfat content gives you a better butter yield, and plain yogurt with live cultures helps the cream ferment and develop that classic cultured flavor.
- ½ gallon heavy cream (36% butterfat preferred)
- 3 oz plain live cultured yogurt
Use heavy cream that is not ultra-pasteurized if possible, since ultra-pasteurized cream can be less reliable for culturing and churning.
Yield
- About 1 pound butter
- About 1 quart real buttermilk
Full ingredient amounts and preparation instructions are in the printable recipe card at the bottom of this post.
How To Make Cultured Butter
This recipe starts by letting the cream and yogurt sit at room temperature so the cultures can work. After that, you churn the cream until the butter separates, then wash and shape it. Follow the step-by-step visual guide below to see each stage.
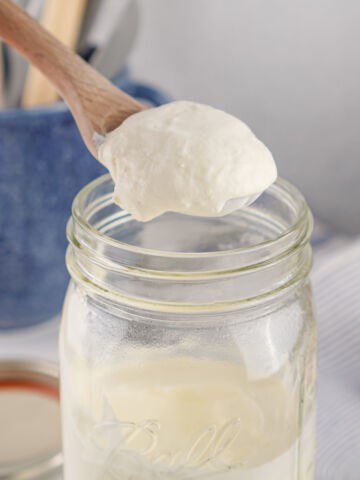
Step 1: Culture the Cream
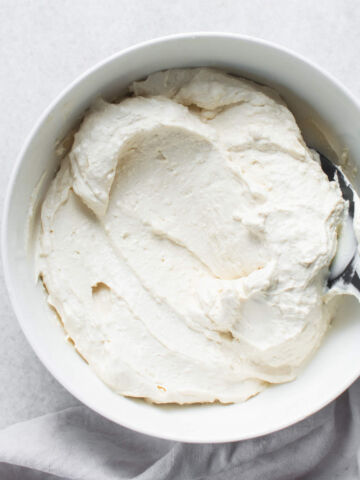
Stir the yogurt gently into the heavy cream without whipping or aerating. Cover and let sit at room temperature for 24 to 48 hours, until slightly thickened and tangy. A shorter rest gives a milder flavor, while longer fermentation develops a deeper cultured taste.
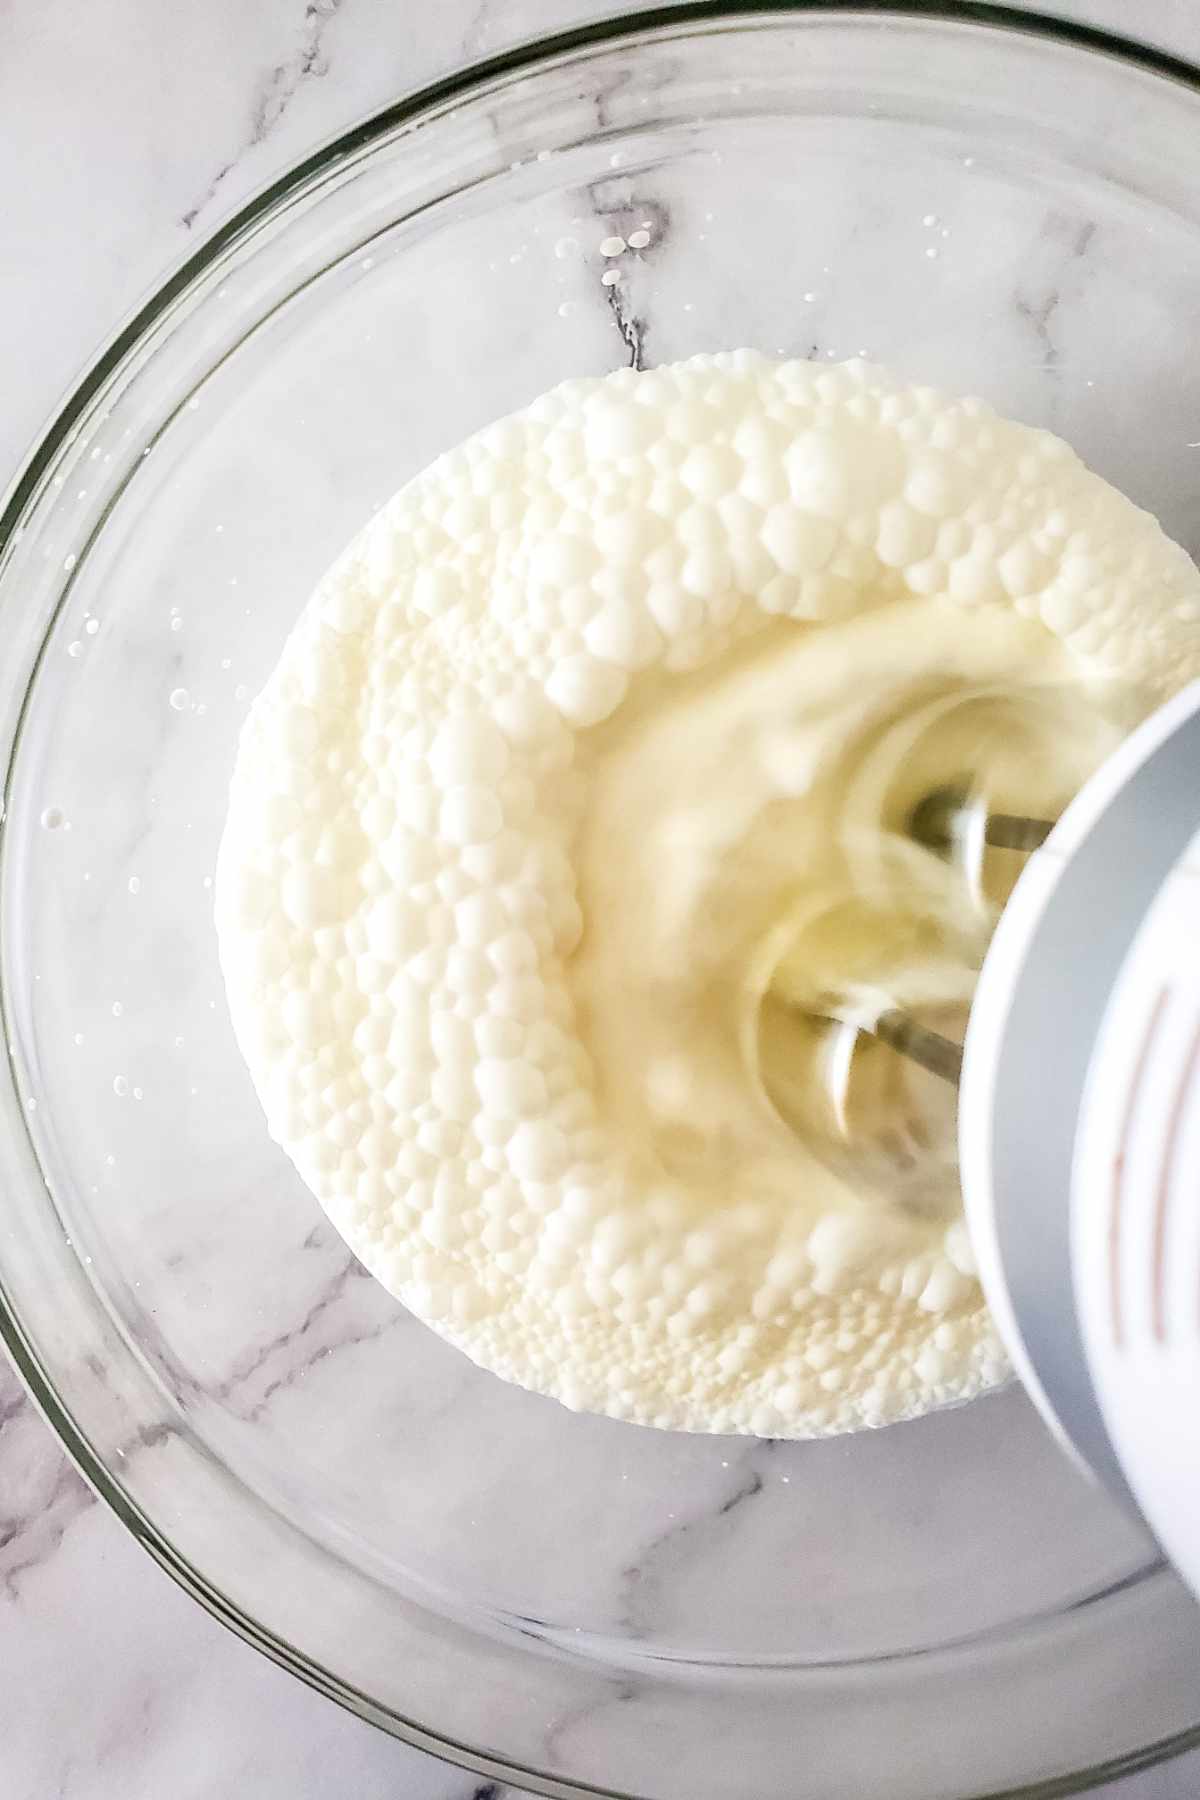
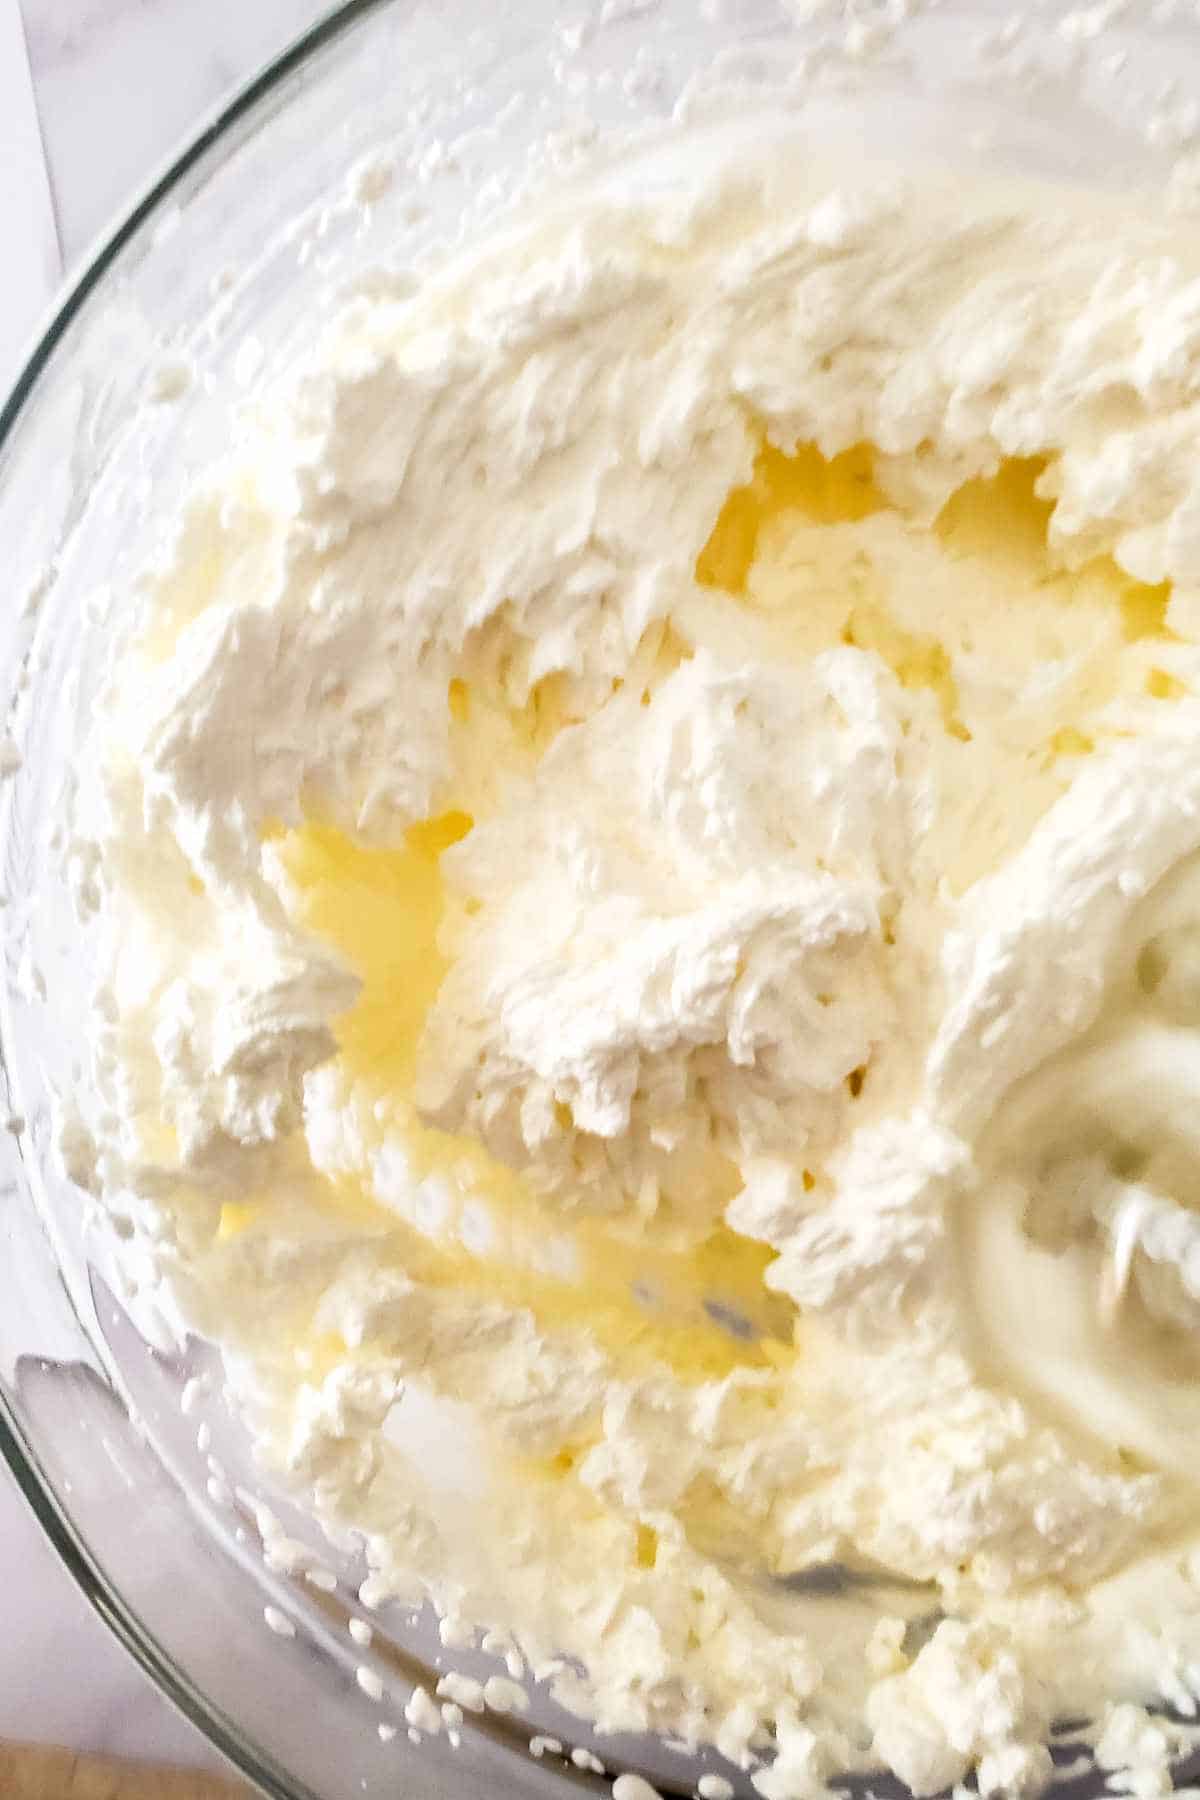
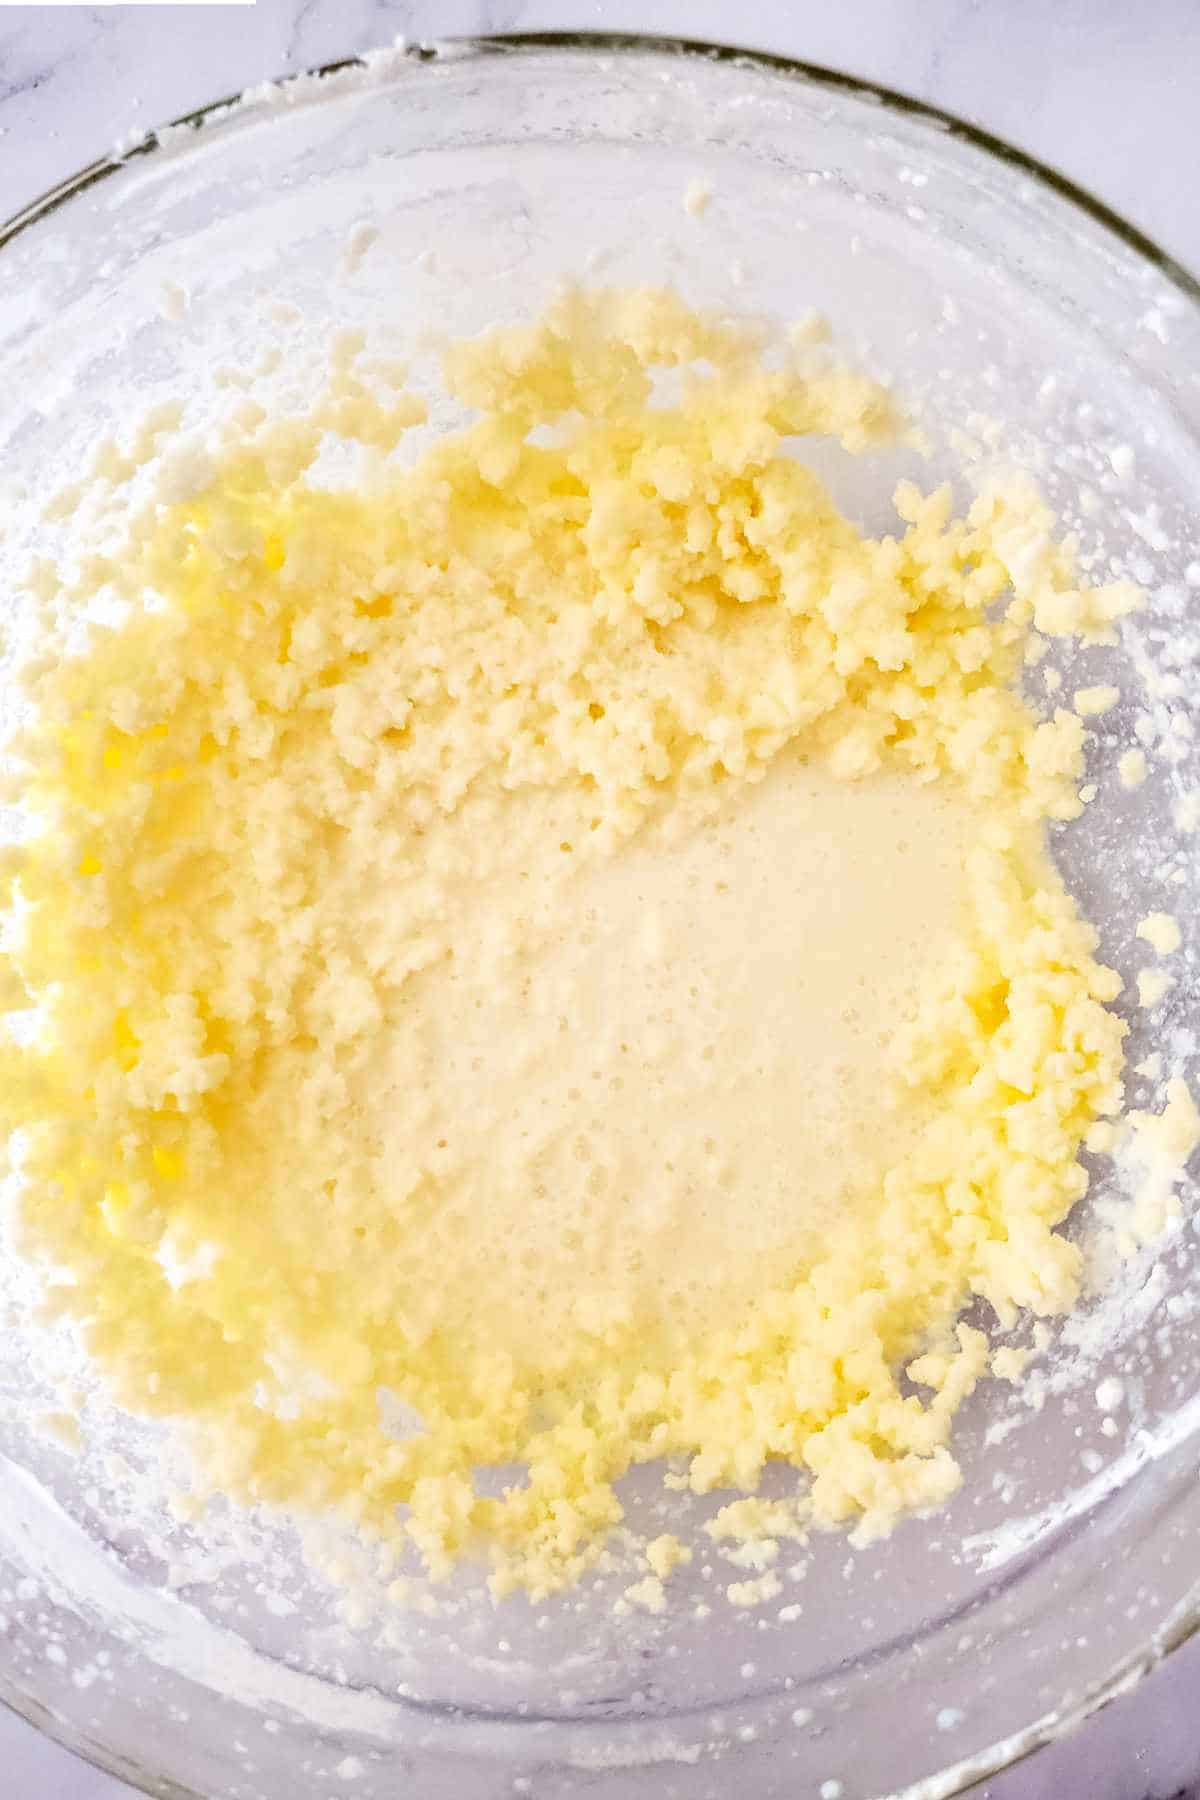
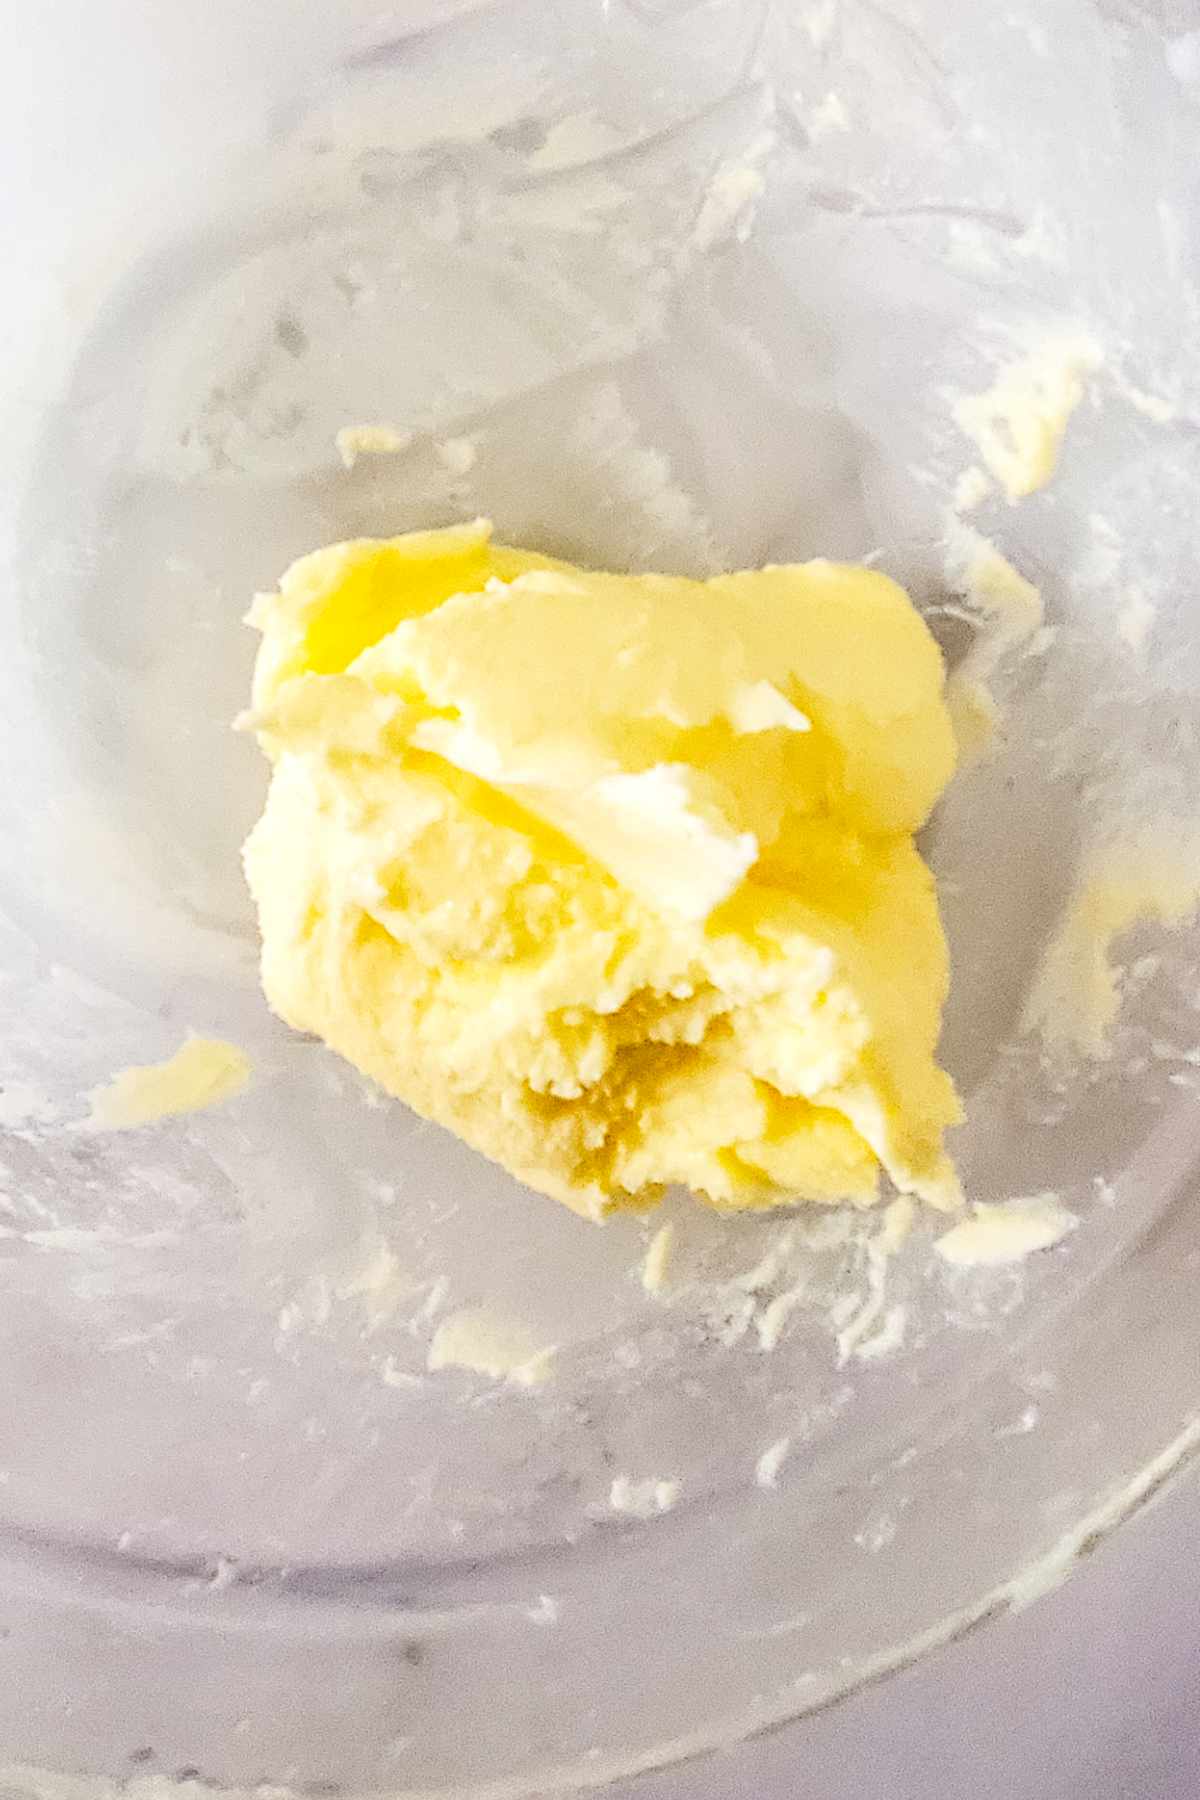
Step 2: Churn the Butter
Pour the cultured cream into a stand mixer bowl and mix on medium speed until it separates into butter solids and liquid. As it churns, you will see yellow butter clumps forming and a thin liquid, which is your buttermilk.
A stand mixer makes this process much easier, and draping a dish towel over the bowl helps contain any splatter once the butter starts to separate. If you don't have a stand mixer, a hand mixer, food processor, or even shaking the cream in a large jar will also work, though it may take longer.
Pro Tip
Use a large mixing bowl and do not fill it too high before churning. As the cream passes through the whipped stage and then begins to separate, it can splatter if the bowl is too full.
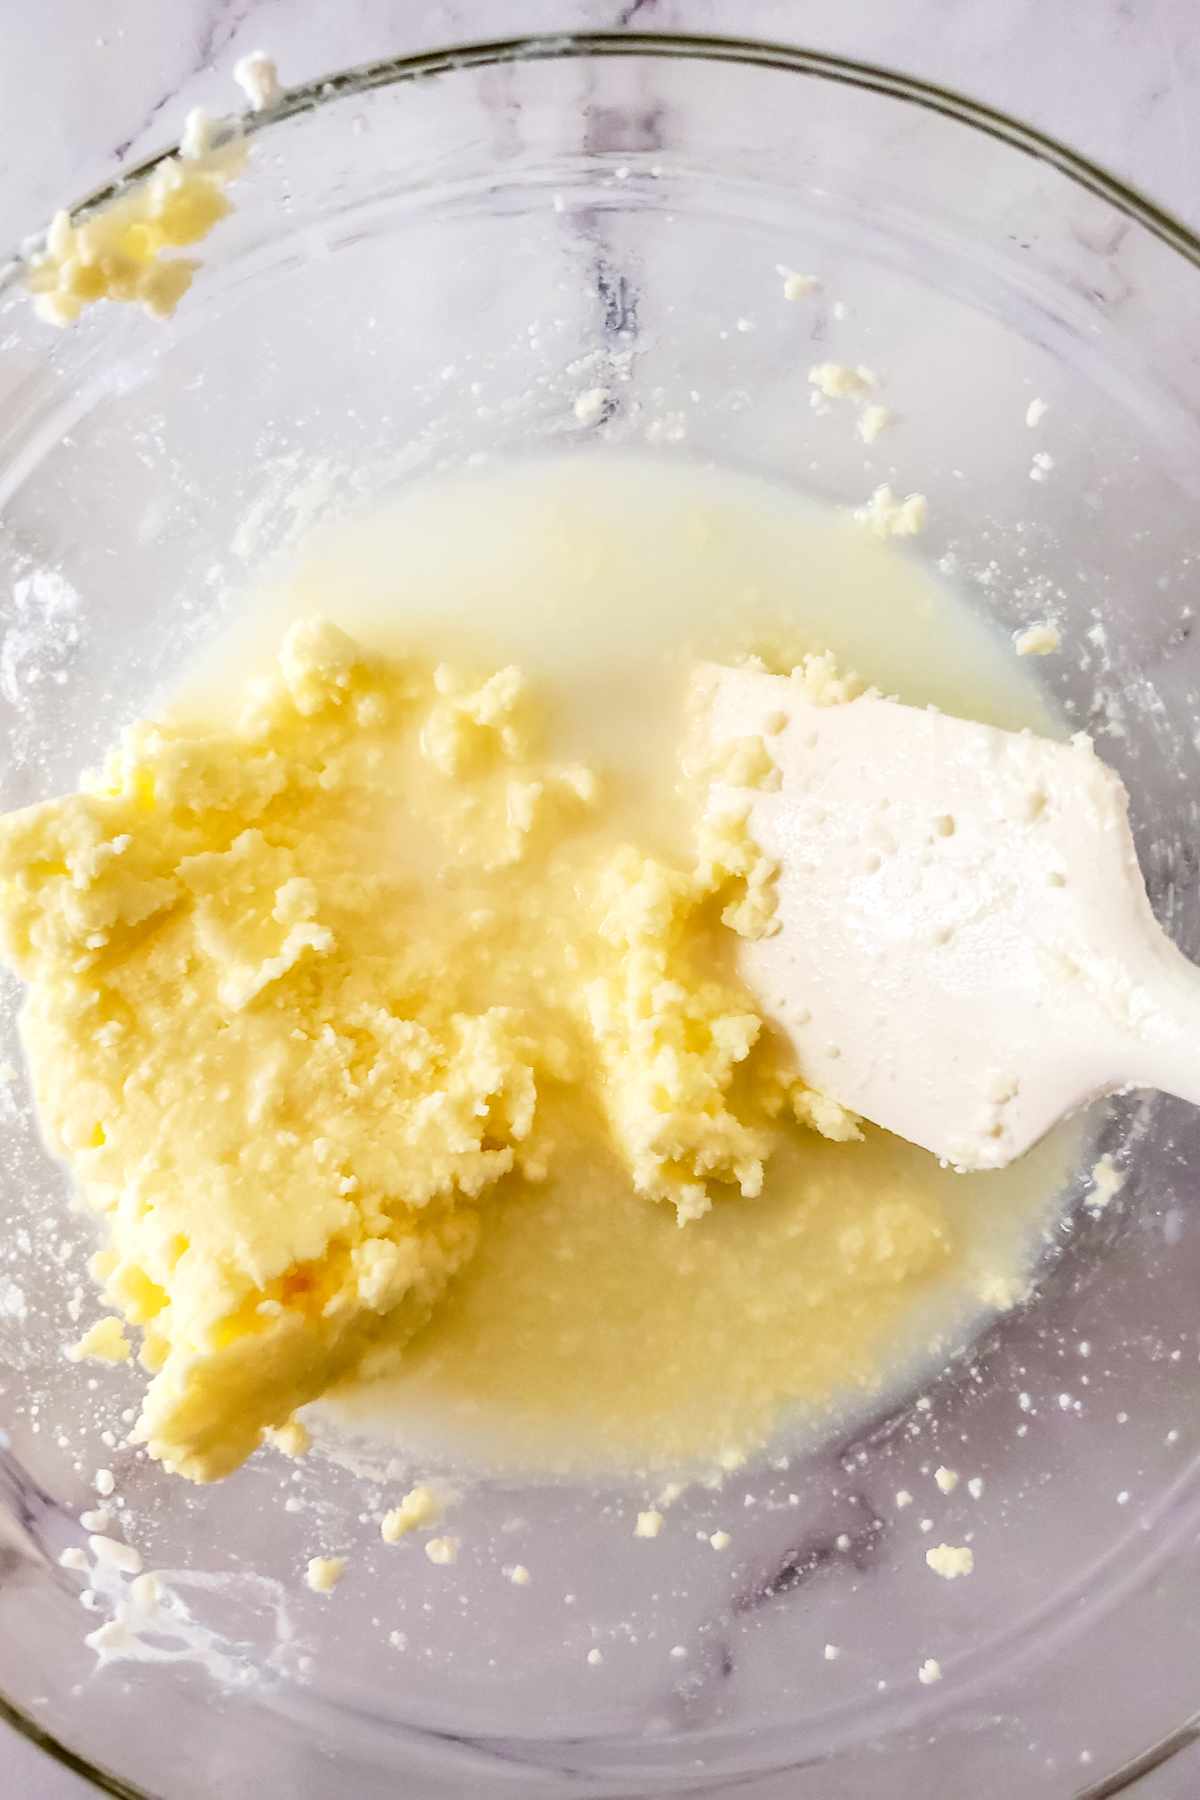
Step 3: Separate the Buttermilk
Pour off the liquid into a container and save it. This is real buttermilk, not the store-bought kind.
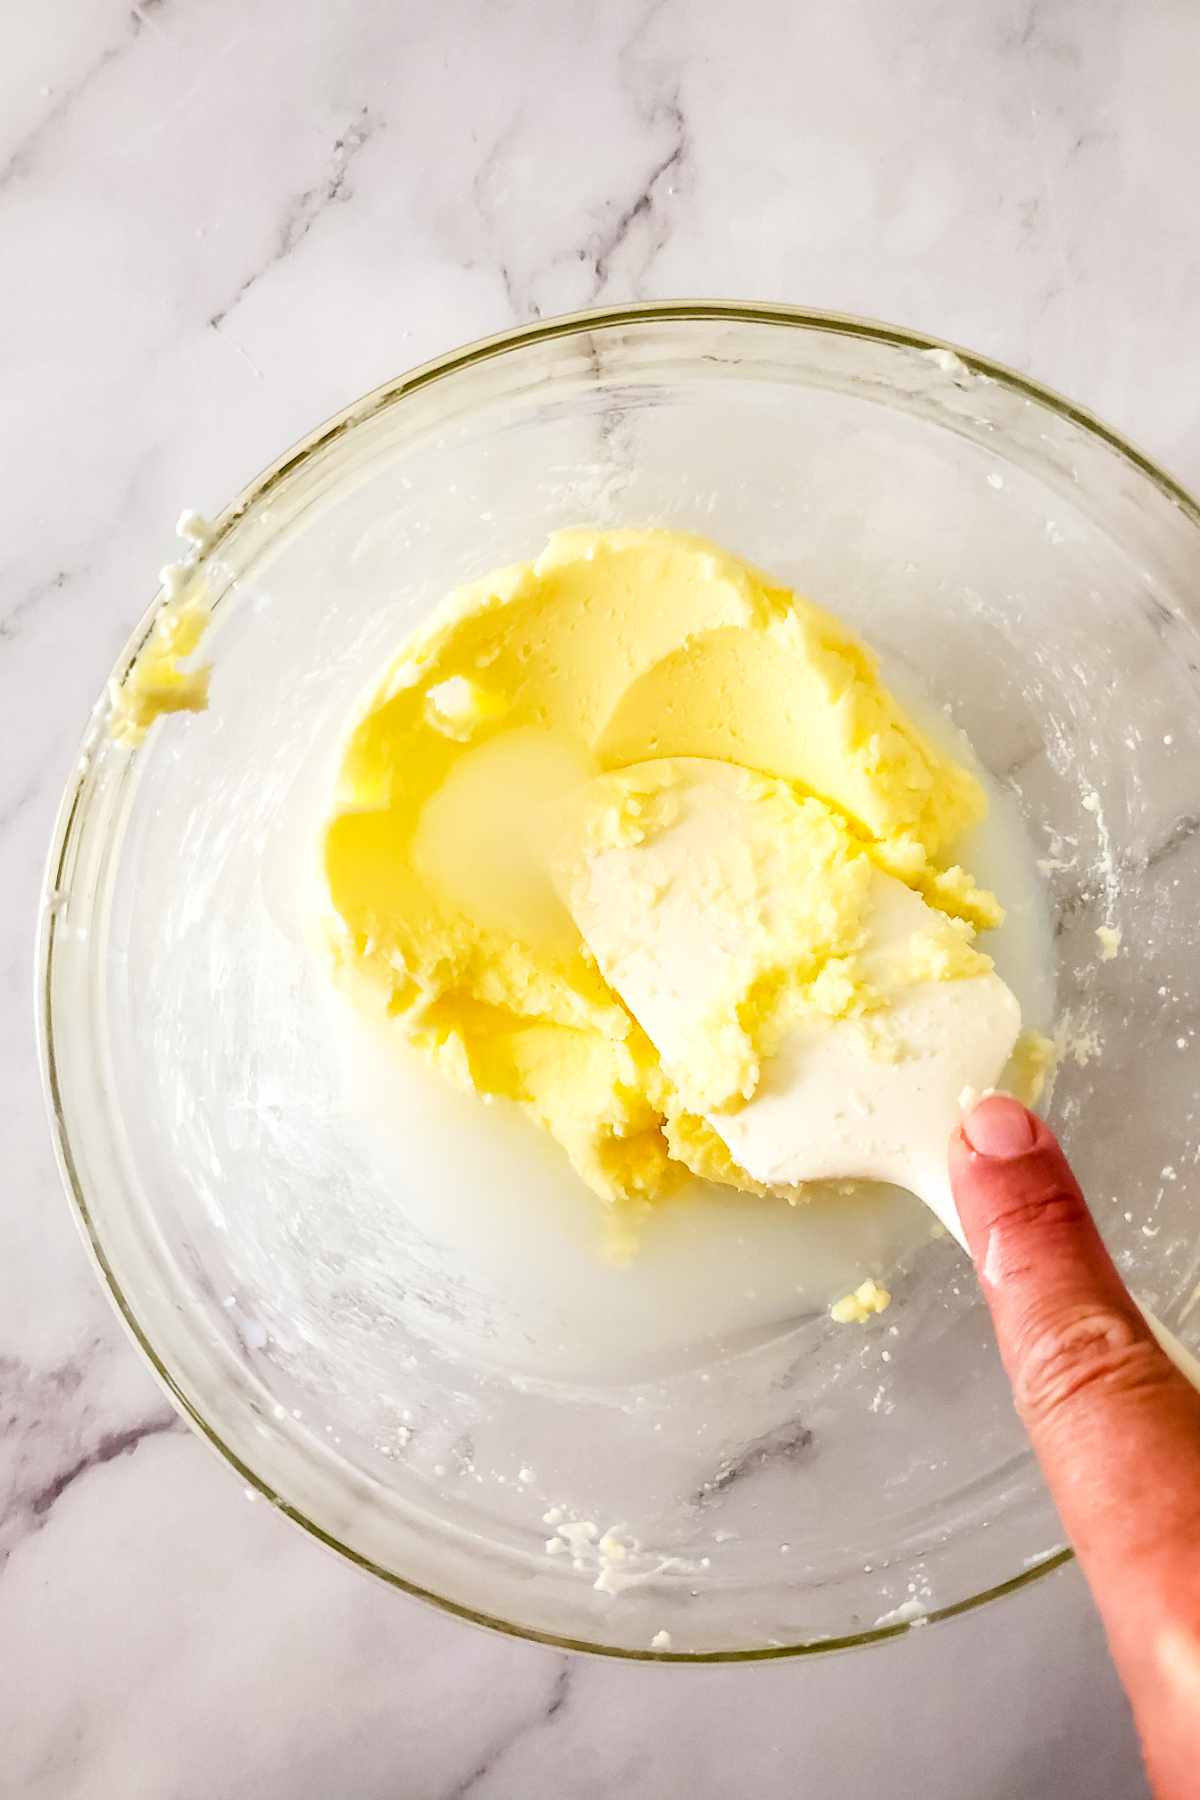
Step 4: Squeeze Out Remaining Liquid
Gather the butter and press it with your hands to remove as much liquid as possible.
Step 5: Wash the Butter
Place the butter in a bowl with very cold water and ice cubes. Gently work the butter to release more buttermilk. Drain and repeat once more if needed. When the water runs mostly clear, it's ready.
This step improves shelf life by washing any residual buttermilk, which can sour, from the butter.
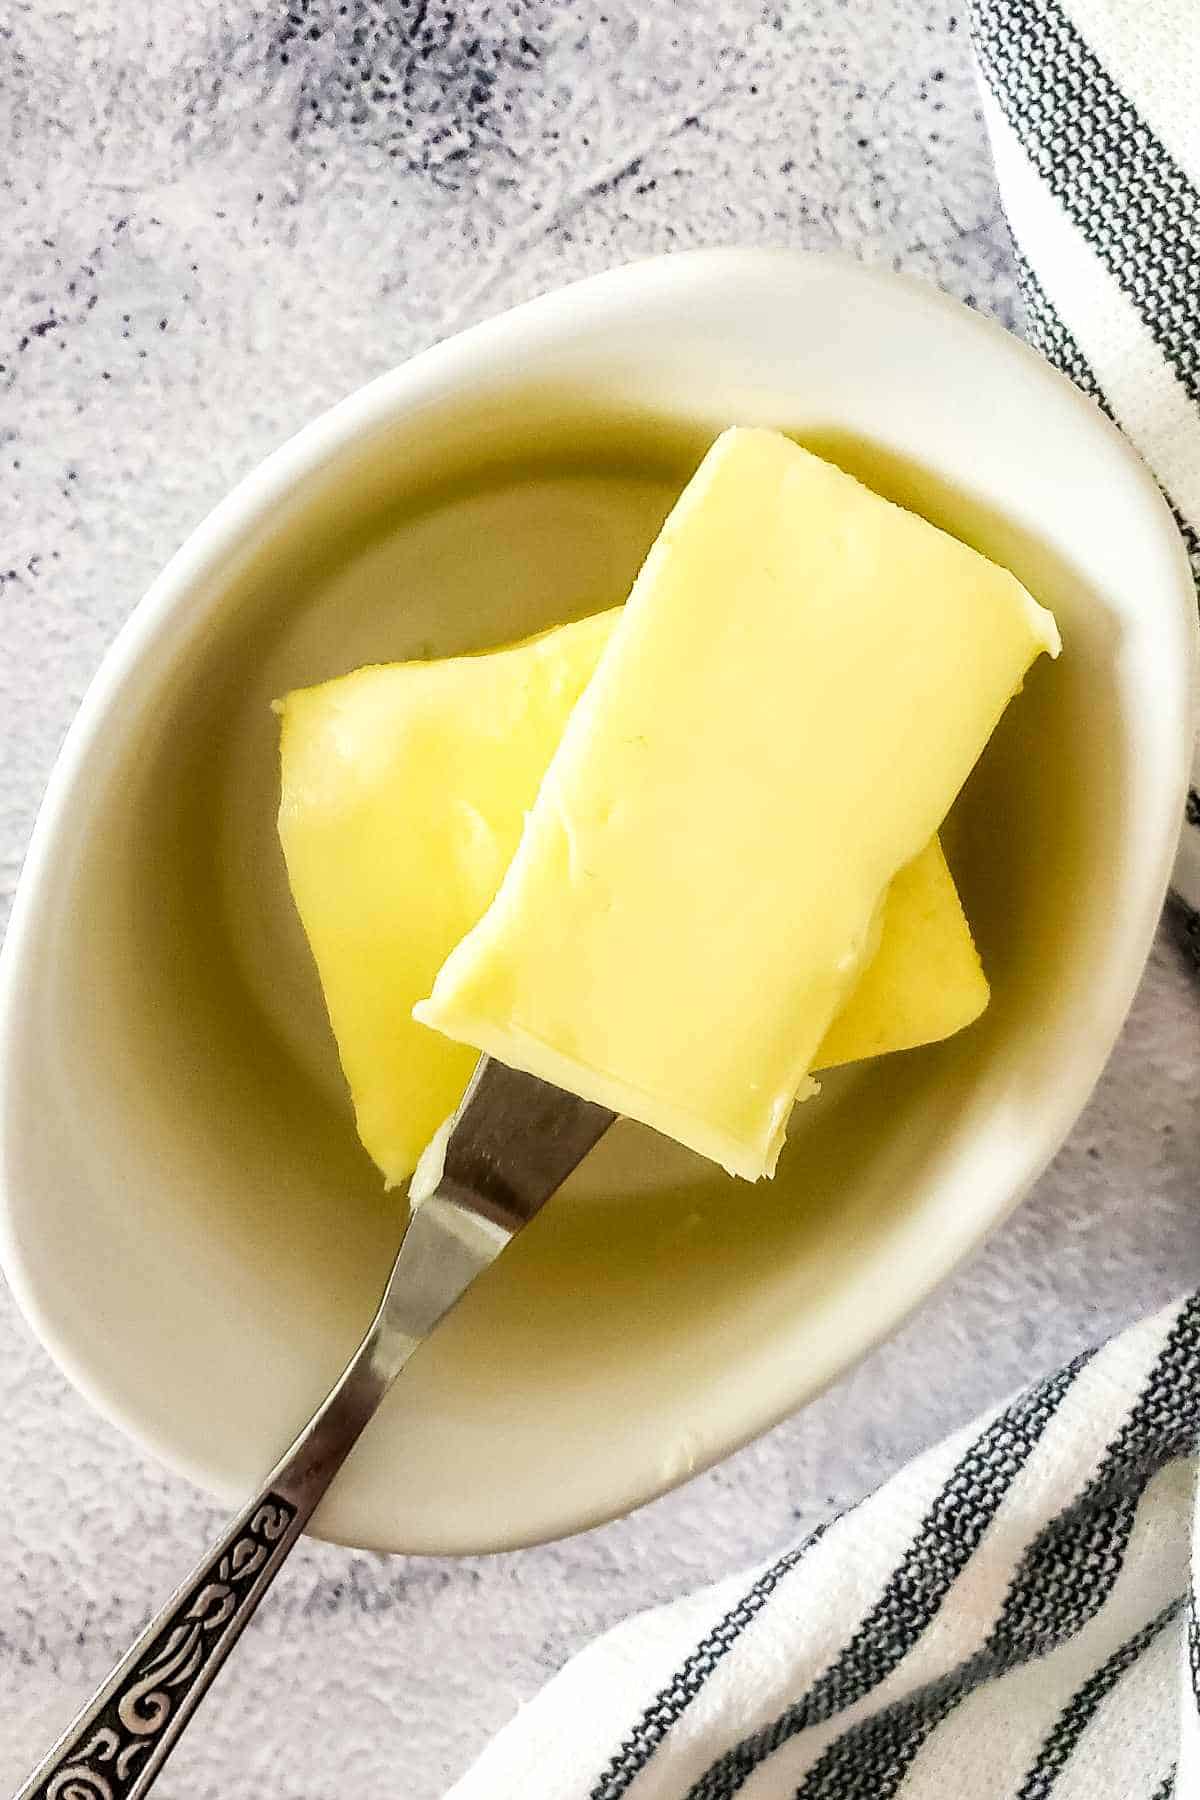
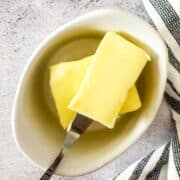
Step 6: Shape and Store
Divide the butter into portions, about four from this batch, then wrap each portion in parchment or wax paper and place in a freezer bag. Freeze for long-term storage and transfer to the refrigerator before use.
What Makes This Buttermilk Different
This is true cultured buttermilk, not the thickened store-bought kind. Because it is the liquid left behind after churning cultured cream, it is thinner, lightly tangy, and very useful in baking.
- Thin texture: It pours easily and is not thick like store-bought buttermilk.
- Light tang: It has a fresh cultured flavor without being sharp.
- Great for baking: It works well in biscuits, scones, pancakes, breads, and soups.
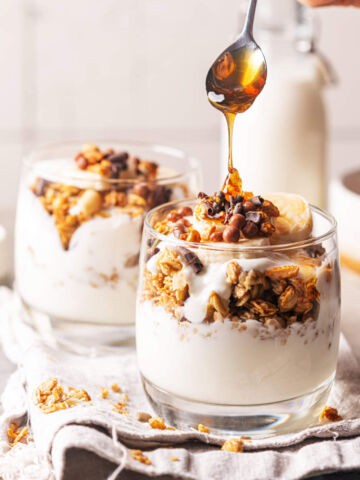
How To Use the Buttermilk
Do not let that quart of buttermilk go to waste. It works especially well in biscuits, scones, pancakes, sandwich breads, and quick breads, and it can also be added to soups and stews where you want a little tang without making the dish heavy.
Since this recipe gives you both butter and buttermilk, it is a good one to make when you already plan to bake within the next few days. If you are not ready to use it right away, you can freeze the buttermilk until needed. Freeze it in smaller portions so you can thaw only what you need.
Serving Suggestions
Cultured butter is best used where its flavor can stand out instead of getting lost in the background. Spread it on toast, warm biscuits, or scones, or serve it with fresh homemade bread where the slight tang really comes through.
It also works well in pancakes, mashed potatoes, or sandwich bread, and it is a simple way to add something homemade to a breakfast or dinner table.
Substitutions and Variations
Here are a few simple ways to adjust the flavor, shape, or method to suit your needs.
- Use a different live culture: Plain cultured buttermilk, yogurt, sour cream, crème fraîche, or kefir can all be used to culture the cream, as long as they contain live active cultures.
- Make it salted: Knead in fine salt after washing the butter and pressing out the last of the water.
- Shape it into logs: Roll the finished butter in parchment for easy slicing.
- Use butter molds: Press it into small molds if you want a prettier presentation for gifting or holiday tables.
- Try higher butterfat cream: If you can get 40% cream, you will usually get a bit more butter and a bit less buttermilk.
Tips for Success
These tips will help you get a clean separation, better flavor, and a longer-lasting butter.
- Use cream with enough fat: Heavy cream with at least 36% butterfat gives the best yield and churns more reliably.
- Check for live cultures: Your yogurt needs live active cultures or the cream will not ferment properly.
- Do not rush the culturing time: Letting the cream sit the full time helps build the flavor that makes cultured butter different from sweet cream butter.
- Wash until the water is mostly clear: This removes residual buttermilk and helps the butter keep better.
- Portion before freezing: Smaller wrapped portions are easier to thaw and use within a few days.
Storage Options
Portioning smaller amounts makes it easier to use while fresh. Here is how I store homemade cultured butter:
- Counter storage: Keep a small portion at room temperature for up to 3 days if your kitchen is cool and you will use it quickly.
- Refrigerator storage: Store wrapped butter in the refrigerator for about 1 week.
- Freezer storage: Wrap well and freeze for several months. Move a portion to the refrigerator when you are ready to use it.
- Buttermilk storage: Refrigerate the buttermilk and use it within 1 week for baking or cooking.
Related Recipes
- Homemade Buttermilk Pancakes
- Waterford Blaa Rolls
- Cheesy Mashed Potatoes
- Colcannon
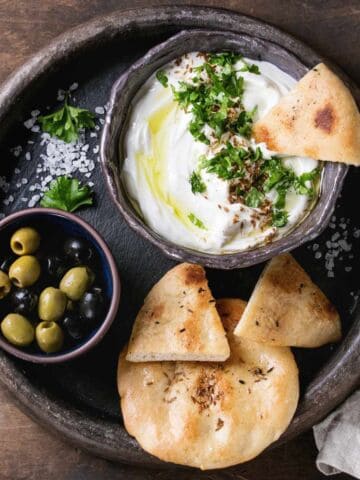
- Lebanese Labneh Recipe
Frequently Asked Questions
Cultured butter is made from cream that has been fermented before churning, which gives it a slightly tangy taste and deeper flavor than regular sweet cream butter.
Yes. Plain yogurt with live active cultures is a common and reliable way to culture the cream before churning.
No. Many home recipes use yogurt, cultured buttermilk, crème fraîche, or sour cream with live cultures instead of specialty starters.
Most home methods let the cream culture for about 24 to 48 hours, depending on room temperature and how tangy you want the finished butter.
No. A hand mixer, food processor, or even shaking the cream in a large jar can also work, though a stand mixer makes the process easier.
It may be too cold, too warm, too low in fat, or simply needs more mixing time. Cream with enough butterfat separates more easily.
Sometimes, but it is less predictable. Regular heavy cream often cultures and churns better than ultra-pasteurized cream.
Washing removes leftover buttermilk from the butter, which helps improve texture and shelf life. Multiple cultured-butter methods recommend kneading or washing in cold or ice water for that reason.
It is thinner than store-bought buttermilk and has a mild tangy flavor that works especially well in baking.
It works for both, but many people especially like it for spreading on bread or biscuits because the flavor stands out more.
Fermentation creates lactic acidity and aromatic compounds that give the butter a richer and slightly tangy flavor. Sources describing cultured butter consistently point to fermentation as the reason for the fuller taste.
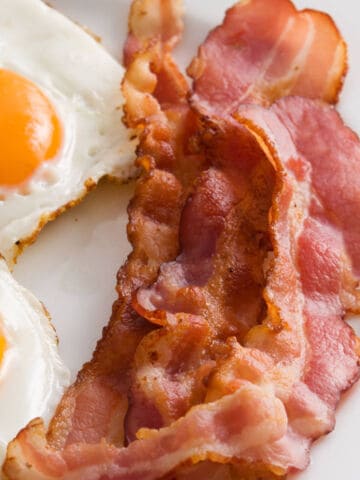
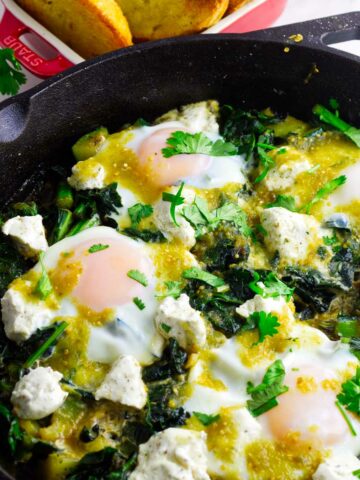
Easy Breakfast Recipes


Get The Recipe!
French Cultured Butter
Equipment
- KitchenAid Stand Mixer
- Hand Mixer
- Fine mesh strainer (optional)
Ingredients
- ½ gallon heavy cream 36% butterfat preferred
- 3 oz plain live cultured yogurt
Instructions
Culture the Cream
- In a large bowl, gently stir the yogurt into the heavy cream until combined. Do not whip or aerate.½ gallon heavy cream, 3 oz plain live cultured yogurt
- Cover and let sit at room temperature for 48 hours, until slightly thickened and lightly tangy.
Churn the Butter
- Pour the cultured cream into a stand mixer bowl.
- Mix on medium speed until the mixture separates into butter solids and liquid, about 10-15 minutes.
Separate the Buttermilk
- Pour off the liquid into a container and reserve. This is real cultured buttermilk.
Press Out Remaining Liquid
- Gather the butter solids and press with your hands or a spatula to remove as much remaining liquid as possible.
Wash the Butter
- Place the butter in a bowl of very cold water with ice cubes.
- Gently work the butter to release more buttermilk. Drain and repeat once more if needed, until the water runs mostly clear.
Shape and Store
- Divide into portions and shape as desired.
- Wrap in parchment or wax paper and store in a freezer bag. Freeze for long-term storage or refrigerate for immediate use.
Notes
- Use cream with enough fat: Heavy cream with at least 36% butterfat gives the best yield and churns more reliably.
- Check for live cultures: Your yogurt needs live active cultures or the cream will not ferment properly.
- Do not rush the culturing time: Letting the cream sit the full time helps build the flavor that makes cultured butter different from sweet cream butter.
- Wash until the water is mostly clear: This removes residual buttermilk and helps the butter keep better.
- Portion before freezing: Smaller wrapped portions are easier to thaw and use within a few days.
Nutrition
Pin It For Later ⤵
Kelly Bloom says
My family loved this!