
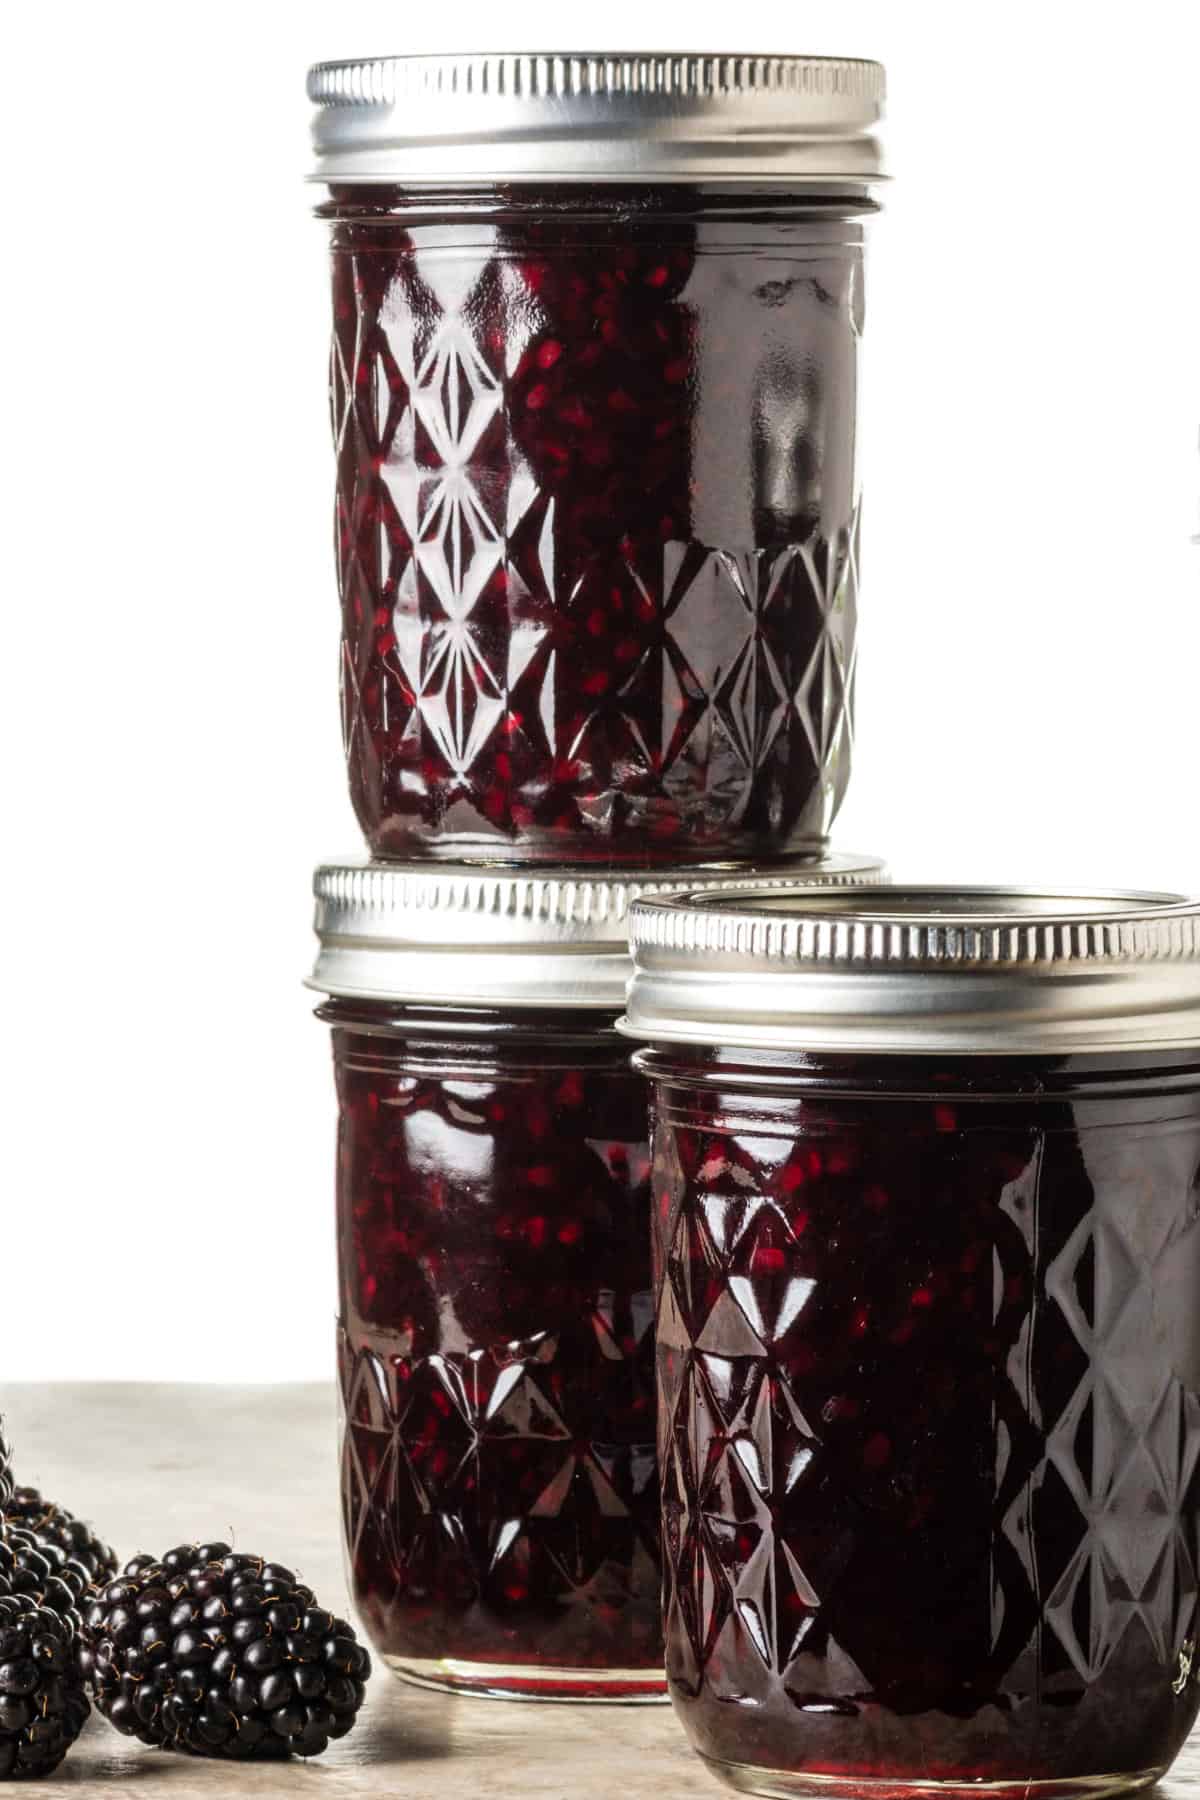
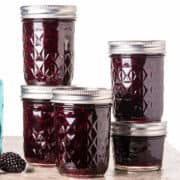
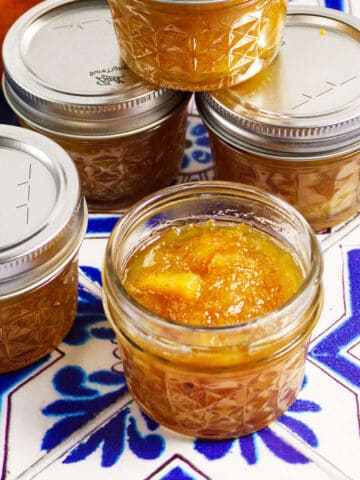
These homemade Blackberry Preserves capture ripe summer berry flavor in a simple no-pectin recipe. Sweet, spreadable, and easy to make, they're perfect for toast, biscuits, muffins, and more.
Why You'll Love This Homemade Blackberry Preserves Recipe
Blackberry preserves are a wonderful way to capture the taste of fresh summer berries. It produces a delicious spread that brightens up toast, yogurt, or any treat. Making it at home lets you enjoy pure, fruity goodness.
- Taste of Homemade: There's a special satisfaction in making your own preserves, knowing exactly what goes into them and enjoying the pure, fresh berry flavor.
- Perfect for Gifting: Jars of homemade blackberry preserves make thoughtful and much-appreciated gifts for friends and family during the holidays or special occasions.
- Year-Round Enjoyment: This recipe allows you to preserve the peak taste of summer blackberries, so you can savor their deliciousness long after the season ends.
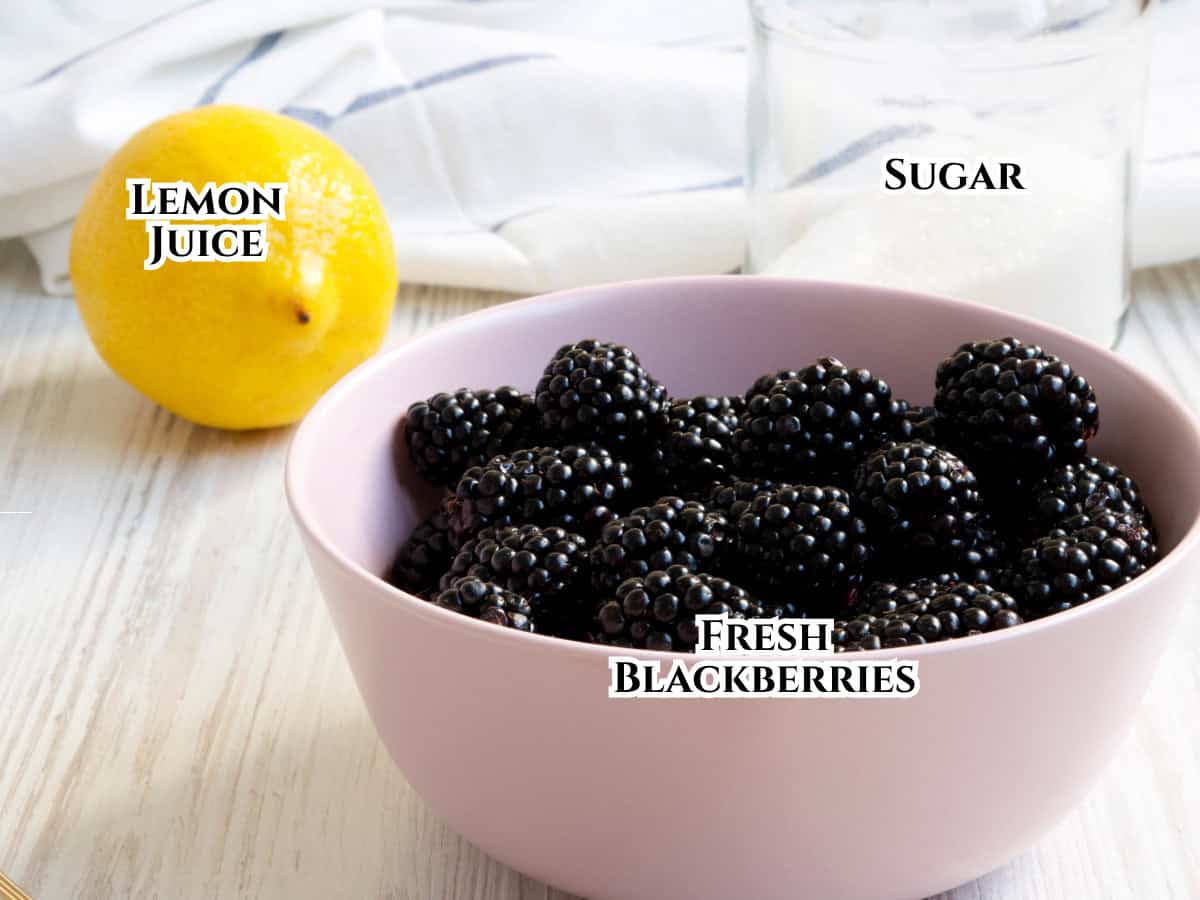
Ingredients Overview
Making preserves with blackberries is easy, and only a few ingredients will be required. You will need fresh picked, store bought, or frozen blackberries. Also, white granulated sugar and lemon juice. The lemon juice can be fresh, frozen, or bottled, whichever is easiest for you. You won't need pectin as blackberries naturally have plenty.
I picked my berries fresh off nearby blackberry bushes, as they grow rampant in the Pacific North West where I live.
Full ingredient amounts and preparation instructions are in the printable recipe card at the bottom of this post.
How To Make Blackberry Preserve
Transform fresh berries, sugar, and lemon juice into a delightful fruit spread. With just a few ingredients and some gentle simmering, you'll create a sweet taste of summer.
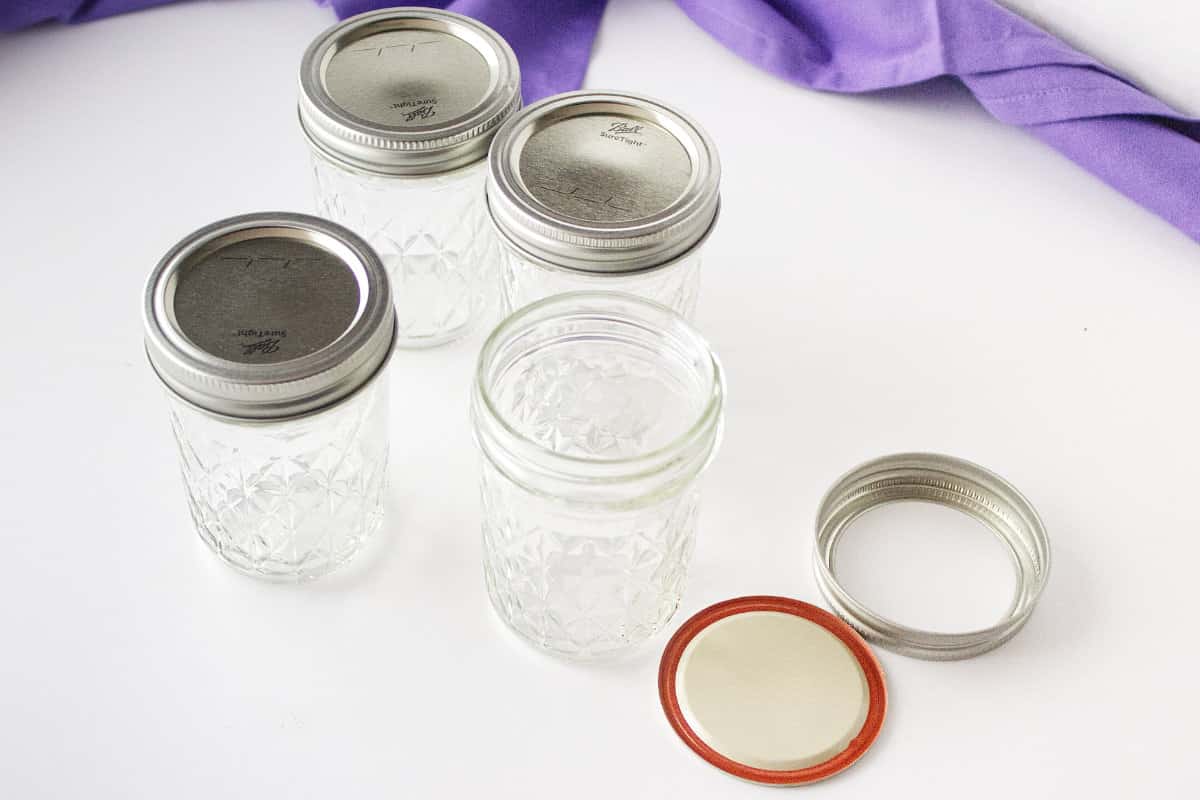
Step 1: Prepare the containers you will store your homemade preserves in. Scrub them with hot soapy water and sanitize them by running them through the hot water setting of your dishwasher. Turn them upside down to dry on a rack inside a baking sheet. Make sure there are no nicks or chips on the jar rims.
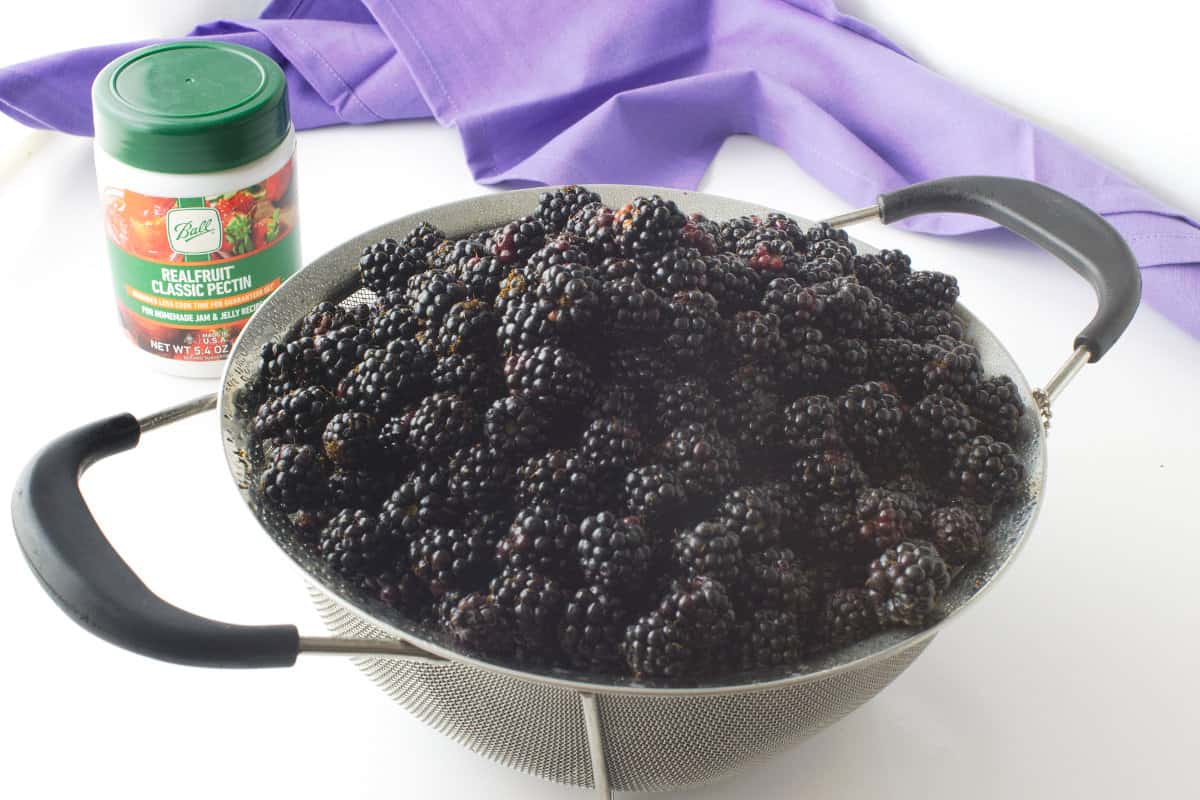
Step 2: Wash the berries right before using them. Unwashed berries last longer than washed ones, so wait until you are ready to make the preserves before washing them. If the fresh berries are longer than 1 ½" you should cut them in half so they cook properly.
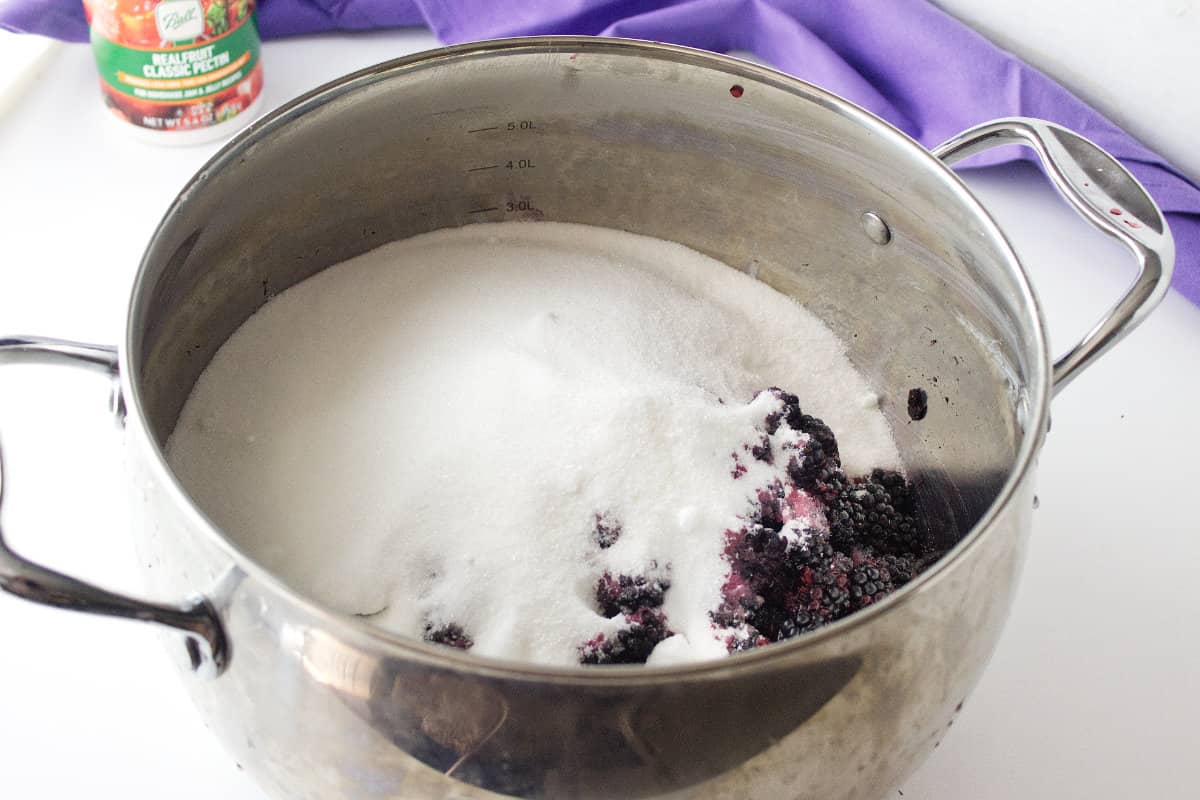
Step 3: Add the blackberries, sugar, and lemon juice to a large, heavy bottom saucepan.
Step 4: Cook on medium heat until the sugar is dissolved, stirring gently so you don't break the berries too much. Be sure to scrape the sides of the pan free of any granulated sugar.
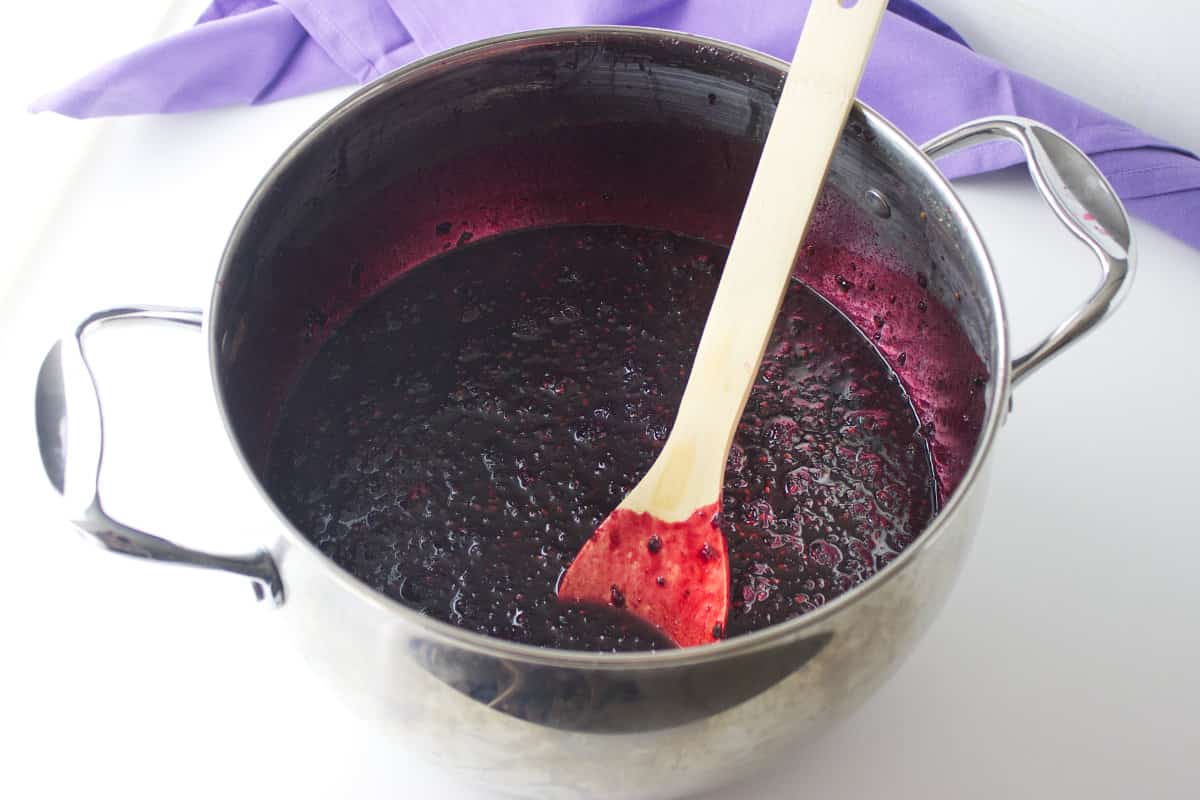
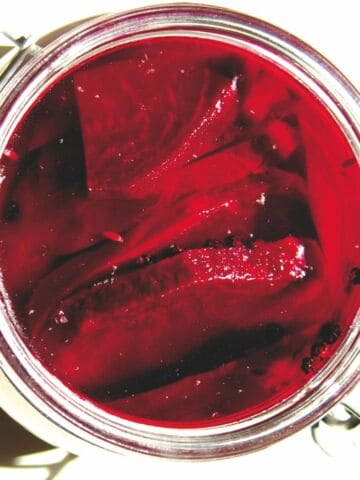
Step 5: Bring the fruit and sugar mixture to a boil and stir constantly to stir down any foam. Reduce heat to a medium and add the lemon juice, stirring well and simmering for about 5 more minutes.
Step 6: The preserves will thicken, or set) as they react to the lemon, sugar, and heat.
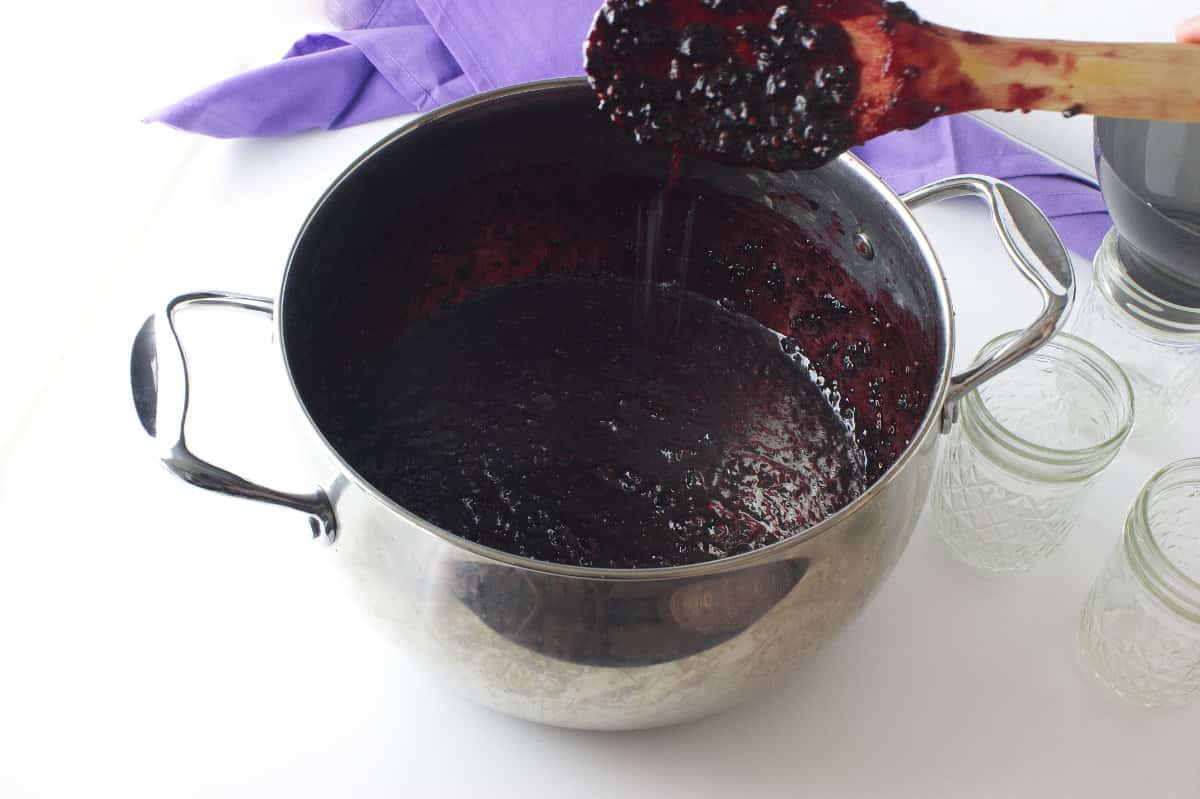
Step 7: To test if the preserves are ready to jar, dip a wooden spoon into the mixture. If ready, the preserves will 'sheet' off the flat side of the spoon in a double drip. If the preserve mixture only drips from the center, it's not quite ready.
Wrinkle Test
Before jarring, perform a "wrinkle test" to double check for set: spoon a small amount of hot preserves onto a chilled plate, let it cool for a minute, then push it with your finger. If it wrinkles, it's ready. If it doesn't, it will need to simmer a few minutes longer.
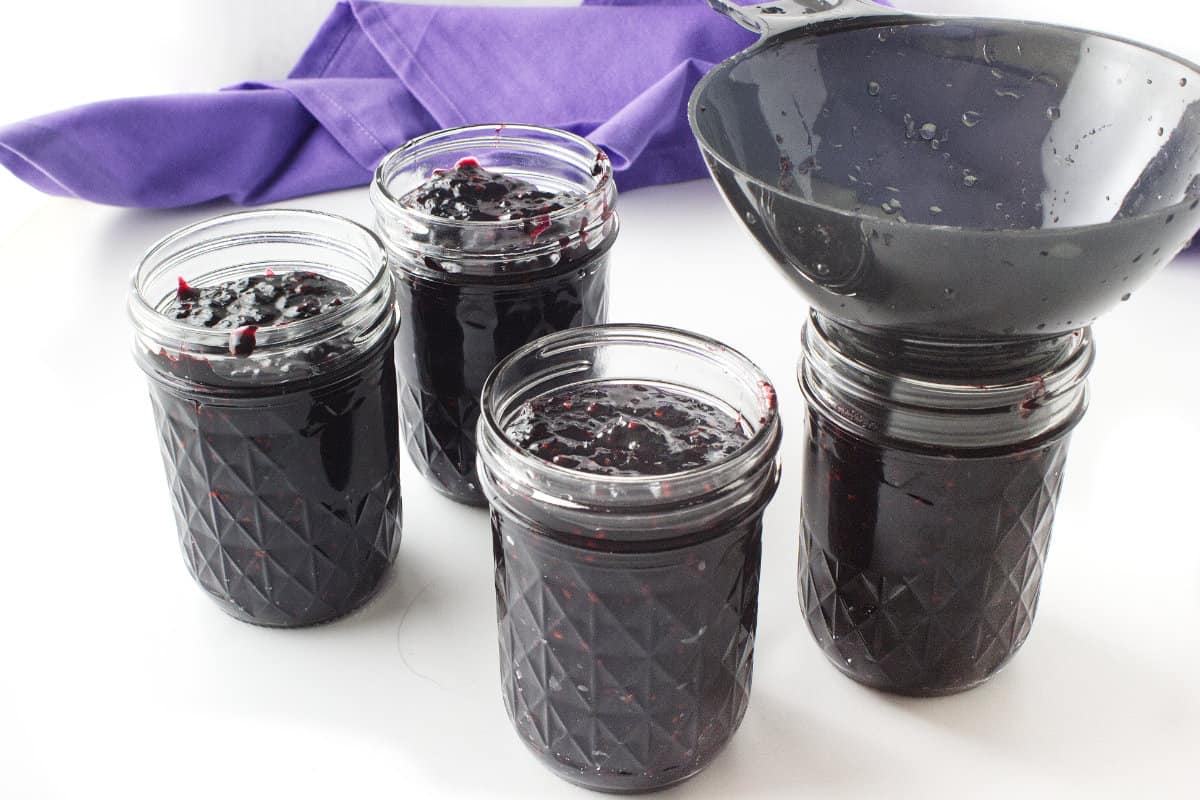
Step 8: Use a canning jar filling funnel to keep the jar rims clean, filling each jar up to 1" from the top rim. Wipe the rims clean.
Step : Place the seals on the jars, then tighten the jar bands. Water Bath Can for long term pantry storage, or store in the freezer.
Serving Suggestions
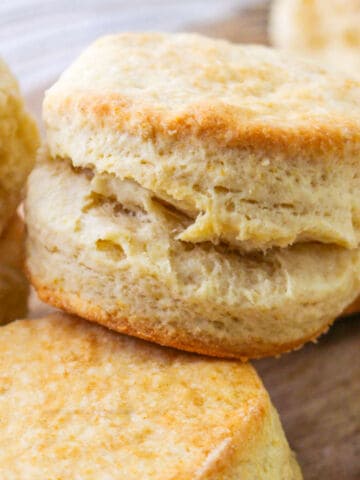
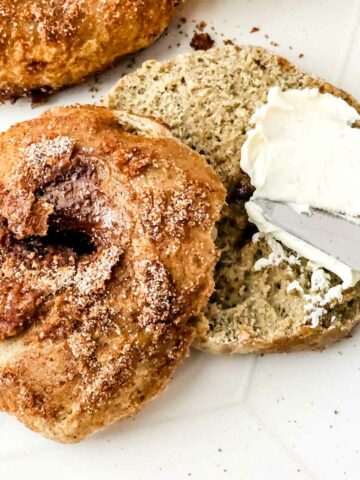
Serve them with our cornbread muffins, buttermilk biscuits, or homemade bread machine white bread! Homemade jams and preserves make the best housewarming and holiday gifts also.

Substitutions and Variations
Here are a few delicious variations or substitutions when making this recipe.
- Mixed Berry Preserves: Instead of just blackberries, use a combination of blackberries and other berries like raspberries or blueberries for a mixed fruit flavor.
- Spice It Up: Add a touch of warmth by simmering a cinnamon stick, a few cloves, or a tiny pinch of ground ginger with the preserves. Remember to remove any whole spices before jarring.
- Citrus Zest Boost: Incorporate lemon or orange zest along with the juice. The zest adds an aromatic brightness that complements the blackberries beautifully.
Tips for Success
Here are a few tips for making this recipe:
- Choose Ripe Blackberries: Use fully ripe, plump blackberries for the best flavor. Under-ripe berries can result in a more tart preserve, while over-ripe ones might be too soft.
- Sanitize or Sterilize Jars Properly: If canning, ensure your jars and lids are properly sterilized and hot before filling. This is crucial for food safety and a good seal.
- Don't Overcook: Cook the preserves until they reach the gelling point (usually 220°F / 104°C on a candy thermometer, or passes the plate test). Overcooking can result in a very stiff, overly sweet preserve.
- Skim the Foam: As the preserves cook, foam often forms on the surface. Skim this off periodically for a clearer, more attractive finished product.
- Check for Set: Before jarring, perform a "wrinkle test" to check for set: spoon a small amount of hot preserves onto a chilled plate, let it cool for a minute, then push it with your finger. If it wrinkles, it's ready.
Storage Options
Some recommended storage options for this recipe are:
- Refrigeration: Once cooled, transfer your preserves to clean jars and store them in the refrigerator for 2-3 weeks.
- Freezing: For longer storage, pour the cooled preserves into freezer-safe containers, leaving headspace for expansion. They can be frozen for up to 1 year. Thaw in the refrigerator before use.
- Hot Water Process Canning: For shelf-stable preserves that can be stored at room temperature, follow the safe guidelines for hot water bath canning. Refer to reliable sources like the Ball Canning website for precise instructions on jar preparation, filling, headspace, processing times, and sealing. Properly processed jars can be stored in a cool, dark place for up to 1 year or longer.
Related Recipes
Frequently Asked Questions
Jam is made with crushed fruit and cooks up as a blended fruit texture. Preserves are made with small whole fruits, or larger fruit cut into larger chunks and cooks up preserving more of the fruit chunks and texture.
Yes, but unless they are made for handling a hot water bath canning process you can only store them in the refrigerator.
Some people prefer seedless preserves. You can press the cooked berry mixture through a fine-mesh sieve or food mill before the final simmering stage to remove the seeds.
The "wrinkle test" is common: put a small plate in the freezer. Spoon a bit of hot preserve onto the cold plate, let it cool for a minute, then push it with your finger. If it wrinkles, it's ready. A candy thermometer reaching 220°F (104°C) also indicates a set.
Many fruit preserve recipes, especially with high-pectin fruits like blackberries, don't require added pectin if cooked to the correct temperature. However, if you prefer a quicker set, are using less sugar, or are using under-ripe fruit, you can add commercial pectin according to package directions.
Breakfast Recipes
Get The Recipe!
Blackberry Preserves
Equipment
- 8 oz rounded Ball Canning Jars
- Water Bath Canning Equipment
- Ball Water Bath Canning Method web guide
Ingredients
- 6 cups fresh blackberries about 2½ lbs
- 3 cups white granulated sugar
- ¼ cup lemon juice fresh or bottled
Instructions
- Prepare the jars first. Wash and sanitize. You can use the dishwasher on the hot wash and hot dry session to sanitize. Set aside on a towel to dry.
- Measure out the berries and wash them. Put them in a large, heavy bottom saucepan or Dutch oven.
- Add the sugar and cook on medium heat until the sugar is dissolved, stirring gently so you don't break the berries too much. Be sure to scrape the sides of the pan free of any granulated sugar.3 cups white granulated sugar, 6 cups fresh blackberries
- Add the lemon juice and stir while bringing the mixture to a full boil. If foam develops, either scoop it off and discard, or stir it down.¼ cup lemon juice
- Reduce cook at a bubbling simmer, stirring frequently for another 5- 6 minutes.
- The preserves will thicken as they react to the lemon, sugar, and heat. To test if the preserves are ready, dip a wooden spoon into the mixture. If ready, the preserves will 'sheet' off the flat side of the spoon in a double drip. If the preserve mixture only drips from the center, it's not quite ready. If not quite ready, cook up to 2-3 more minutes, checking for gel in 1 minute intervals. Remove pot from heat and ladle into prepared jars.
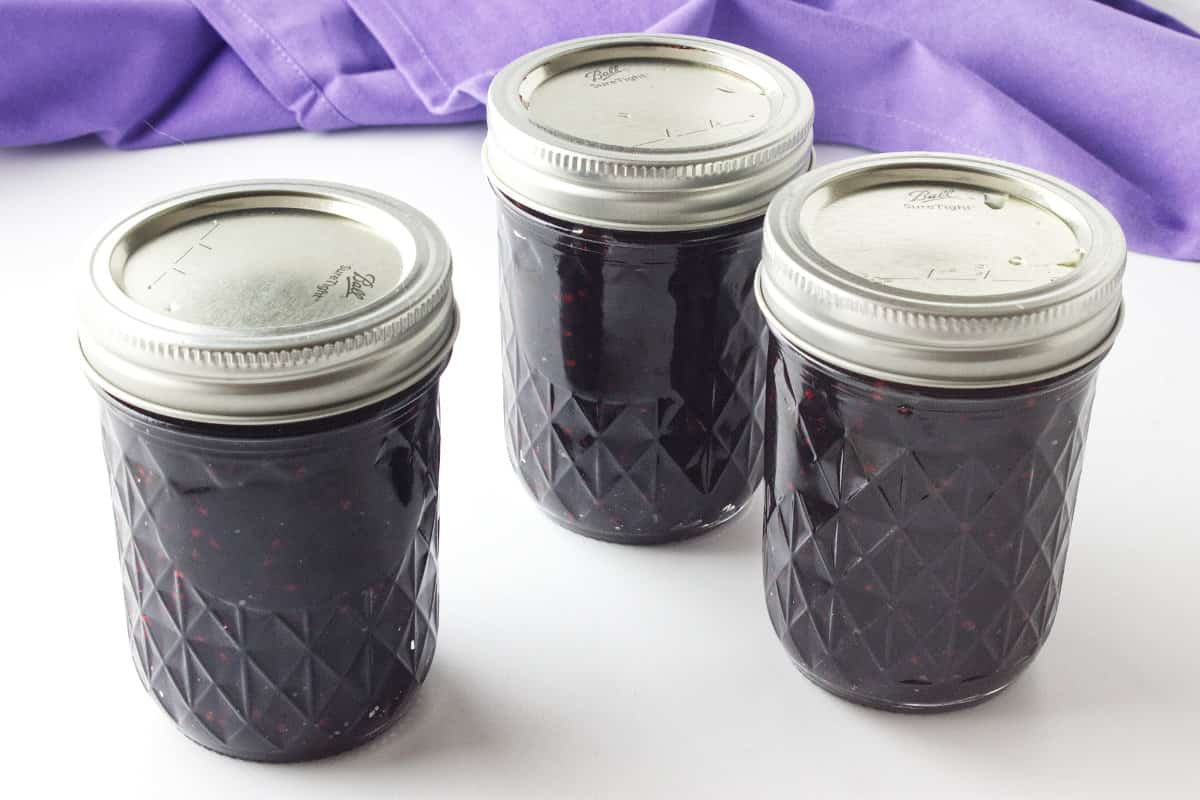
- Wipe the jar rims with a damp cloth, seal with the disc lids, and tighten the bands. You can store in your refrigerator for up to 3 weeks.
- Let the jars sit on the counter to cool (for freezer storage), or Hot Water Process immediately for long term pantry storage. You will hear little pop sounds as the sealing discs are sucked in with a vacuum seal.
Notes
- Choose Ripe Blackberries: Use fully ripe, plump blackberries for the best flavor. Under-ripe berries can result in a more tart preserve, while over-ripe ones might be too soft.
- Sanitize or Sterilize Jars Properly: If canning, ensure your jars and lids are properly sterilized and hot before filling. This is crucial for food safety and a good seal.
- Don't Overcook: Cook the preserves until they reach the gelling point (usually 220°F / 104°C on a candy thermometer, or passes the plate test). Overcooking can result in a very stiff, overly sweet preserve.
- Skim the Foam: As the preserves cook, foam often forms on the surface. Skim this off periodically for a clearer, more attractive finished product.
- Check for Set: Before jarring, perform a "wrinkle test" to check for set: spoon a small amount of hot preserves onto a chilled plate, let it cool for a minute, then push it with your finger. If it wrinkles, it's ready.
Tonya B Scates says
Very easy to make and oh so delicious! I'm giving some away for Christmas gifts and have had my neighbors and friends try it and they've all told me that definitely need to make more and that's just what I'm going to do! Thank you so much for sharing such a delicious recipe!